AI Photo Enhancer: Improve Photo Quality Online
Upload a photo and the AI photo enhancer cleans up what low light, compression and a small phone sensor left behind: noise and grain go, soft detail gets more definition, dull color and flat contrast even out, dark frames open up. The model rebuilds plausible detail rather than uncovering detail that was never recorded, so the result is a better-looking version of your shot, not a new source of facts about it. Add a line in the wishes field if one thing matters most — a face, the light, the color, or text in the frame.
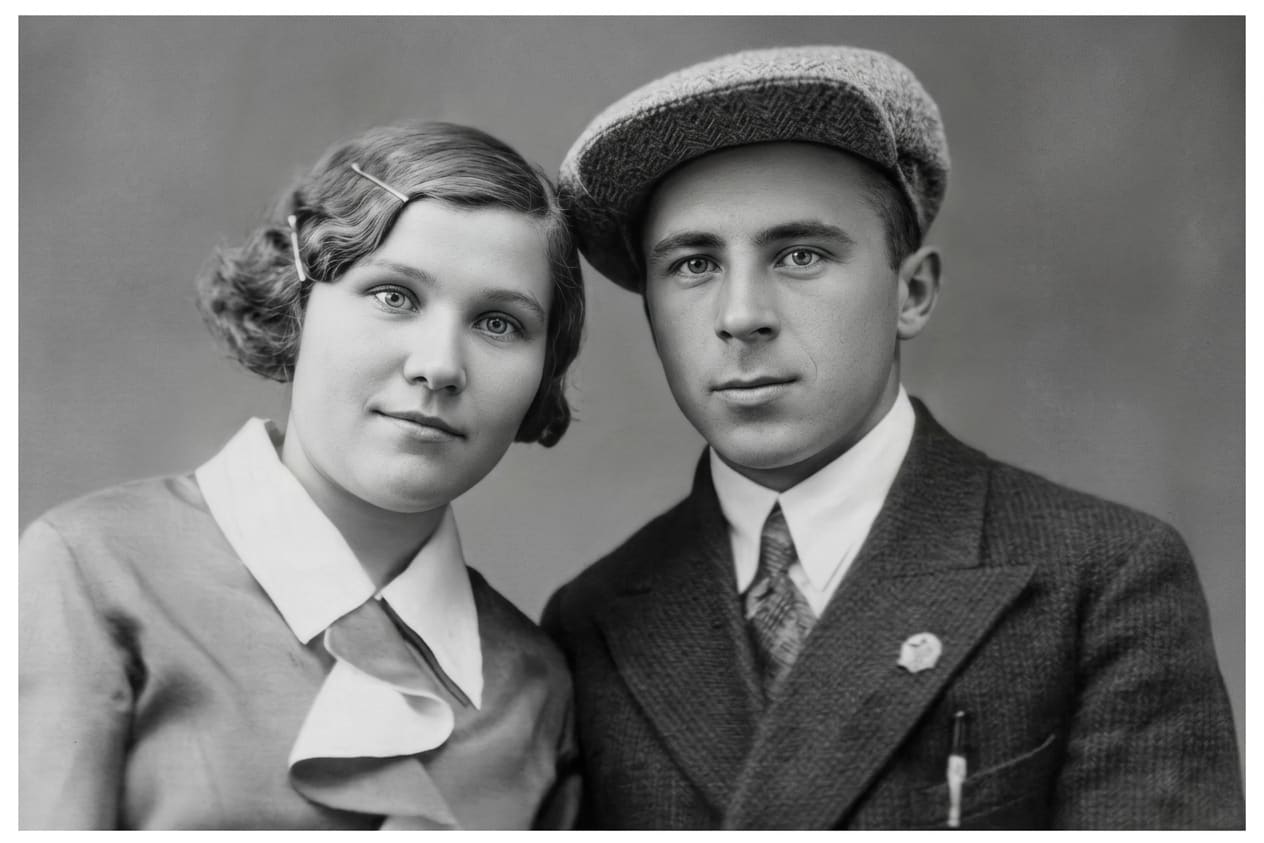
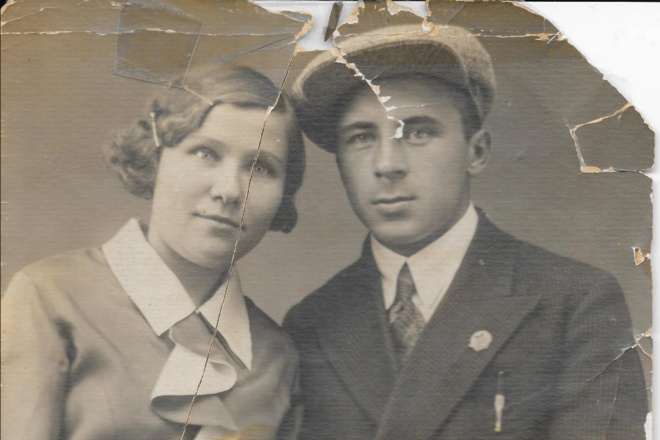 BeforeAfter↔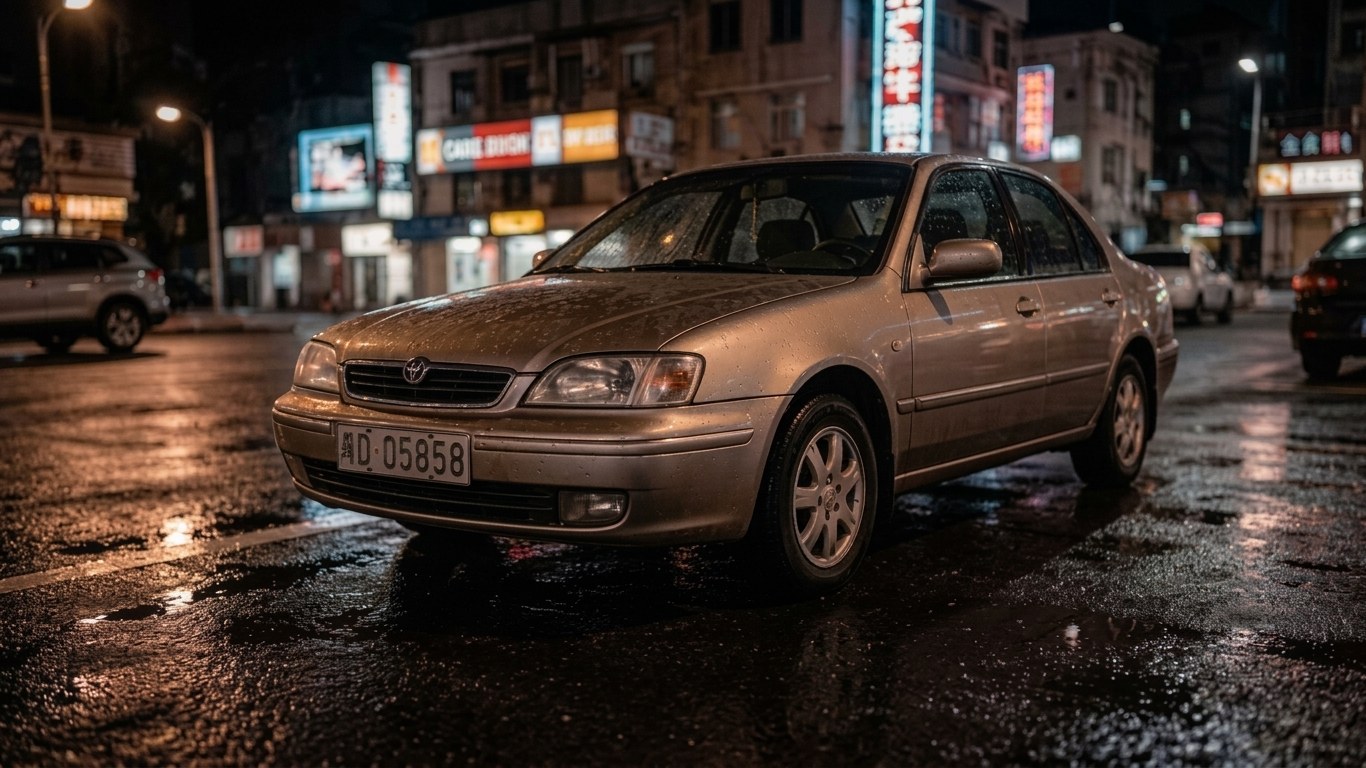
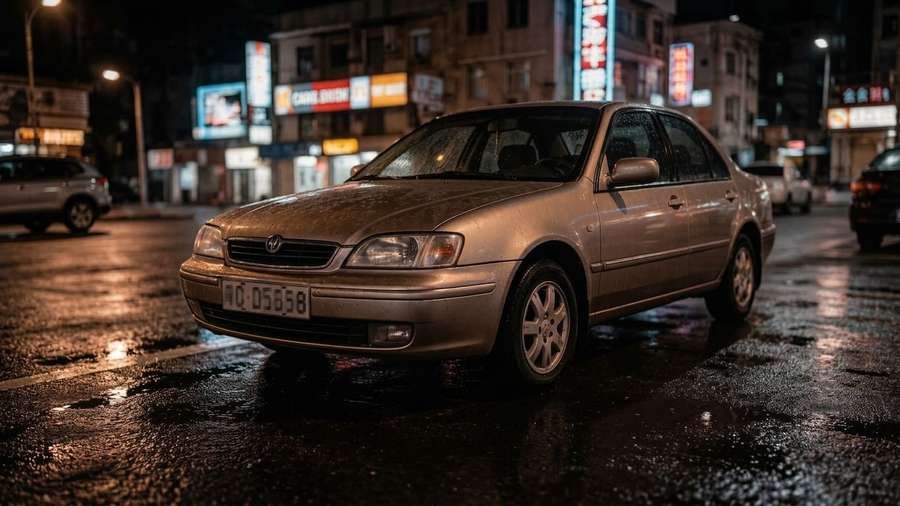 BeforeAfter↔
What does an AI photo enhancer do
It takes one picture and works on everything that made it look cheap: sensor noise and grain, detail that came out soft, color that went dull, contrast that went flat, a frame that is simply too dark, and the blocky mush a file picks up from being saved and re-saved. All of it in a single pass, on the photo you already have, at roughly the size you already have.
An editor's sliders treat every pixel the same way. Push contrast and the noise gets contrast too; push the detail slider and the grain gets crisper along with the eyelashes. AI works the other way around: it reads the frame first, recognizes that this patch is hair and that one is denim, a brick wall, a printed label, a plate of food, and then redraws those things with more definition. Composition, framing and the number of people in the shot stay where they were.
One thing is worth saying before you start, because television has trained all of us to expect something else. This is not the crime-lab "zoom and enhance". There is no hidden layer of detail sitting inside a small smudge, waiting for the right software to reveal it. The model works with what actually survived in the file and builds a plausible version of the rest. On an ordinary photo that gap is invisible and the result simply reads as a better picture. On twenty pixels of a license plate there is nothing to work from, and whatever comes back is the model's guess rather than a reading of the plate.
How to improve the quality of a photo
Everything runs in the browser — an iPhone, an Android phone, a laptop, a tablet. Nothing to install, and nobody asks for access to your whole camera roll: you pick one photo yourself. If the first pass goes further than you wanted, run it again with a calmer line in the wishes field, for example "keep skin texture natural and do not change the colors".
What the AI actually fixes in a frame
If the frame has exactly one problem, a single-purpose tool handles it more precisely: unblur image when the shot is out of focus or smeared by movement, image upscaler when the picture is fine but too small, colorize photo when a black-and-white print needs color.
How to make a picture clearer
"Clearer" almost never means one thing. Take the photo you are unhappy with and look at it honestly: the detail is a little soft, the shadows are muddy, there is speckle in the flat areas, the color has drifted toward gray, and somewhere along the way a chat app took another bite out of it. Each of those on its own is small. Together they are why the picture looks worse than the moment you remember.
That combination is what this tool is for, and it is why one slider in an editor rarely gets you there — fixing one of those five usually makes another one worse. The model treats them as a single job, because it is looking at the content of the frame rather than at a histogram.
Three habits get you a better result:
One boundary for this page: if the frame is not merely soft but genuinely out of focus, or smeared because the camera or the subject moved, that is a different repair with its own limits — take it to unblur image instead.
What is the difference between enhancing and resizing an image
These two get typed into the same search box, and they are not the same job. Enhancing works on the quality of the pixels you already have: noise, detail, light, color, compression damage. The picture comes back at a comparable size, looking better. Upscaling works on the number of pixels: it redraws the same picture two or four times larger, so it can be printed, cropped into, or uploaded somewhere that rejects small files.
A quick way to choose. Open the photo at the size you normally view it. If it already looks bad there — grainy, dark, flat, mushy — you want enhancing, and you are on the right page. If it looks perfectly fine until you blow it up, and the trouble only starts when you zoom in or send it to print, the problem is size and you want the image upscaler.
When a picture needs both, the order matters. Clean it up here first, then make it bigger — otherwise the second step takes the grain and the compression blocks and redraws them at four times the size, as if they had been real detail all along.
Does the enhancer increase resolution?
Not in any way worth planning around, and it is better to say so plainly than to let you find out after the run. This tool works on how a picture looks, not on how many pixels it has, so a small source does not turn into a large file. If what you are actually after is a picture with more pixels in it — a print, a poster, a full-screen background, a marketplace image that keeps getting rejected for being too small — that is the image upscaler, which works in multiples of your original: ×2 on Standard and ×4 on Pro.
Fixing pixelated photos
"Pixelated" gets used for two different problems, and they have two different answers.
The first is compression damage: square blocks, smeared color, a waxy film over faces, ringing along hard edges. The picture has plenty of pixels, they have just been mangled by repeated encoding. This is one of the easiest cases here, because the structure of the scene survived underneath — it is buried, not erased. Edges come back clean and skin stops looking like a candle.
The second is a genuinely tiny image shown large: a 300 px picture stretched across a full-width banner, where each original pixel has become a visible square. No amount of cleanup adds pixels that were never recorded, so that case belongs to the image upscaler, which redraws the frame at two or four times the size.
Plenty of pictures are both at once — small and chewed up by compression. Run those through here first and take the clean version to the upscaler afterwards.
Why photos lose quality after Instagram or Facebook
Everyone has met this one. A friend sends a picture that looked perfect on their phone and it arrives soft, blocky and slightly gray. Or you post a shot you are proud of, and the version on the feed has lost the crispness you saw in your camera roll.
Nothing mysterious is going on. Platforms re-encode what you upload and resize it to their own limits, messaging apps compress hard to save bandwidth, and every repost, download and screenshot starts from the already-damaged copy rather than from your file. Three rounds of that and the detail really is gone from the JPEG, which is why the picture looks worse on your screen than it did on the day.
Rescuing a file that came off a feed is a good use of this tool: compression damage is regular and predictable, so the model has a solid idea of what a face looks like underneath it. Two practical notes, though. First, if the original still exists anywhere, start from that instead — it beats rescuing the downloaded copy every time. Second, small lettering in the background often stays unreadable, because by then there was nothing left of it to work with.
And if the photo was soft before it was ever posted — the camera focused on the wall behind, or somebody moved — compression is not your problem. That one goes to unblur image.
Old photos, scans and film
The shoebox of prints, the album pages nobody has opened since the nineties, the flatbed scans somebody in the family made one weekend. These were often mediocre to begin with — slow film, a simple lens, a shaky hand in a dim living room — and then decades of fading on top. It is the most rewarding thing to run through here, and the case that needs the clearest expectations.
What improves: the yellow or magenta cast that age leaves behind, faded contrast, the dusty haze of a home scan, grain that swallowed the detail in hair and clothing, and faces that had gone flat. A scan that read as a document starts reading as a photograph again. A usable line for the wishes field: "clean up an old scanned photograph, even out the color cast and bring back detail in faces and clothing, keep the grain and the look of the period."
What does not improve: physical damage stays. Creases from being folded into a wallet, tears, tape marks, scratches through the emulsion, water stains, a corner torn away — as far as the model is concerned those are part of the picture, and they come back in the result. This tool works on light, color, noise and detail; it does not rebuild a surface that is torn.
Two companion steps for a family archive: a black-and-white print can go to colorize photo afterwards, and if the scan is also far too small for a frame on the wall, finish with the image upscaler.
Will the result look fake or over-processed?
Sometimes, and it is better to know what that looks like than to discover it after you have posted the picture. The usual signs: skin gone waxy and poreless, a bright halo along high-contrast edges, color pushed a step past believable, invented texture in areas that were smooth, and background lettering turned into letter-shaped marks that do not spell anything.
The default behavior here is deliberately conservative — keep faces, poses, background and the number of people, no plastic skin, nothing added that nobody asked for. Most of the time that is enough. When it is not, the fix is usually an instruction rather than a different tool: name what must stay ("keep the facial features, age and expression, keep skin texture natural"), or ask for less ("gentle cleanup only, do not change the colors or the mood of the light"), and run it again. Both versions sit in History, so you get to pick.
There is one case no instruction saves: a source that is too far gone. When very little real information is left in the frame, the model has to invent, and invention is exactly what "fake" means. A heavily degraded photo comes back plausible rather than accurate, and on a small or badly damaged face that can mean somebody who looks like a cousin of the person who was actually there.
Ready-made wishes you can copy
Paste the closest one into the wishes field and adjust it to your photo. Saying what must stay unchanged does more for the result than anything else you can type.
Portrait
Improve the quality of this portrait: clean up noise, even out the light, and bring definition to eyes, brows, hair and clothing. Keep the facial features, age and expression, keep skin texture natural rather than smoothed, and do not change the shape of the face.
Dark indoor or evening shot
Open up the shadows and remove the digital noise without washing the picture out. Keep the atmosphere of the evening light and the natural colors, and do not turn night into day.
Photo from a chat app or a feed
Remove compression artifacts, blocking and the waxy look, and bring small details back into definition. Leave the colors, the lighting and the composition exactly as they are.
Old scan or film print
Clean up an old scanned photograph: even out the color cast, restore contrast, and bring back detail in faces and clothing. Keep the grain and the look of the period, and do not modernize faces or clothes.
Product photo for a listing
Make the product clean and well lit: even color, honest contrast, visible material and stitching. Keep the shape, the exact color and the lettering on the packaging, do not change the background, and do not add reflections.
Room or property listing
Even out the lighting, brighten the room, correct the white balance and bring out detail in surfaces and textiles. Do not add or remove furniture, and do not change the view through the window.
Food
Make the dish look appetizing: crisp texture, natural saturated color, soft light. Do not add any food or tableware that is not already in the frame.
A frame with lettering in it
Make the lettering in this photo as legible as possible without changing the letters or the numbers themselves. If a character cannot be read, leave it as it is rather than guessing at it.
Where a photo enhancer earns its keep
What kinds of photos do not work well here
Every tool of this kind has an edge, and yours is easier to plan around if you know where it sits. The rule behind all of these: detail is inferred, not recovered. The model draws what the frame implies, which is wonderful when a lot survived and unreliable when very little did.
Free photo enhancement: what you get and where the limits are
You can try it for free. A new account gets two free generations in total — not two a day and not two a month — and this tool is one of the ones they cover. Free runs use Standard quality; Pro runs are part of a paid plan. After that, work continues on a plan or a pack, and the terms are on the pricing page.
Two things worth knowing up front, because nobody enjoys finding them out afterwards. Free runs carry a light ai.neiroset.com signature in the bottom-right corner — any purchase removes it permanently, including from images generated earlier. And on this tool the Download button opens after a purchase; before that you can still run generations, view them full size and compare them with the originals in History.
There is also a pace limit of six runs a minute per account, which ordinary use never reaches.
Do I need an account?
Yes. You can fill in the whole form as a guest, but pressing Create opens the sign-in window. That is what gives every result somewhere to live: History keeps each version next to its original, on any device you sign in on, instead of losing it the moment the tab closes.
What can I upload, and what comes back?
Accepted formats are the ones printed on the upload panel: JPG, PNG, WEBP — up to 10 MB. HEIC and HEIF files from an iPhone are not accepted — either set the camera to save as "Most Compatible", or share the photo once to yourself, which converts it to JPG on the way. There is no minimum resolution; a very small source simply gives the model less to work with.
Your file goes through at the quality you uploaded it at. What comes back is a newly rendered picture rather than your original with a filter applied, and Pro renders it at a higher resolution than Standard.
Frequently asked questions
How do I improve the quality of a photo online?
Upload the picture, optionally name what matters most in the wishes field, pick the Standard or the Pro mode, and press Create. Noise, soft detail, dull color, dark shadows and compression damage are handled in one pass, and the result appears in History beside the original.
What is the difference between enhancing and upscaling an image?
Enhancing improves the pixels you already have — noise, detail, light, color, compression damage — at roughly the same size. Upscaling increases the number of pixels so the picture can be printed or used large. If the photo looks bad at its current size, you are on the right page; if it only falls apart when you make it bigger, use the image upscaler.
Can it really turn a low quality photo into a high quality one?
Within limits, and the limits are the honest part. A picture with ordinary problems — grain, dull color, a dark room, chat-app compression — comes back genuinely better. A picture where the information is simply gone comes back looking good rather than being accurate, because the missing parts are drawn from what the model expects, not read back out of the file.
Will it make a picture clearer without making it look artificial?
On a reasonable source, yes — the default instruction is conservative about faces, skin and composition. If a result comes out too processed, run it again and ask for less: "gentle cleanup only, keep skin texture natural, do not change the colors." Compare both versions in History and keep the one you like.
My photo is out of focus. Is this the right tool?
Not quite. Mild softness improves along with everything else here, but a frame that genuinely missed focus or caught motion needs a different repair — that is unblur image.
Can it fix an old photo with scratches and creases?
It fixes the fading, the color cast, the grain and the flat contrast, which is most of what makes an old scan look old. It does not repair physical damage: creases, tears, tape marks and scratches are part of the picture and come back in the result.
Will the person still look like themselves?
On a decent source the likeness holds up well. The smaller or rougher the face in the frame, the more the model has to fill in, and fine features are the first thing to drift. Ask it to keep the facial features, age and expression, and compare with the original before you share the result.
Can it make blurry text or a license plate readable?
Sometimes text becomes legible again, but you cannot rely on it: a character that merely looks similar may be filled in. Never use a result as proof of what a plate, a serial number, a receipt or a document said. Check every character against the original.
Can I enhance a black-and-white photo?
Yes — contrast, grain and detail all improve, and the picture stays black and white. If you want it in color afterwards, that is a separate step with colorize photo.
What formats does it take, and can I upload from an iPhone?
JPG, PNG and WebP, up to 10 MB per file. HEIC and HEIF are not accepted, so either switch the camera to "Most Compatible" or share the photo to yourself first, which converts it to JPG.
Does it work on a phone?
Yes. The page opens in a mobile browser on iPhone and Android, with nothing to install and no access to your camera roll — you choose one photo at a time.
Who can see the photos I upload?
Results are stored in your own account History. There is a Private switch next to Create on paid plans: with it on, the generation stays out of the site's public gallery. Turn it on before you start a run rather than after.
Try other tools
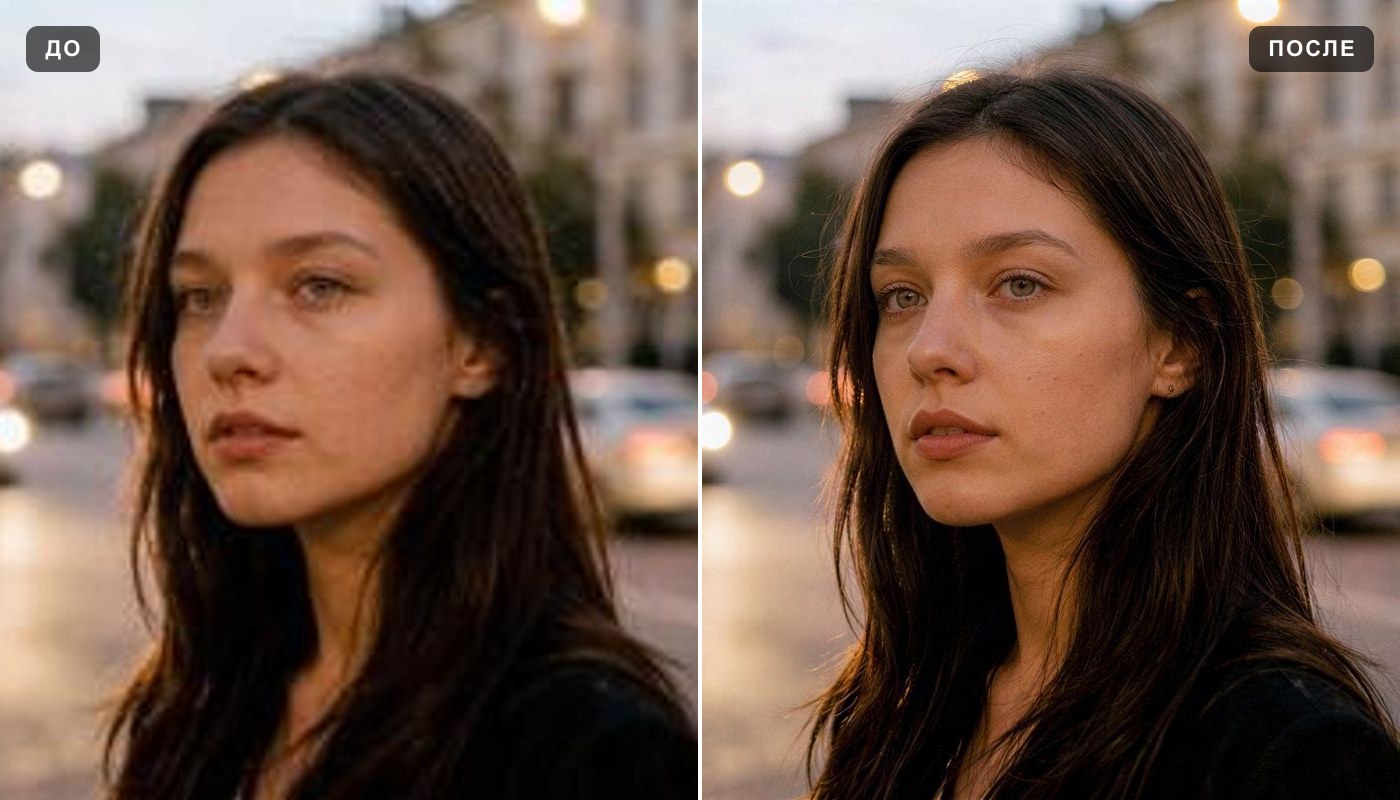 Image upscaler
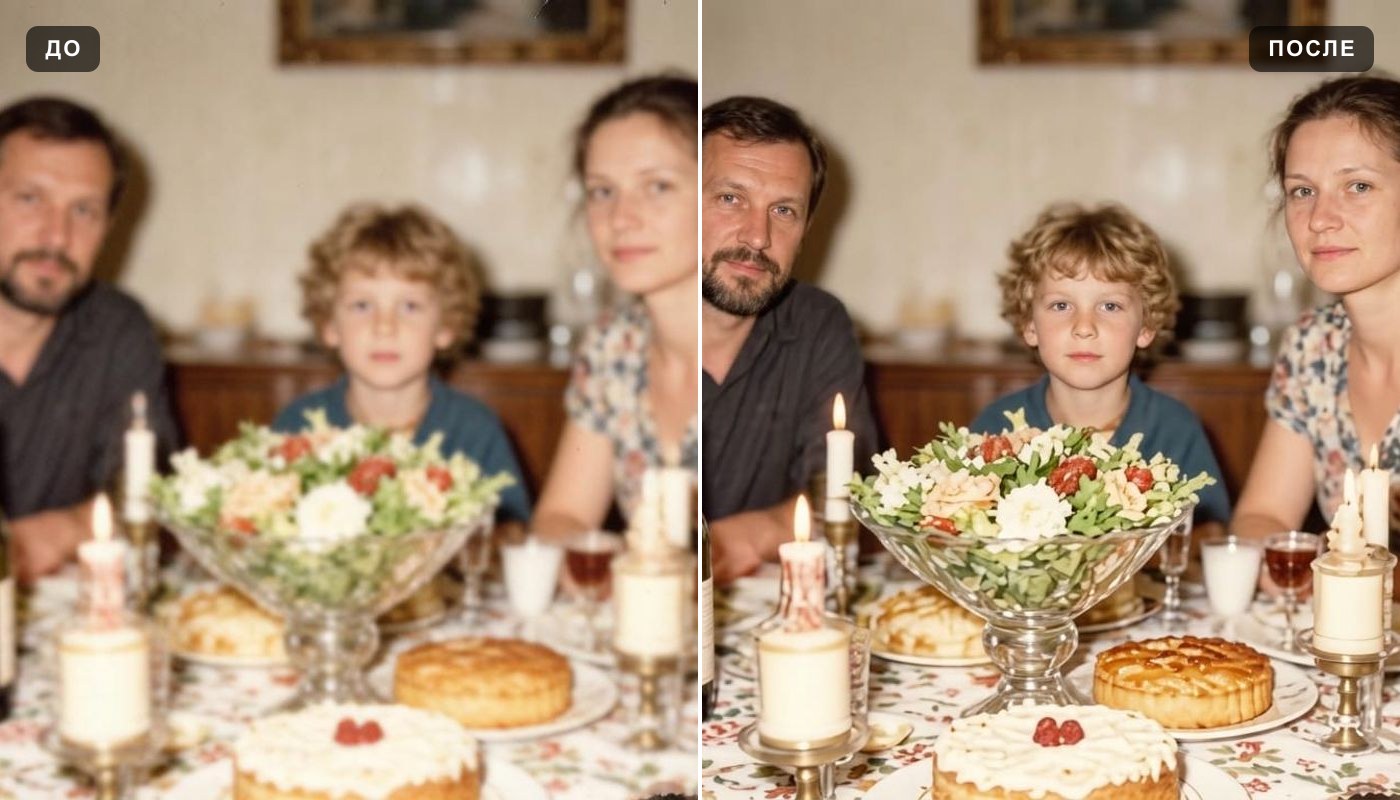 Unblur image
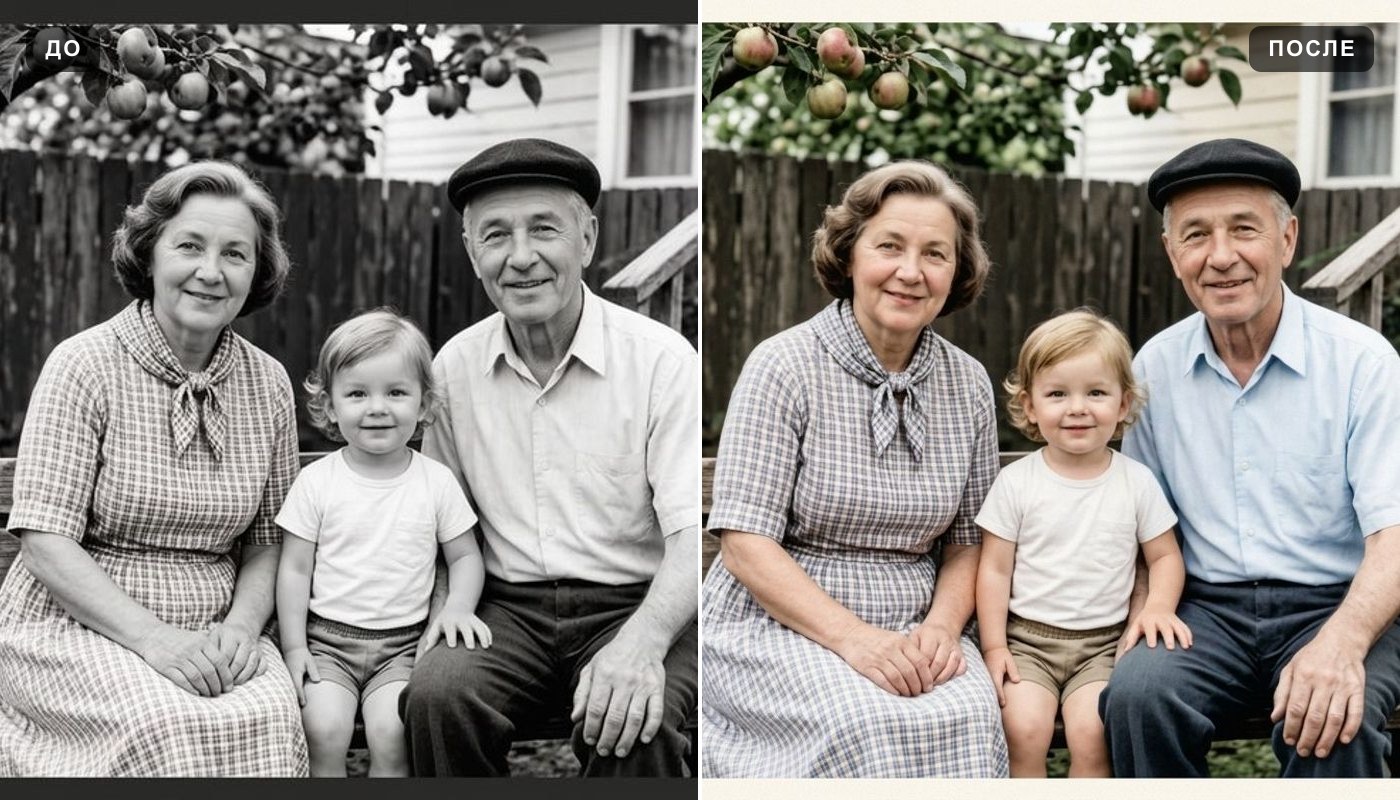 Colorize photo
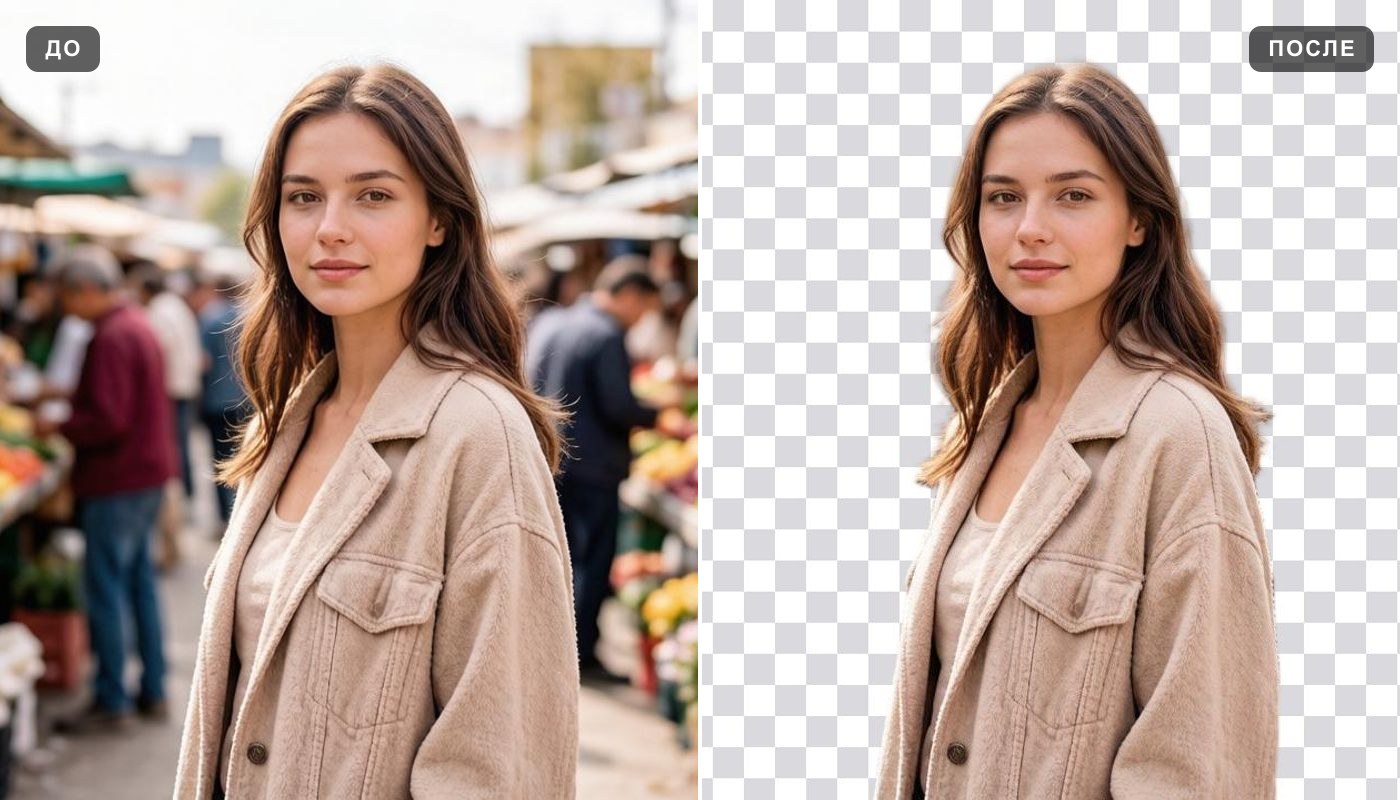 Background remover
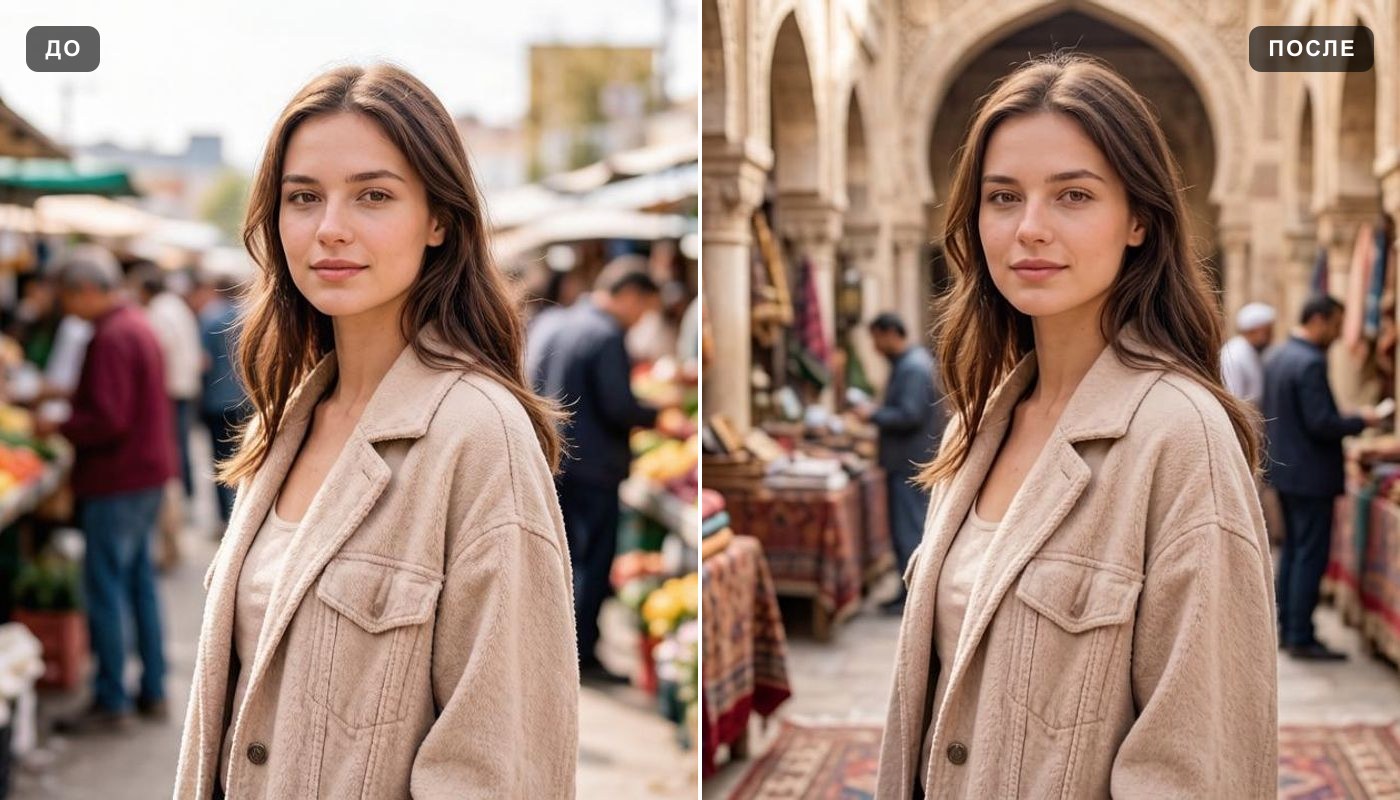 Change background
 Interior design
Virtual staging
Interior design
Virtual staging
 Oil painting
Everything else is in the tools catalog.