AI Image Upscaler: Increase Image Resolution Online
Upload a small, cropped or heavily compressed picture and the AI redraws it at a larger size: strands of hair, the weave of fabric, the seams on a product, the edges of objects. This is not pixel stretching, so the bigger frame does not turn to mush. Pick the multiplier under Quality — ×2 on Standard, ×4 on Pro — press Create, and the upscaled file lands in your History next to the original.
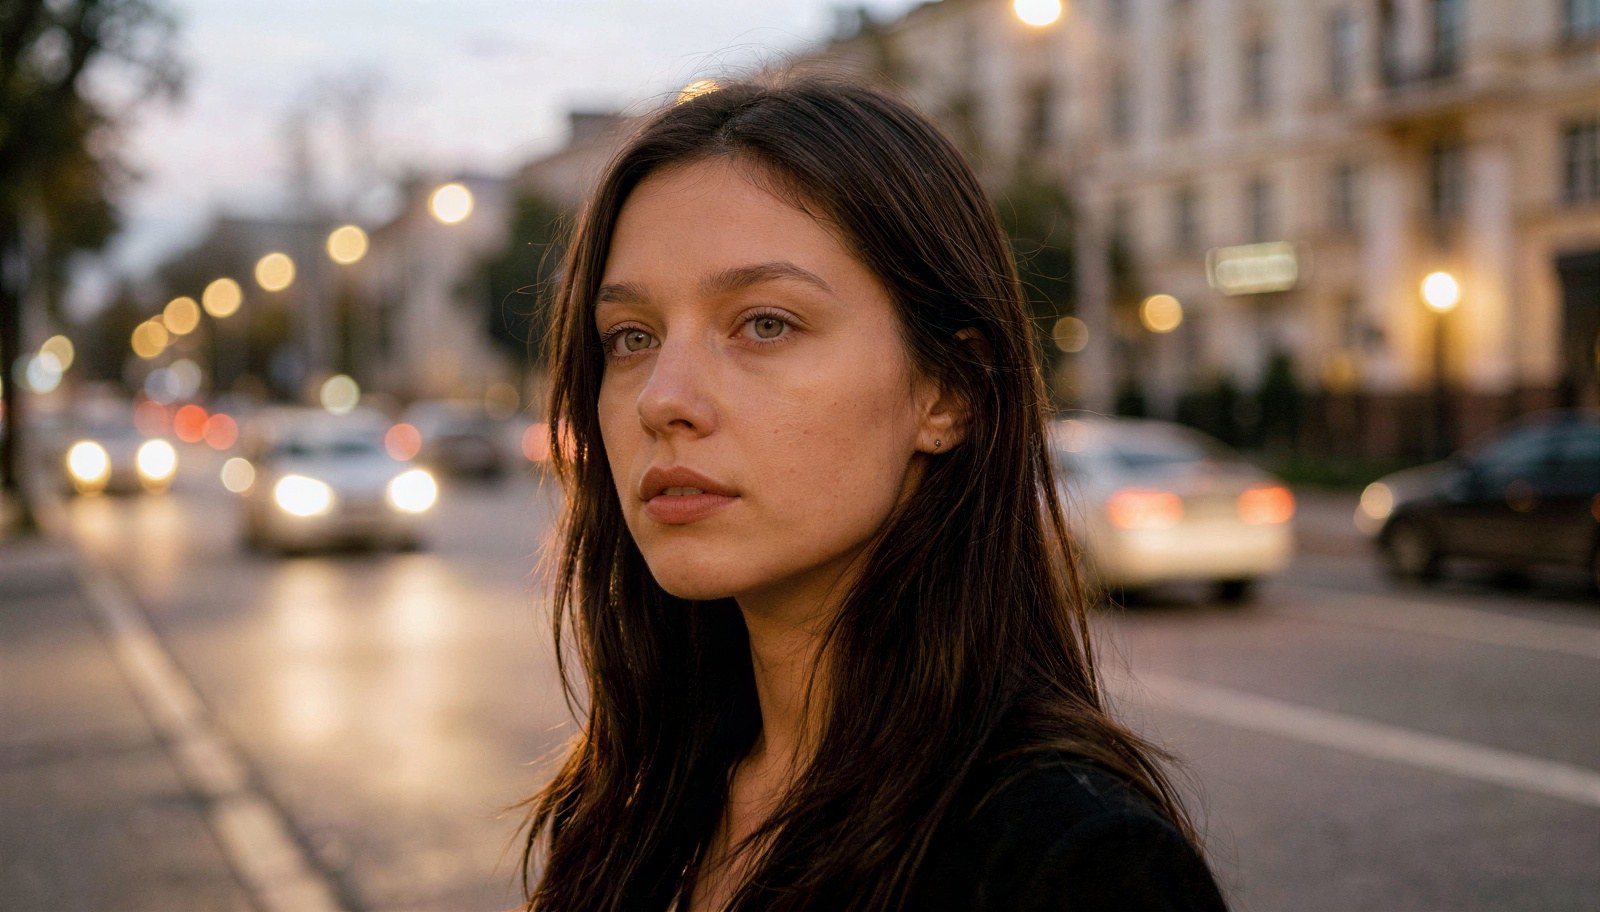
 BeforeAfter↔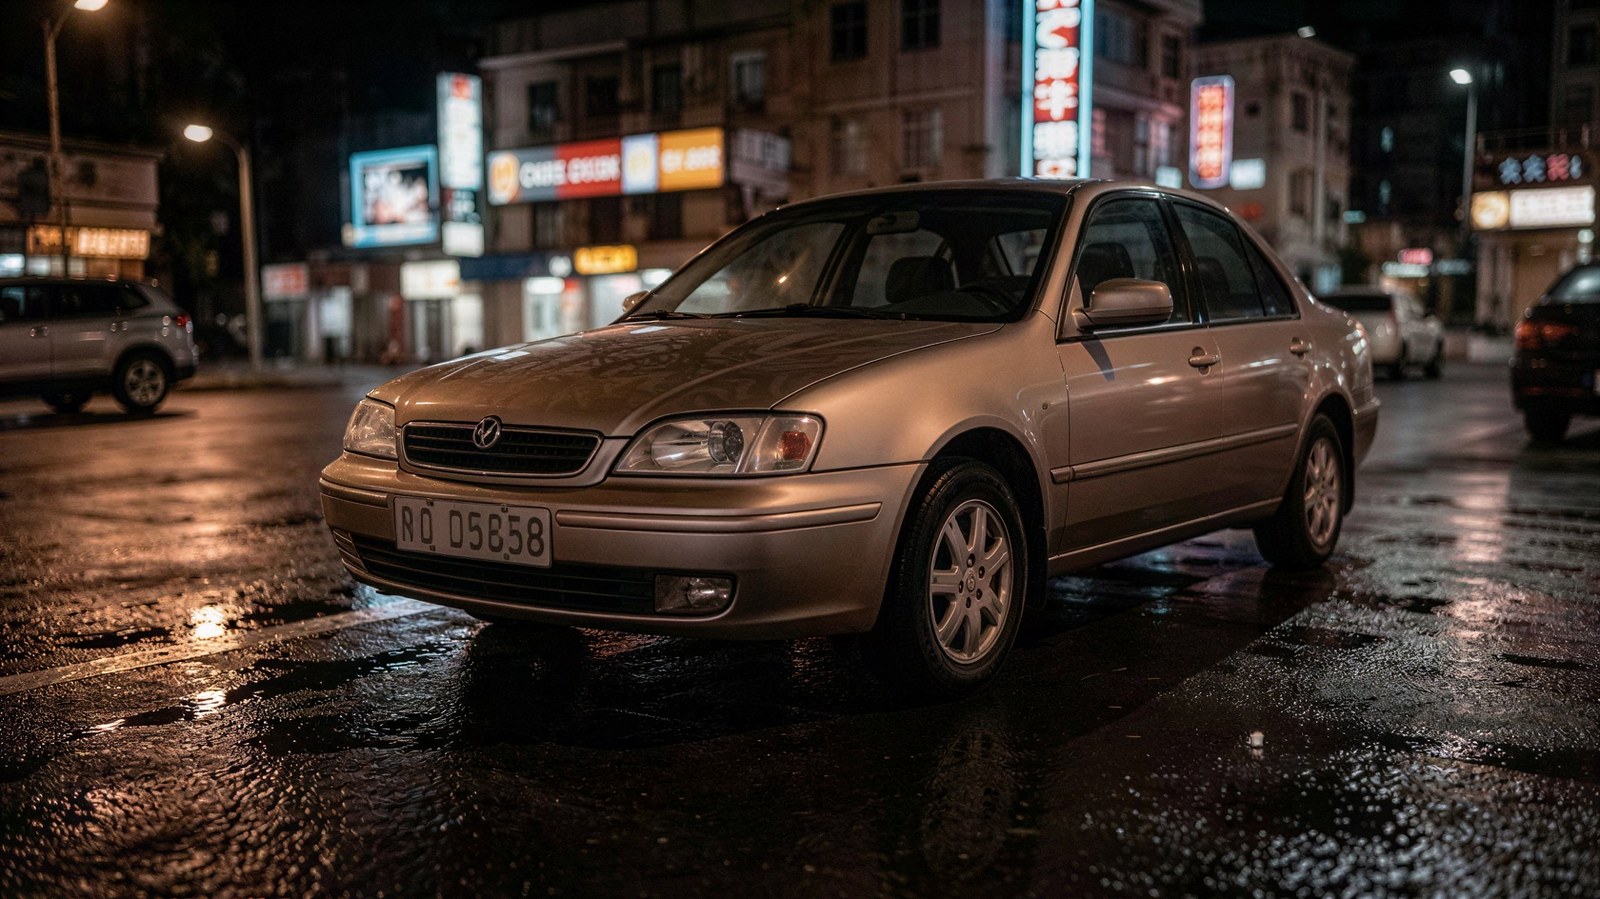
 BeforeAfter↔
What an AI image upscaler does
Image upscaling means giving a picture more pixels than it started with. A 480 px thumbnail becomes a frame you can actually look at full screen; a product shot that was fine on a phone becomes big enough for a listing gallery. The hard part is what goes into the new pixels, and that is where an AI upscaler and an ordinary resize part ways.
Drag the slider in any photo editor and the software interpolates: it averages the pixels that already exist and spreads them over a larger canvas. No new information enters the file, so edges go soft, small lettering turns to porridge, and the image reads as blown up.
An AI upscaler reads the picture first. It recognizes that this patch is hair and that one is denim, a brick wall, a printed label, a leaf — and then draws those things again at the larger size. The result looks photographed at a higher resolution instead of stretched, because the detail is redrawn rather than smeared.
How to upscale an image
It all runs on a web page, on a phone, a laptop or a tablet. There is nothing to install and no model settings to learn.
How to upscale an image without losing quality
This is the question everyone asks first, and the honest answer has two halves. Nothing is lost: the original file is untouched and stays in History beside the result. But an upscaled picture is not the same picture at a larger size — it is a redrawn version of it. The detail in the new pixels is inferred from what the model can see, not recovered from somewhere.
So the practical goal is upscaling that does not look like AI did it. Three things get you there:
What the multiplier actually means
Quality shows a factor, not a fixed frame size: ×2 on Standard, ×4 on Pro. The factor applies to the photo you upload, so the result depends on what you start with. A 480 px avatar at ×2 comes back at 960 px. A 2000 px product shot at ×4 comes back at 8000 px. There is no single number to promise, which is why the Quality selector spells the multiplier out instead of a resolution. Very large originals run into a ceiling rather than multiplying forever — the selector shows what you will actually get once the photo is loaded.
Pick the factor by what the picture is for, not by what sounds bigger. ×2 is usually enough for a screen, a listing photo or a social post. ×4 makes sense when the frame is genuinely small, when you will crop into it afterwards, or when it is going to print — and it asks more of the source, because there is more to invent per original pixel.
Which images are worth upscaling
If the picture is already large and just looks soft, size is not your problem — try unblur image instead. If the issue is light, color or noise rather than pixel count, photo enhancer is the right door.
Free image upscaling and where the limits are
You can try it for free: a new account gets two free generations, and this tool is one of the ones they work on. They are for the lifetime of the account, not per day and not per month — enough to judge the quality before you spend anything. The free runs apply to Standard; Pro runs on a paid plan. Conditions are on the pricing page.
Free runs carry a light ai.neiroset.com signature in the bottom-right corner. Any purchase removes it permanently, including images you already generated, and nothing you pay for carries it in the first place. Downloading is open on this tool from the start.
There is also a pace limit of six runs per minute per account, which no ordinary session ever reaches.
Do I need an account
Yes. You can fill in the whole form as a guest, but pressing Create opens the sign-in window — results are saved to your own History, which is the only way to come back to a file later or compare it against the original.
What formats can I upscale
JPG, PNG and WebP, up to 10 MB per file, exactly as the uploader says: JPG, PNG, WEBP — up to 10 MB. HEIC and HEIF from an iPhone are not accepted — export or share the shot as JPEG first, which iOS offers by default when you send a photo. There is no minimum resolution; very small sources simply have less for the model to work with.
Where an upscaled image helps
What to keep in mind
Frequently asked questions
How do I upscale an image online?
Upload the picture, pick the multiplier under Quality — ×2 on Standard or ×4 on Pro — and press Create. The AI redraws the frame at the larger size and the result appears in History next to the original.
How is AI upscaling better than resizing in an editor?
A manual resize has nothing to add. It interpolates between pixels that already exist, so the file gets bigger while the amount of real information stays the same — which is why the edges soften. An AI upscaler recognizes what is in the frame and draws that content again at the new size, so hair reads as hair and fabric as fabric. The trade-off is honest: the new detail is plausible, not documentary.
How large will my result be?
It is a multiple, not a fixed frame: ×2 on Standard and ×4 on Pro, applied to the photo you upload. A 600 px scan at ×2 comes back at 1200 px; the same scan at ×4 comes back at 2400 px. The Quality selector shows the factor before you start, so you can work the final size out from your own file.
Does upscaling increase file size?
Yes — more pixels means a heavier file, and the jump at ×4 is steep. That is the point: the result is meant to be a full-size picture, not a preview of one. If you are uploading somewhere with a weight limit, compress the finished file at the very end rather than before you upscale, so the model works from the best copy you have.
Can I upscale artwork, anime or illustrations?
Yes, and drawn work often holds up better than photographs: clean linework and flat color give the model an unambiguous structure to rebuild. Check the linework and the flat areas at full size afterwards, since a redraw shows there first — otherwise the model may read empty areas as an invitation.
Will faces still look like the same person?
On a reasonable source, yes. On a face that is only a couple of hundred pixels wide there is genuinely not enough there, and the model fills the gap — features can shift and skin can come out too smooth. Starting from a bigger face helps far more than anything you can set on this page.
Will the result be good enough to print?
Often, yes. Work out how many pixels the printer wants and compare it against what your source gives you at the multiplier you picked — a 1500 px photo at ×4 lands at 6000 px, which covers most common print sizes. Judge the result at full size before you send it: print is far less forgiving of invented detail than a screen.
Can I upscale a blurry photo?
You can, but upscaling a blurry frame mostly gives you a larger blurry frame with invented detail on top. Deal with the softness first with unblur image, then come back here for size.
What is the difference from the photo enhancer?
This page is about pixel count and detail at a larger size. Light, color, noise and general tidiness of a picture that is already big enough are a different job — that is photo enhancer.
Can I get a transparent background while I am here?
Not from this tool — it returns the same frame at a larger size. Cutouts live on background remover, and swapping the scene for a new one on change background.
Who can see the images I upload?
Results are stored in your own account History. There is a Private switch next to the Create button on paid plans: with it on, the generation stays out of the site's public gallery. Turn it on before you start a run, not after.
Does it work on a phone?
Yes. The page runs in a mobile browser on iOS and Android — there is no app to install. Send iPhone shots as JPEG rather than HEIC.
Try other tools
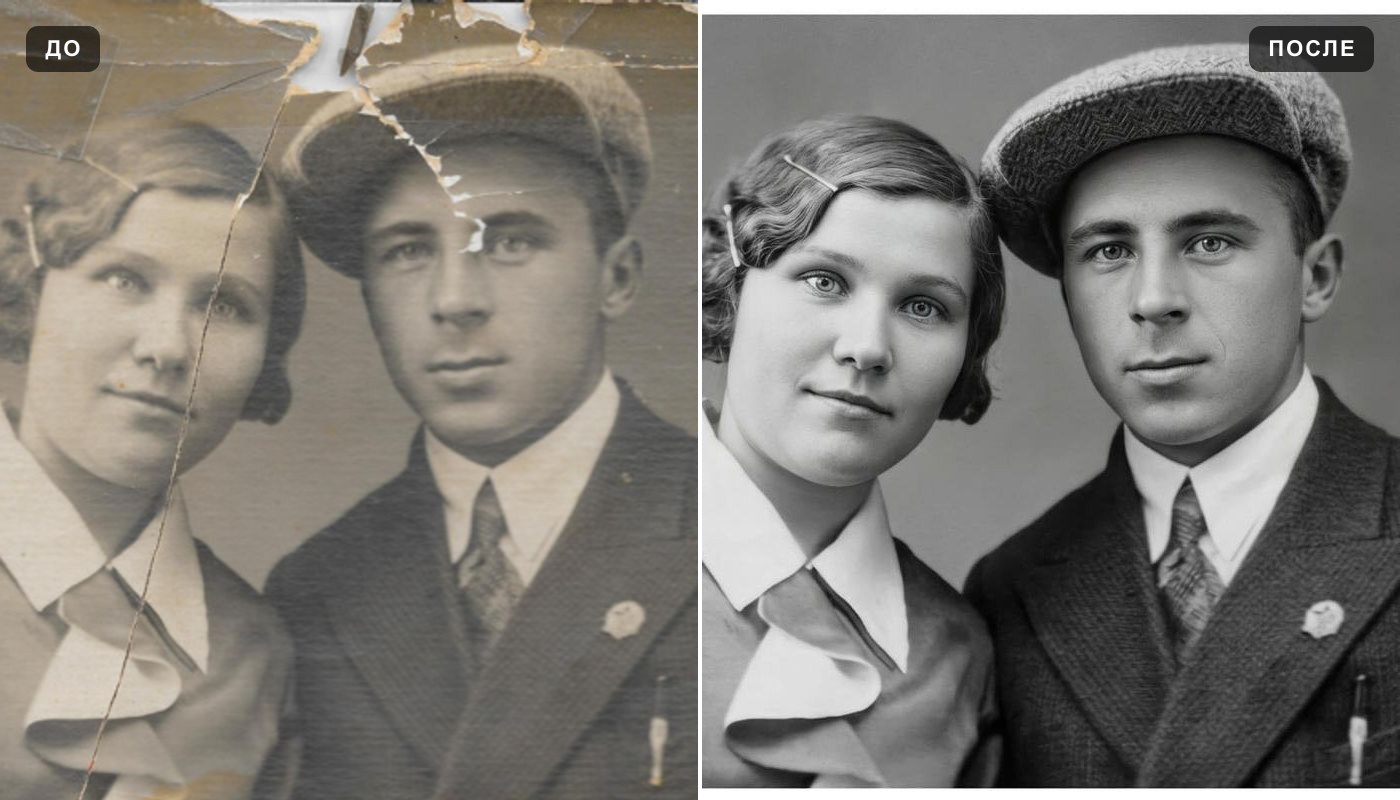 Photo enhancer
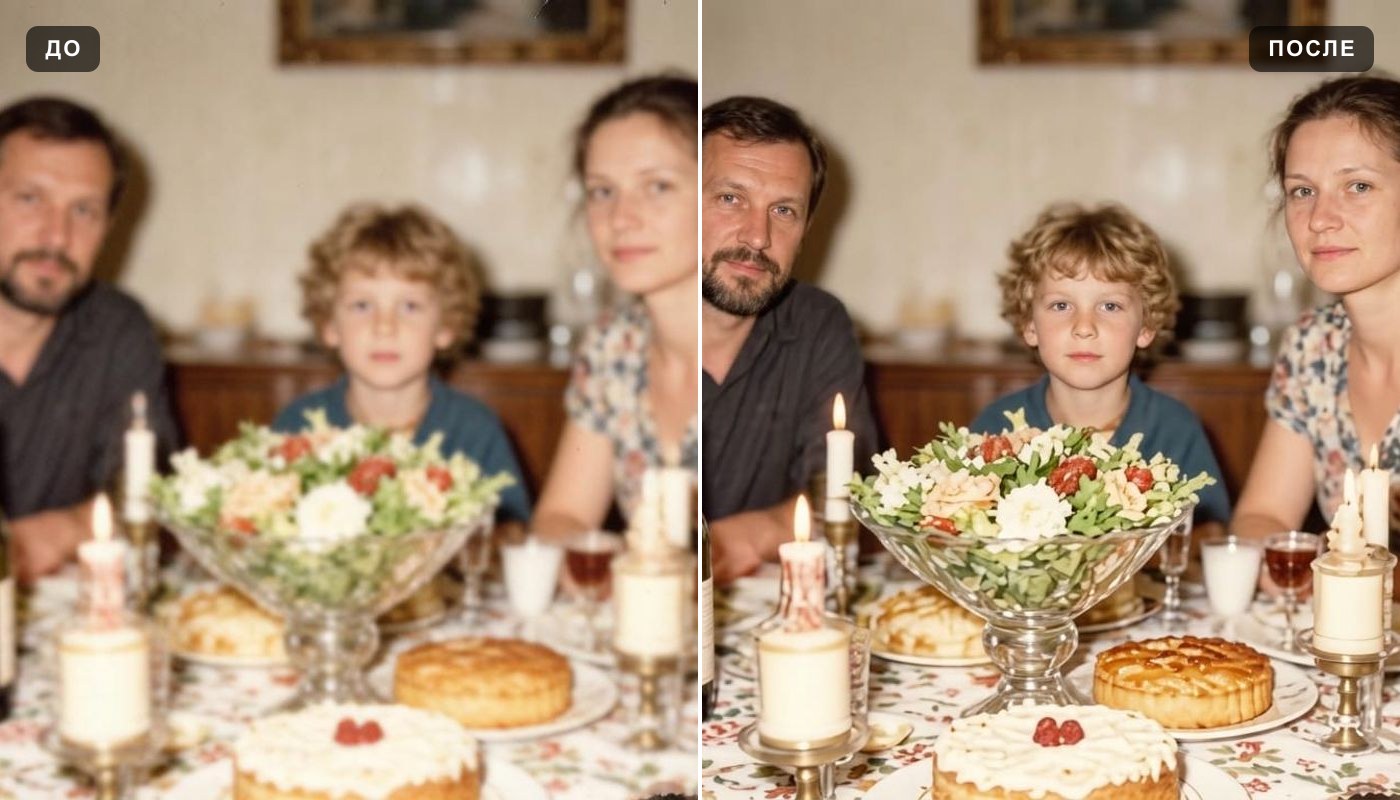 Unblur image
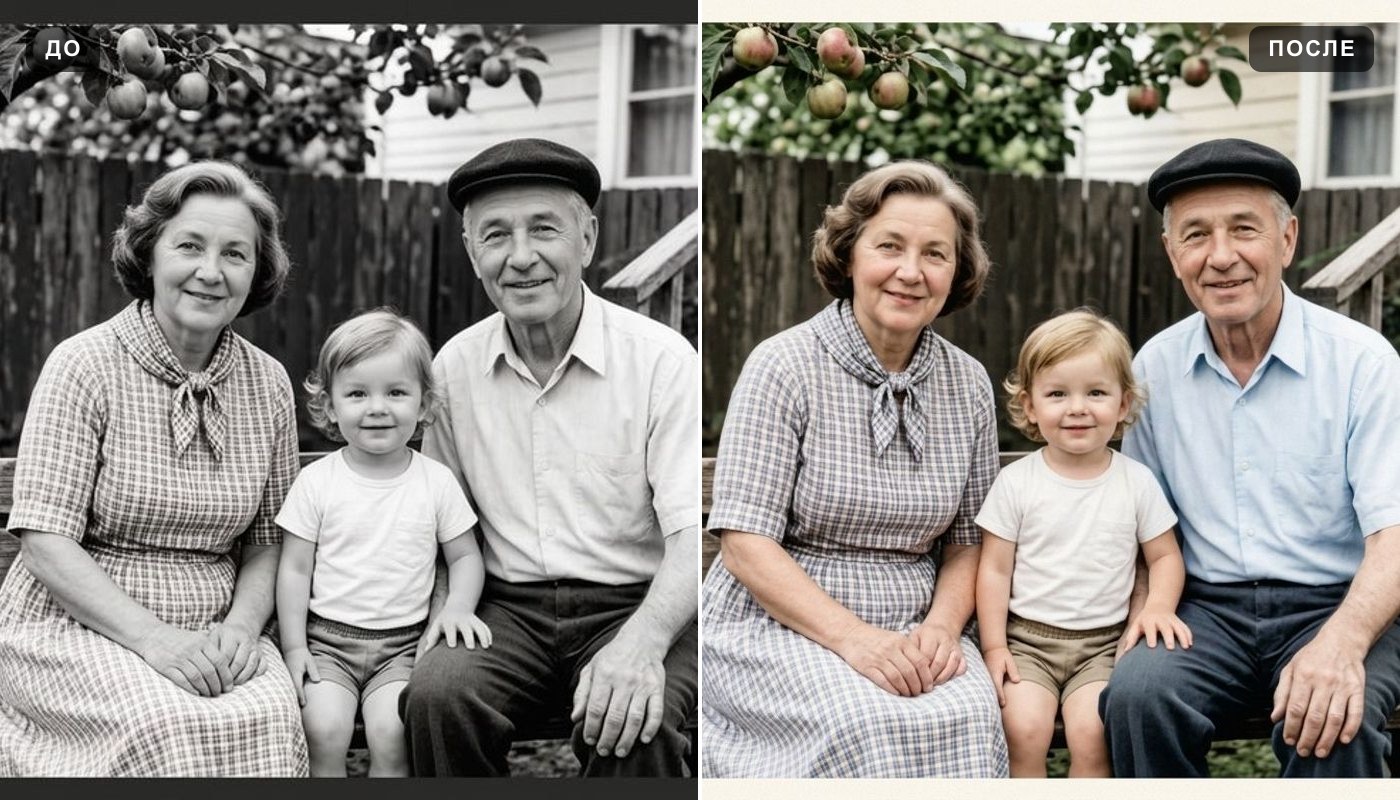 Colorize photo
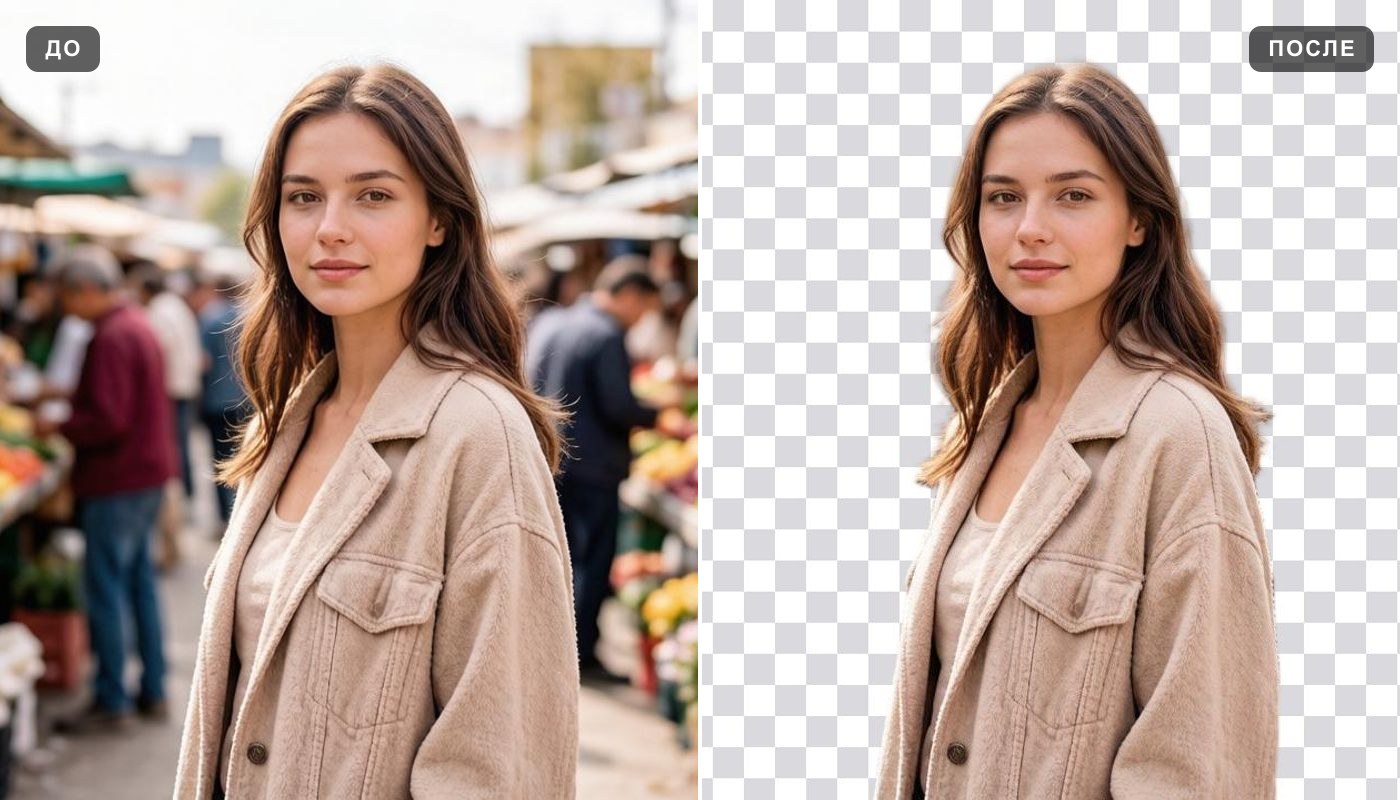 Remove background
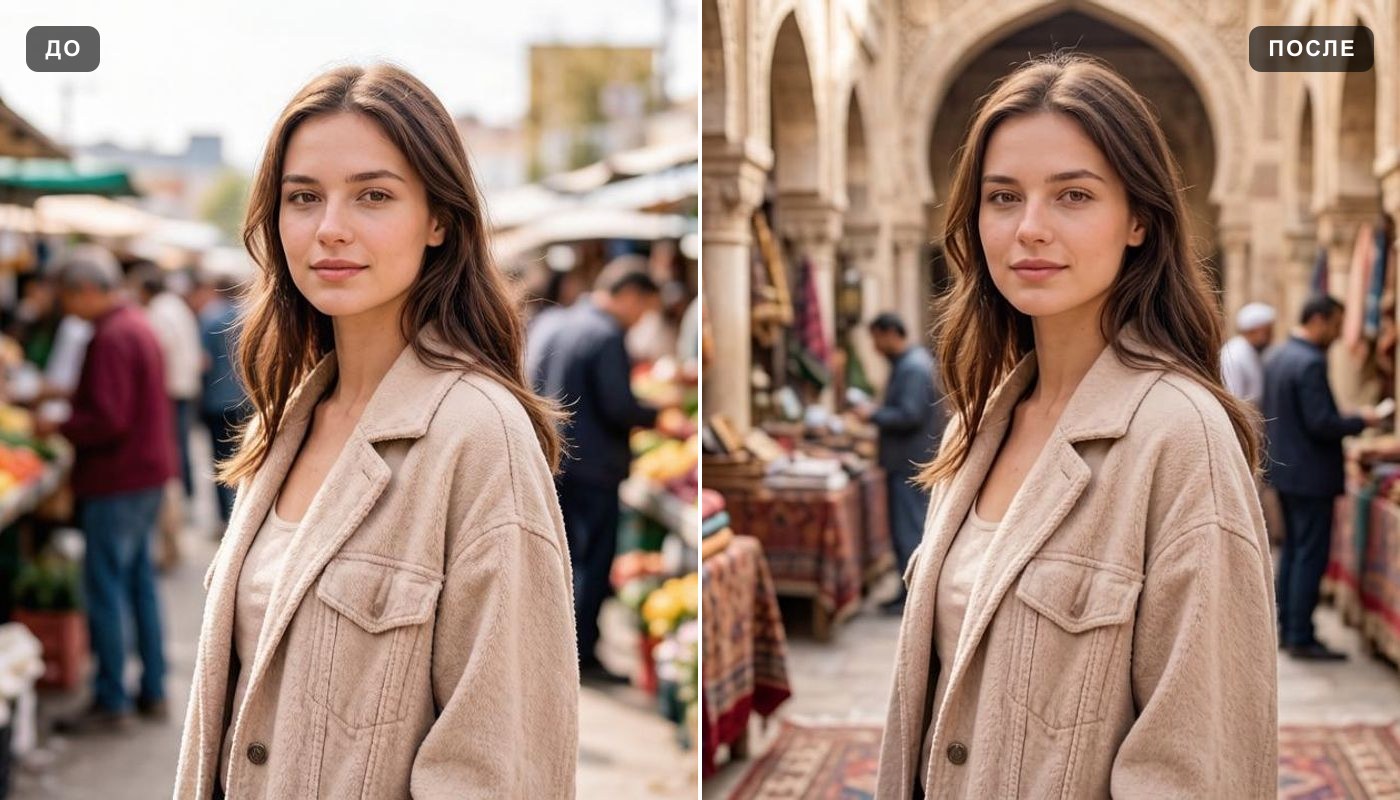 Change background
 Anime style
 Oil painting
Virtual staging
Oil painting
Virtual staging
Everything else is in the tools catalog.