Unblur Image Online
Upload a blurry photo and AI rebuilds the detail it can still read — the edge of a face, the weave of fabric, the shape of a letter — so a soft or smudged shot comes back looking sharp. Composition, colors and lighting stay as they were. It works best while the subject is still recognizable: where the blur has wiped the structure out completely, the result will look plausible rather than exact.
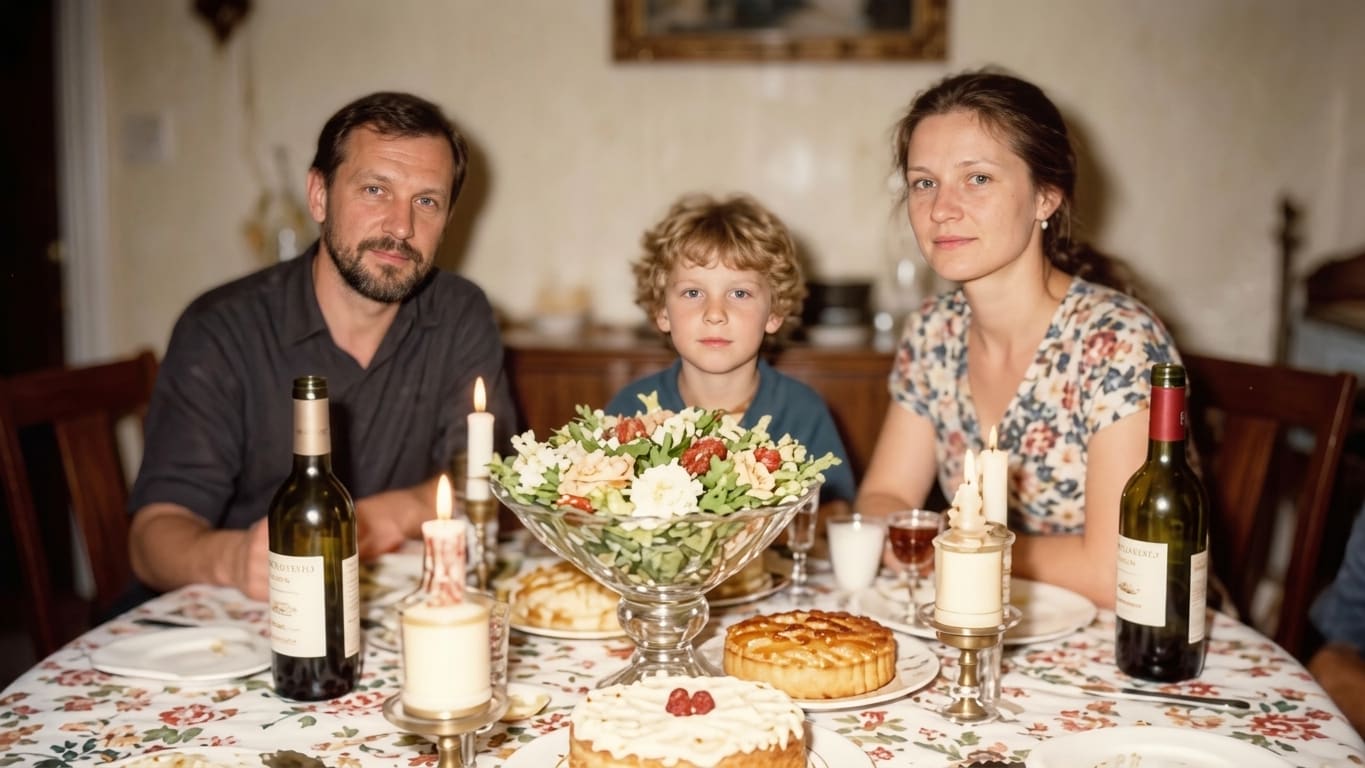
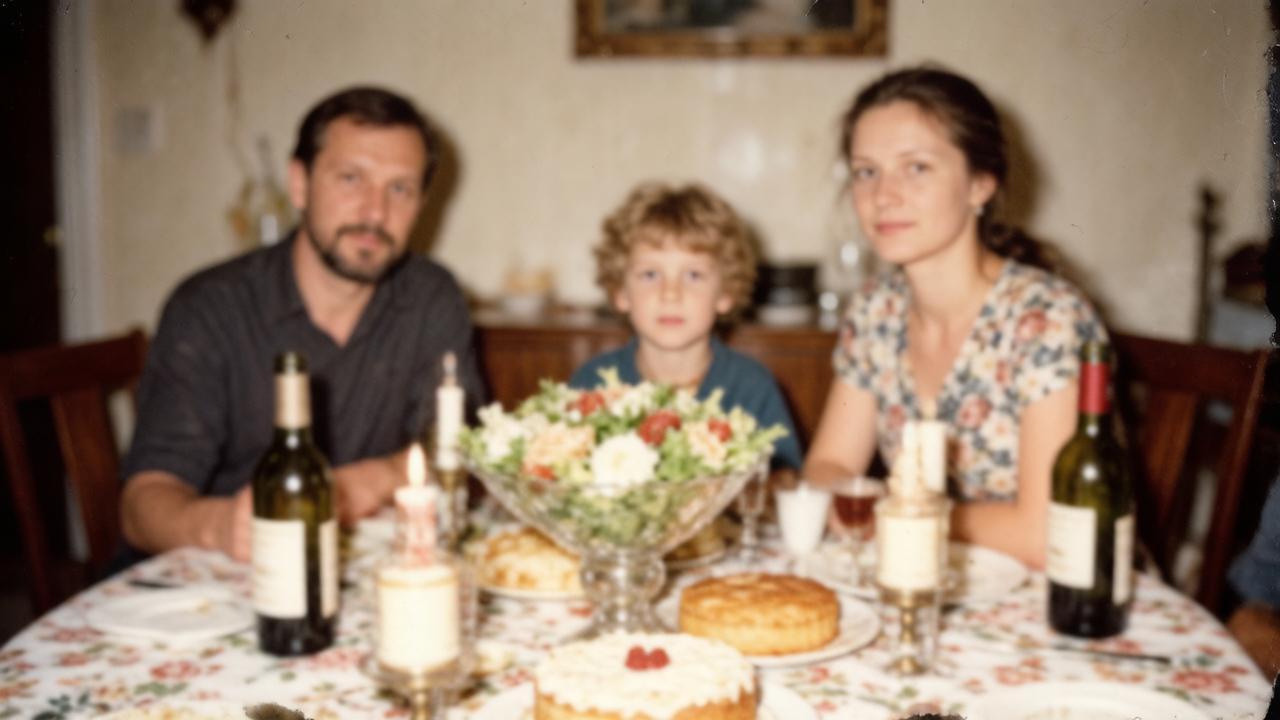 BeforeAfter↔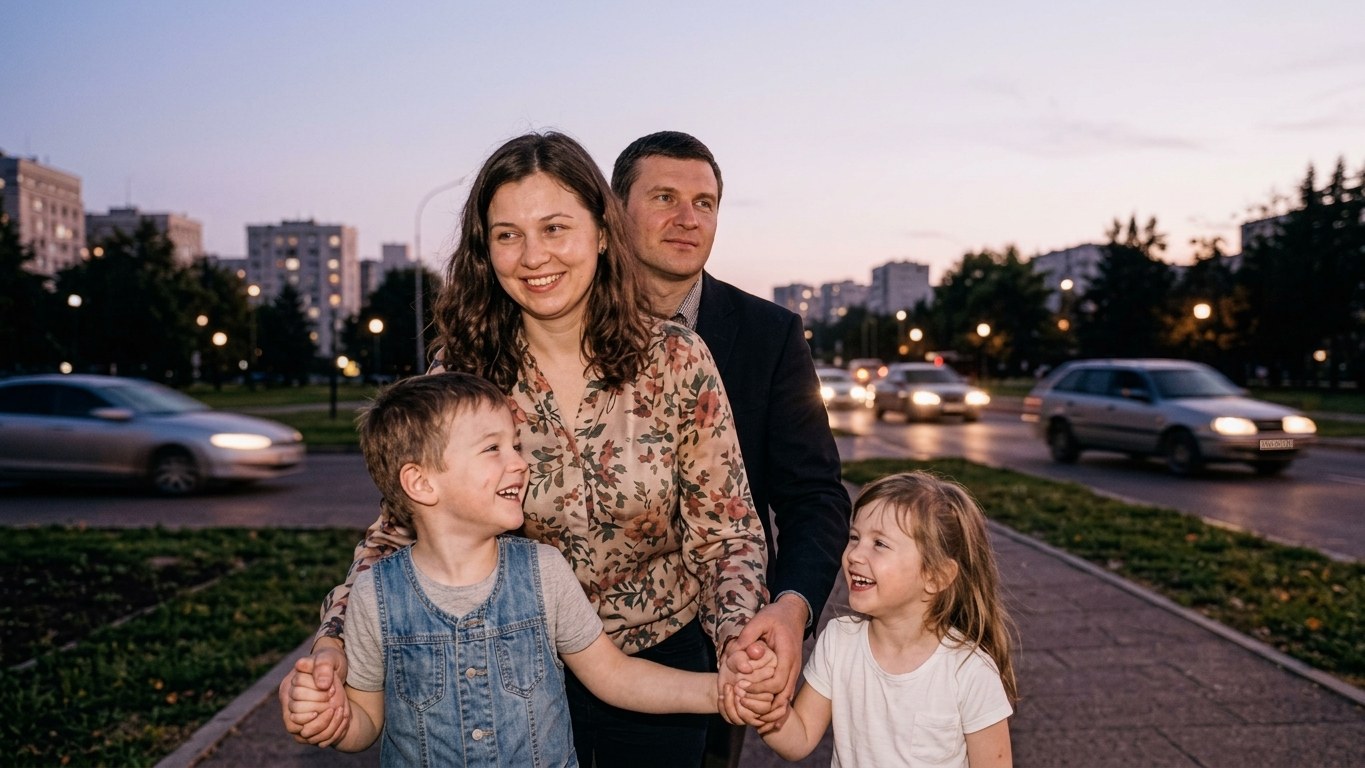
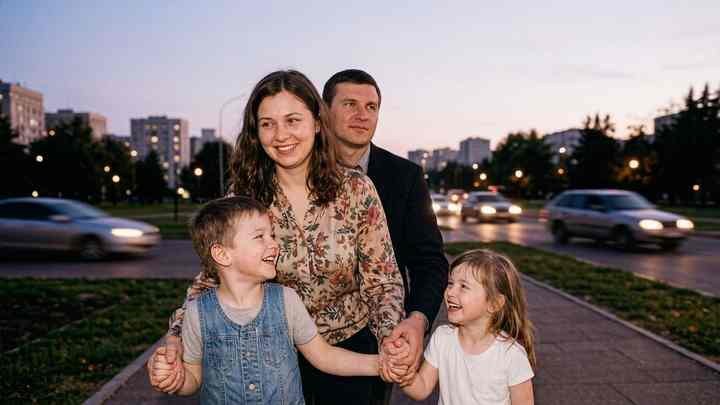 BeforeAfter↔
Can you actually unblur a picture?
Sometimes — and the honest answer starts with what blur actually is. A blurry shot is not a sharp shot hiding under a filter. Blur smears each point of detail across its neighbors, and part of that detail is simply gone. Nothing, and no service, can read back information that never made it onto the sensor.
What AI can do is work with what survived. It reads the shapes that are still legible — the line of an eyelid, the edge of a jacket, the curve of a letter — and rebuilds the edges around them. That is enough to turn most everyday blurry photos into clean, sharp-looking ones.
So the practical rule for this page: if the subject is still recognizable and the outlines are at least suggested, you will usually get a good result. If the frame has collapsed into streaks with no structure left, the tool will still hand you something sharp — but it will be plausible rather than faithful to what was really there.
Can AI remove blur from a photo?
Yes, within the limit above — and it works differently from the sharpness slider you already know. This kind of processing is also called deblurring: instead of boosting the contrast that is already in the file, the model reconstructs the missing edge itself, because it recognizes what it is looking at. It knows that this smear used to be an eyelash, that one a stitch in denim, that one the lettering on a box, and it redraws those structures.
Light, color and composition are left alone. The frame is not recropped, nobody is added or removed, and the mood of the shot stays where it was.
Unblur vs. sharpen: not the same thing
A classic sharpen filter raises contrast along borders that are already in the image. On a truly blurry photo there is no border left to raise, so you get noise, halos and a gritty look instead of detail. Reconstruction adds detail back. That is why an editor slider fails on the shots this tool is built for — and why, on an already sharp photo, a sharpen slider is often the gentler choice.
What makes photos come out blurry
Knowing the cause helps you guess how much is recoverable — the more the frame moved, the less is left to work with.
What kinds of blur can be fixed
The most common case and the most variable one. Mild to moderate streaking — a hand that moved, a kid mid-step — usually comes back well, because the shapes underneath are still readable. Heavy streaking is a different story; see the limits below.
Often the best-case scenario. A soft, evenly defocused photo still holds the structure of the scene, just spread out, so eyes, hair, fabric and product edges come back convincingly.
The blocky, waxy look a photo picks up after being messaged, re-saved or downloaded from a feed. This is not really blur at all, but it reads the same way, and it cleans up reliably.
The small double-edged wobble from a handheld shot in dim light. Short shake is largely recoverable; a long exposure where everything doubled is not.
High-ISO speckle that buries fine detail. Cleaning it up makes a photo read as sharper, though very heavy noise can take small textures with it.
Film prints and flatbed scans that were never crisp. Faces, hair and clothing edges firm up nicely — but physical damage is a separate matter, covered further down.
If the photo is not blurry at all, only small, sharpness is the wrong lever — use the image upscaler instead. And if the frame has several problems at once (dark, flat, faded and soft), the photo enhancer handles light, color and detail together.
How to unblur an image in three steps
Nothing to set up and nothing to learn. If the first pass overshoots, run it again with a calmer instruction in the wishes field — for example, "keep skin texture natural, do not smooth the face".
Severe motion blur: where the honest limit sits
This is the part most tools skip, so here it is plainly: the tool does not restore information that is not in the frame. It rebuilds what is implied by what remains. When a lot remains, that is indistinguishable from a real fix. When very little remains, it is invention with a sharp finish.
A heavily smeared shot is still worth one run — sometimes there is more structure left than your eye can see. Just look at the result with the right expectation.
Old family photos and film scans
Shoeboxes of prints, yearbook pages, scans from a flatbed at home — these were often soft to begin with. Slow film, simple lenses, a shaky hand on a holiday evening. That softness is well suited to reconstruction: faces firm up, hair and clothing edges come back, and a scan that looked flat starts reading as a photograph again.
A reasonable instruction in the wishes field for this case: "restore sharpness to a soft vintage photo, bring back detail in faces and clothing, keep the film grain and the look of the era."
One boundary worth stating: this tool does not repair physical damage. Creases, tears, scratches, tape marks, water stains and missing corners are not what it fixes — it works on sharpness. For a black-and-white print you would also like in color, colorize photo is the companion step; for prints that are dark, faded or yellowed as well as soft, try the photo enhancer.
Faces and portraits
Portraits are where the result is most rewarding and most worth checking. On a mildly soft or slightly defocused face, eyes, lashes, brows and hairline come back convincingly, and the person still looks like themselves — a rescued candid, a group shot from a wedding, a LinkedIn headshot that came out just a touch soft.
The further the blur goes, the more the model is guessing at features it can no longer see. Fine traits shift first: the exact shape of an eye, the line of a mouth, the texture of skin. On a badly smeared face the person can end up looking like a close relative rather than themselves.
Two habits help. Name what to protect — "keep the facial features, age and expression, keep skin texture natural" — and always compare against the original before you share the result.
Blurry text, signs and documents
Sometimes text becomes readable again: a large sign, a title on a spine, a headline on a page. Often enough it does not, and this is the one case where a confident result can mislead you — the model may fill in a character that merely looks right.
So: fine for a sign in a vacation photo, never for a license plate, a serial number, a receipt, a prescription or an ID. Check every character against the original, and do not use the output where accuracy is what counts.
Screenshots and photos that came through a chat app
Everyone has this one: a picture that looked fine on someone else's phone and arrived as a mushy, blocky mess. Messaging apps, group threads and social feeds re-compress images on the way, and each repost costs a little more detail. Screenshots of screenshots do the same thing.
This is one of the easiest cases here, because the underlying structure survived — it is buried under compression, not erased by motion. Edges come back clean, faces stop looking waxy, and the picture is usable again. Small background lettering may still stay unreadable; there was nothing left of it to rebuild.
Where people use it
Does unblurring reduce quality?
Not in the way people usually fear. Nothing is thrown away on purpose, and the frame is not recropped. What comes back is a newly rendered picture rather than your file with a filter on top, and Pro renders it at a higher resolution than Standard.
What this tool changes is how sharp the picture is, not how big it is. If what you actually need is more pixels — a print, a big listing image, a poster — run it through the image upscaler afterwards.
Runs in your browser: devices, formats and file size
There is no app to install. The page opens in a browser on an iPhone, an Android phone, a laptop or a tablet, and nobody asks for access to your camera roll — you pick one photo yourself. Results stay in your account and open from any device you sign in on.
Accepted formats are the ones shown on the upload panel: JPG, PNG, WEBP — up to 10 MB. There is no limit on the resolution of what you upload.
One iPhone-specific note: HEIC and HEIF files are not accepted. Either set the camera to save as "Most Compatible", or share the photo once to yourself, which converts it to JPG along the way.
Unblur images for free: what you get and the limits
You can try it for free. A new account gets two free generations in total — not two a day and not two a month — and this tool is one of the ones they cover. Free runs use Standard quality; Pro runs are part of a paid plan. After that, work continues on a plan or a pack, and the terms are on the pricing page.
Two things to know up front, because nobody likes finding them out later. Free runs carry a light ai.neiroset.com signature in the bottom-right corner — any purchase removes it permanently, including from images you already generated. And on this tool the Download button opens after a purchase; before that you can still generate, view and compare your results in History.
There is also a pace limit of six runs a minute per account, which normal use never reaches.
Do I need an account?
Yes. You can fill in the whole form as a guest, but pressing Create opens the sign-in window — without an account there is nowhere to keep your results, and they would be lost the moment the tab closed. Signing in is what puts every version in History next to its original.
Instructions you can copy
Paste one of these into the wishes field and adjust it to your photo.
Portrait out of focus
Restore sharpness to the face: eyes, lashes, brows, hair and the edges of clothing. Keep the facial features, age and expression unchanged, and keep skin texture natural rather than smoothed.
Motion blur
Remove the motion blur and rebuild the outlines of people and objects. Keep the poses, the background and the composition of the frame, and do not add anything that is not there.
A sign or a page of text
Make the text in the photo sharp and legible without changing the letters or numbers themselves. If a character cannot be read, leave it as it is rather than guessing.
Product photo
Restore sharpness to the product: outlines, material, stitching and the lettering on the packaging. Keep the shape and the color of the item exactly, and leave the background unchanged.
Photo from a chat app
Remove compression artifacts and the mushy look, and bring small details back into focus. Leave the colors, the lighting and the composition as they are.
Old or scanned photo
Restore sharpness to a soft vintage photo and bring back detail in faces and clothing. Keep the film grain and the overall look of the era.
Frequently asked questions
How do I unblur an image online?
Upload the photo, optionally say what matters most in the wishes field, and press Create. The sharp version appears in History beside the original so you can compare them.
Can AI really fix a blurry photo, or is that marketing?
Both, depending on the photo. Mild and moderate blur is genuinely repairable, because enough structure is still in the file. Severe blur is not repaired — it is reimagined, and the result looks sharp without being faithful. That distinction is the whole game.
What is the difference between this and a sharpen slider?
A sharpen slider boosts the contrast of edges that already exist, which mostly amplifies noise on a blurry photo. This rebuilds the edge itself from what the model recognizes in the scene.
Will it make my photo bigger too?
Not meaningfully — Pro comes back a little larger than Standard, but that is not what this tool is for. This tool works on sharpness. For more pixels, use the image upscaler.
My photo is also dark, flat and noisy. What then?
Then sharpness alone will not be enough. The photo enhancer works on light, color, noise and detail in one pass.
Can it read a blurry license plate or a document?
Sometimes text becomes readable, but you cannot rely on it: a character that merely looks similar may be filled in. For plates, serial numbers, receipts and IDs, always check against the original and never use the result as proof of anything.
Will the person still look like themselves?
On mild blur, yes. As the blur gets worse, fine features shift and a face can end up looking like a relative rather than the person. Ask it to keep the features and expression, and compare with the original before sharing.
Can it repair creases and scratches on an old print?
No. Physical damage is not what this tool handles — it works on sharpness and detail, not on restoring a torn or scratched surface.
Does it work on a phone?
Yes. The page opens in a mobile browser on iPhone and Android, and there is no app to install.
Who can see my photos?
On the higher paid plans a Private switch keeps a run out of the public feed — with it on, only you. Without it, a result may appear in the site gallery. It sits next to Create and has to be on before you start; on a free account it opens an upgrade window instead.
Try other tools
 Photo enhancer
 Image upscaler
 Colorize photo
 Background remover
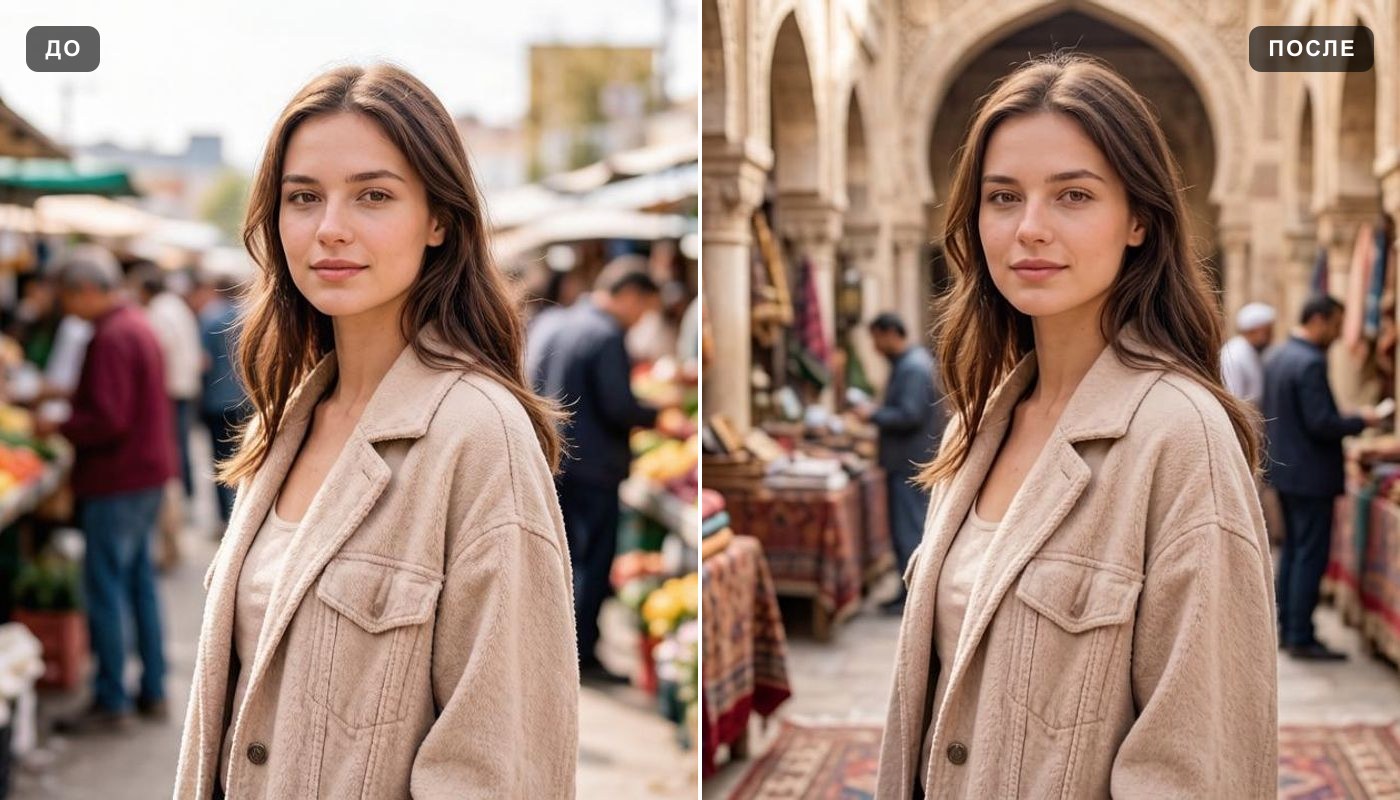 Change background
 Interior design
 Anime style
 Oil painting