AI Background Changer for Photos
Upload a photo and say what should be behind the subject: a ready background from the row of circles — White, Black, Studio gray, Office, City, Nature or Blurred — a picture of your own, or a scene you describe in the wishes field. The AI builds the new surroundings and fits the whole frame to them: the direction of the light, the shadows, the color temperature and the edges around hair and shoulders, so the person or the product does not look pasted on top of somebody else's photo. Press Create and every version lands in History next to the original, which is how you try one shot against several backgrounds and pick the one that reads as real.
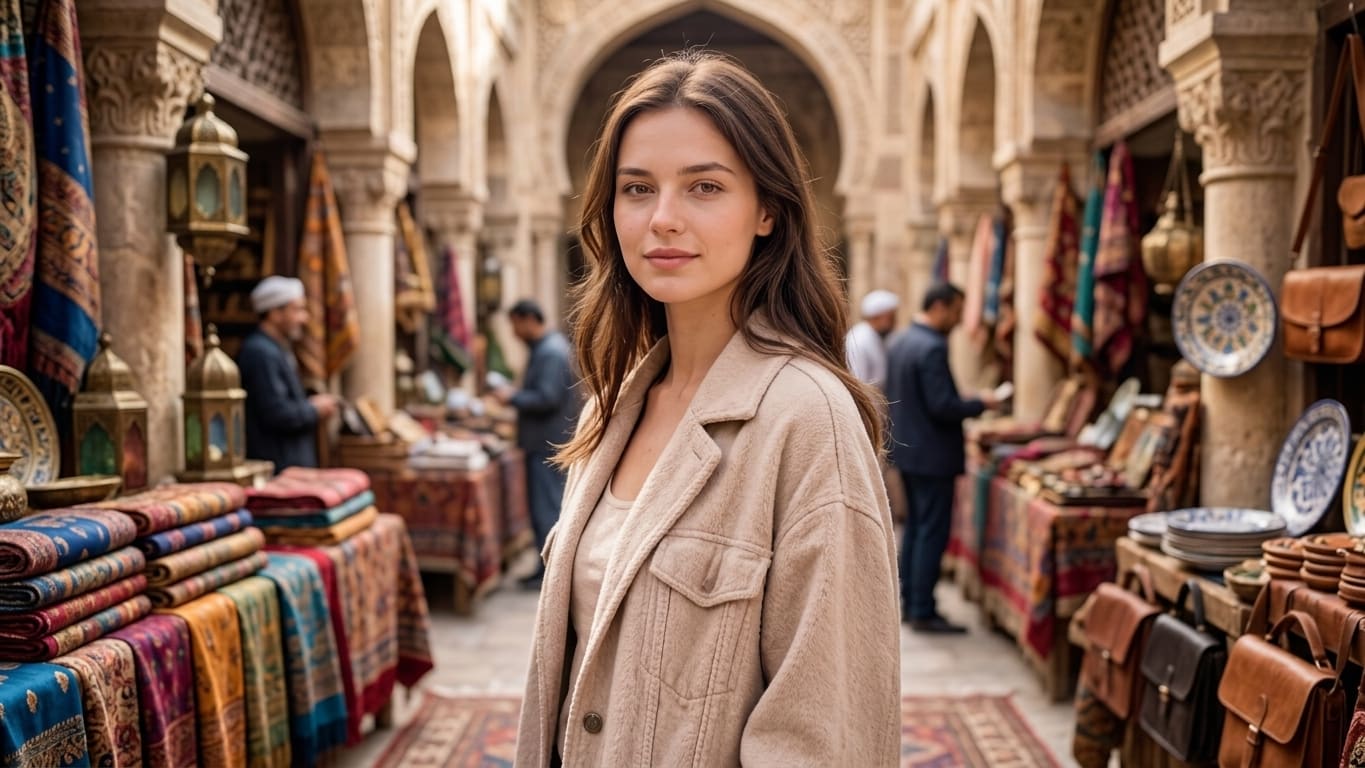
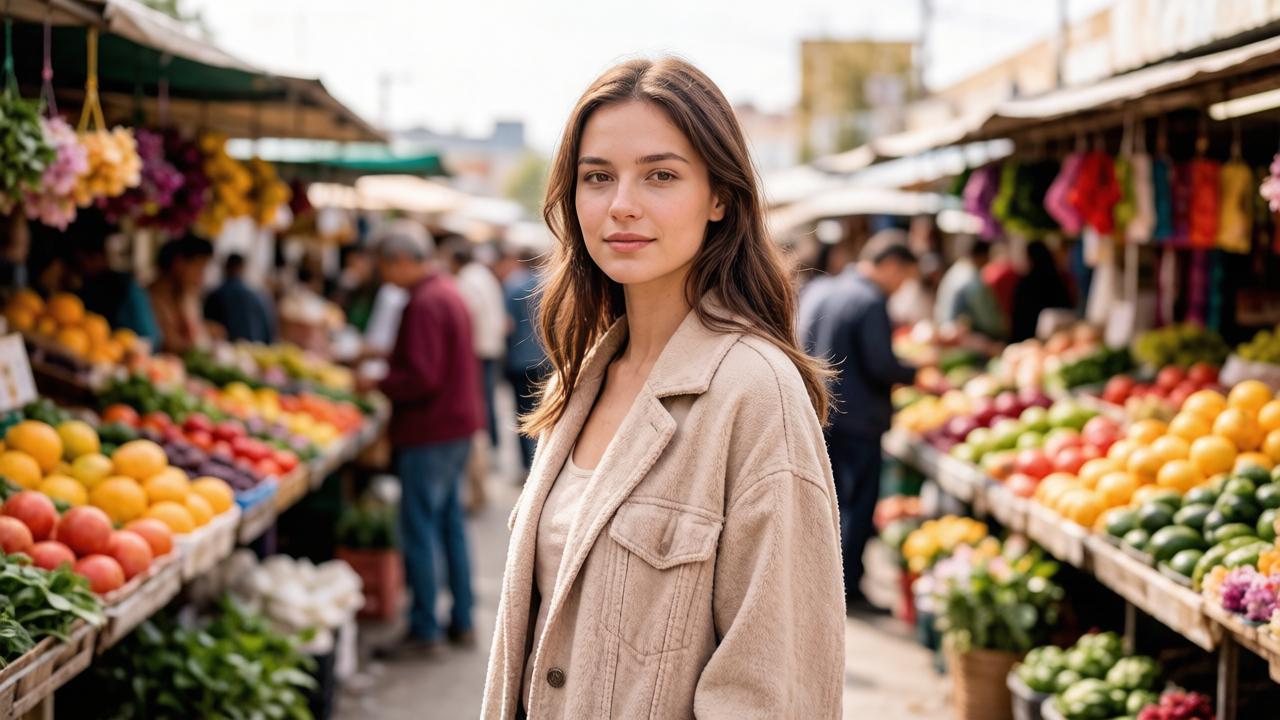 BeforeAfter↔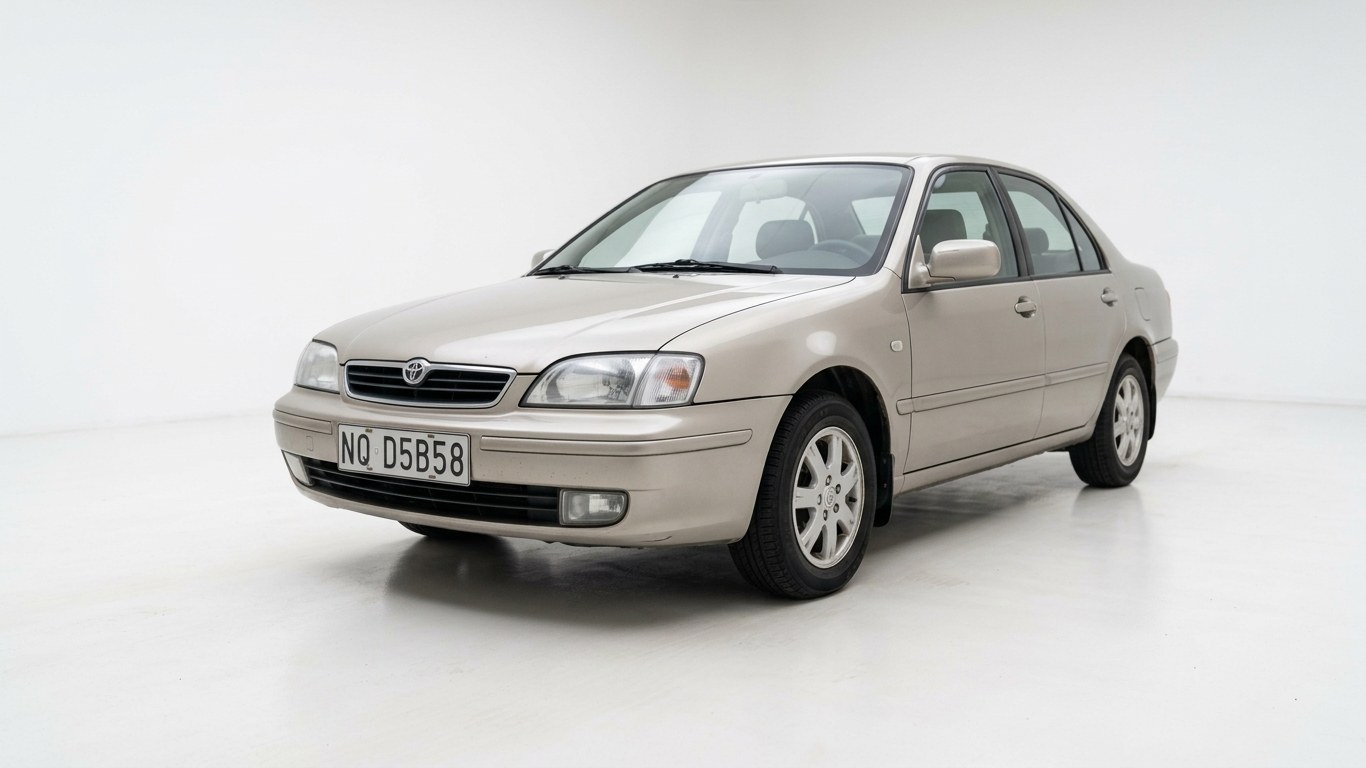
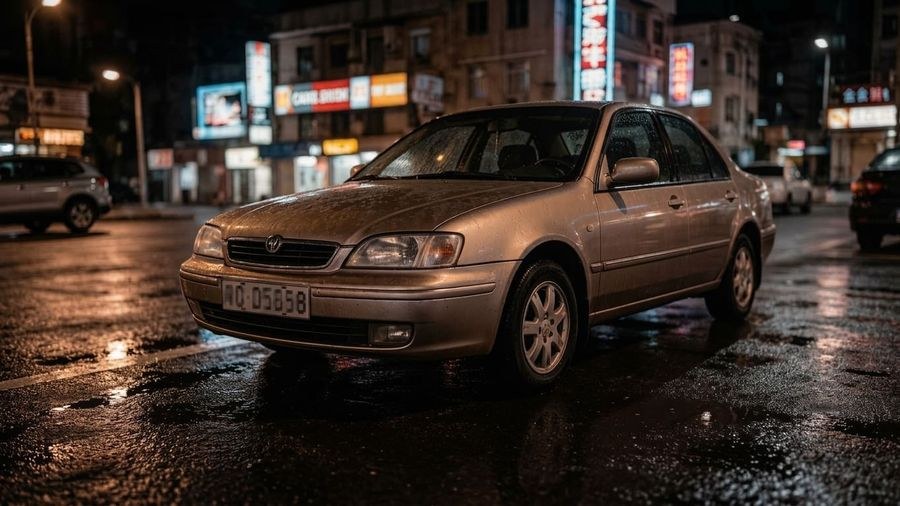 BeforeAfter↔
How to change a photo background
Nothing is traced by hand and nothing is masked. The model reads where the subject ends and the scene begins, builds the new surroundings, and then fits the frame to them — which is the part that decides whether the picture reads as real. Replacing a background this way is a single pass: there is no cutout to line up afterwards and no eraser to tidy the edges with.
Three ways to set the background
Most tools give you one of these. This page has all three, and they answer the same question — what should be behind the subject — in three different languages: a color, a picture, or a sentence.
The row of circles under Background holds seven options: White and Black as plain swatches, then Studio gray, Office, City, Nature and Blurred with a small preview each. One click is the whole instruction. This is the fastest route for a product on white or a headshot on gray, and it is also the most predictable, because the same circle gives you the same look across a whole set of photos.
The first circle in that row opens a file picker — the panel calls it Yours. Pick the shot that should end up behind the subject and the caption under the row confirms it: We'll take the background from your image. Your own storefront, a wall in your studio, a location you photographed on a better day, a brand backdrop you use everywhere.
Type the scene into the wishes field and you are no longer limited to a list: "a warm beige wall with soft window light from the left", "a quiet library corner, shallow depth of field", "a plain background in a pale dusty blue". This is the route people mean when they search for a background changer with a prompt, and it is covered in its own section further down.
The three combine in one specific way. A circle and your typed line travel together — the circle's description is sent alongside whatever is in the wishes field, so "White" plus "keep a soft shadow under the bottle" works exactly as you would hope. Your own picture, on the other hand, takes the place of a circle: choosing one clears the other, because they are two answers to a single question.
If what you are looking for is how to add a background to a photo rather than change one, this is the same page and the same three routes — upload the shot, say what belongs behind the subject, press Create.
Change the background to white
This is the single most common request, and it is one click: pick the White circle and press Create. What you get is not a flat fill dropped behind a cutout — it is a rendered white studio scene, with a soft falloff and a light shadow where the subject meets the surface.
That shadow matters more than people expect. A product floating on pure, shadowless white is the classic tell of an edited photo: the eye reads it as a sticker rather than an object sitting on a table. If the first run comes back too clean, add a line to the wishes field — "keep a soft contact shadow under the item" — and run it again.
White is also what marketplace guidelines usually ask for on the main listing image, so it is worth checking the current rules of whichever store you sell on before you build a whole set. Black and Studio gray sit in the same row for the other two standard looks: black for a dramatic, rim-lit product frame, gray for a portrait that has to stay neutral. Anything else — a pale blue, a warm beige, a brand green, a soft pink — is one typed sentence away, since the circles are a shortcut rather than the whole menu.
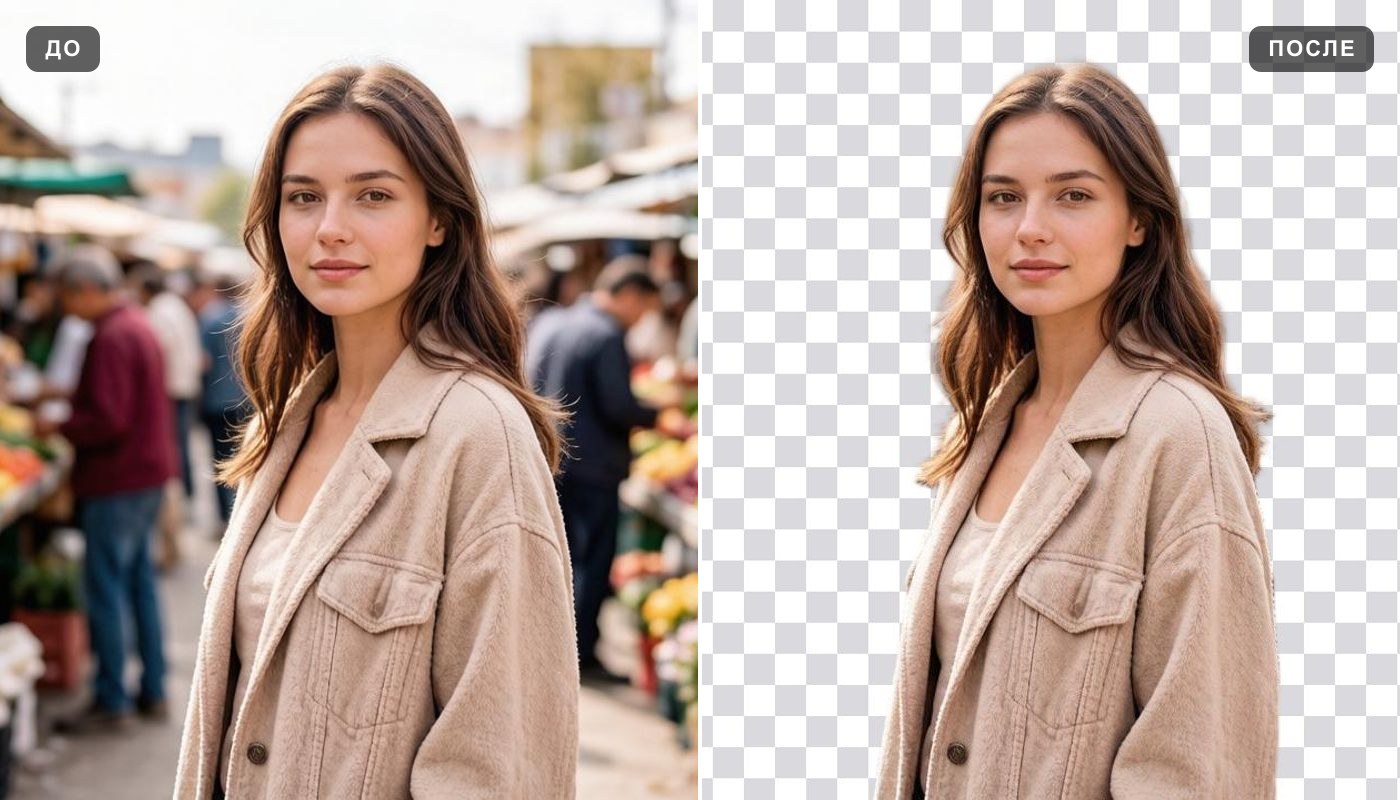
One distinction worth keeping straight: this page always gives you a photo with something behind the subject. If you need the subject cut out with nothing behind it at all, that is the job of the background remover.
Studio and office backgrounds for portraits
Headshots are the other half of the traffic here: a LinkedIn photo taken in a kitchen, a resume picture with a roommate's laundry in the frame, a team page where six people were photographed in six different rooms. The fix is the same in every case — put everyone on one calm background so the faces carry the picture.
A word of warning about the office look, because it is the trap of this category. An obviously generated office — the glass partition, the bookshelf, the bokeh conference room — is something people have learned to spot, and on a professional profile it can read as trying too hard. Studio gray and White are the safer choices: they look like a photographer's backdrop, which is exactly what a headshot is supposed to look like, and nobody wonders whether you really work in that room.
If you do want the Office circle, keep it understated and let the depth of field do the work: "a light modern office, out of focus, daylight from the left, no text or logos anywhere". The direction you name should match the light that was actually on your face in the original shot — that single detail does more for realism than the choice of room.
Practical notes: keep the original crop and framing rather than asking for a different one, keep the clothing as it is, and if your hair has flyaways against a busy kitchen, expect the gray backdrop to be kinder to them than the city street.
Product photos for online stores
A shot on a kitchen counter becomes a shot on a clean surface, and if you replace the background on every item with the same one, a set photographed over three different days starts looking like one catalog. For Amazon, Etsy, eBay, Shopify or a store you host yourself, consistency is usually worth more than any single beautiful frame — same background, same light direction, same distance, item after item.
The details that decide whether a listing photo looks professional or looks faked:
A line that works for most listing photos: "plain white studio background, soft even light, a subtle contact shadow under the item, keep the shape, color, material and all lettering exactly as they are."
Describe the background you want
This is the part a list of presets cannot do. the wishes field takes plain English, and the more concrete you are about light, color and distance, the closer the result lands. Improve description next to the field expands a short line you have already typed into a fuller one. Copy any of these and adjust:
Plain white for a product
Plain white studio background with soft, even light and a subtle contact shadow under the item. Keep the product's shape, color, material and all text on the packaging exactly as they are.
Studio gray for a headshot
A seamless light gray studio backdrop that darkens gently toward the corners. Soft frontal light, no harsh shadows. Keep the face, hairstyle, pose and clothing unchanged.
An office that stays understated
A light modern office, clearly out of focus, daylight coming from the left. No text, no logos, no recognizable brands. Keep the person, the pose and the clothing exactly as in the original.
Outdoors in soft evening light
A quiet city street in warm evening light, background thrown out of focus. Match the lighting and the shadows on the person to the new scene so the frame looks like one photograph.
A color that is not in the row
A plain background in a pale dusty blue, no objects and no texture, smooth and even. Keep the edges of the subject clean and the light flat.
The same place, just blurred
Keep the same setting but throw it far out of focus, as if shot with a wide aperture. The subject stays sharp, the surroundings become soft shapes and color.
Match the light of the original
Build the new background to match the lighting that is already on the subject: the same direction, the same softness, the same color temperature. Do not relight the person.
Seasonal or holiday surroundings
A warm holiday interior with string lights far out of focus behind the subject. Keep the faces, poses and clothing unchanged, and keep the light on the people gentle and warm.
Can I use my own image as a background?
Yes, and it is the first circle in the Background row rather than a hidden setting. Click it, choose a file, and the caption under the row reads We'll take the background from your image. The subject from your first photo is then placed into that scene, with the light and the shadows fitted to it.
Which background images work best is mostly a matter of geometry. A scene shot from roughly the same height as your subject, with light coming from a plausible direction and without strong lines converging right where a person's shoulders will be, gives the model an easy job. Simple or already blurred scenes are the safest of all. A busy interior with hard perspective, or a landscape lit from the opposite side of your subject, is where the seams start to show.
Two limits to know. One background picture at a time, and a chosen circle and an uploaded picture cancel each other out — the last thing you touched is the one that counts. You can still type into the wishes field alongside your own image, which is the place to say things like "put the person a step further from the wall" or "match the warm light of the background".
Where the edge of the subject is genuinely intricate — wiry hair against a dark room, lace, a pet's fur — and the composite has to be pixel-exact, the more controllable route is to cut the subject out with the background remover and assemble the frame yourself in an editor.
Edges, light and shadow: what makes a result look real
Three things separate a believable frame from an obvious paste-up, and they fail in a predictable order.
Hair is the hard part — always has been. Fine strands, curls and flyaways can pick up a faint halo of the old scene or lose a few wisps against a busy backdrop. A plain background is much more forgiving here than a detailed one, which is part of why White and Studio gray look so clean.
If the subject is lit from the right and the new scene is lit from the left, no amount of clean cutting will save the picture — the brain notices before the eye does. The model fits the frame to the new surroundings, which is why skin tone and clothing color can shift a little. Naming the direction you want in the wishes field keeps it honest.
A person standing with no shadow anywhere, or a product with nothing under it, reads as a paper cutout laid on a photo. Ask for a soft contact shadow and check that it falls away from the light source you named.
The awkward cases are the ones you would expect: glasses that reflect the old room, glass and chrome, sheer fabric, chain-link and mesh, hands overlapping a busy scene, motion blur at the edge of an arm. None of them are hopeless, and a second run with a plainer background usually settles them.
Will my face and outfit stay the same?
That is what the generator is instructed to do: the surroundings change, the person does not. In practice the result holds up well — the face, the pose, the hairstyle and the clothes come back recognizably yours, which is the whole point of a headshot you intend to put your name on.
The honest caveat is that the frame is re-rendered rather than cut and pasted. Fitting the subject to new light can nudge a skin tone warmer or cooler and shift the exact shade of a shirt. Very fine detail is where drift shows first: the pattern on a tie, the lettering on a t-shirt, the stones in a ring, a lanyard badge. Faces in the far background of a group shot get less attention than the person in front.
Two habits handle all of it. Say what to protect — "keep the face, hairstyle, expression, pose and clothing exactly as they are, change only the background" — and compare the result with the original in History before you use it anywhere that matters.
If the new light came out heavier than you wanted, one more run with "keep the original lighting on the person" usually brings it back.
Try several backgrounds on the same shot
You rarely know which background is right until you see the photo in it. Run the same shot on White, then on Studio gray, then on the scene you described — each run is a separate entry in History, nothing overwrites anything, and the original stays where it was.
That is how the two most useful workflows here are built. For a headshot: three or four candidates side by side, pick the one where your face reads best rather than the one that sounded good in your head. For a store: the same circle and the same typed line on every item, so a set photographed over several weeks comes out looking like one shoot.
There is a pace limit of six runs a minute per account, which a person clicking through variants never notices.
Where people use it
Formats, file size and what runs in your browser
Accepted formats are the ones printed on the upload panel: JPG, PNG, WEBP — up to 10 MB. HEIC and HEIF straight off an iPhone are not accepted — either set the camera to "Most Compatible", or share the photo to yourself once, which converts it to JPG on the way. There is no minimum or maximum resolution on what you upload.
Your photo goes through at the quality you uploaded it at, and what comes back is a newly rendered frame rather than your original with a new backdrop pasted behind it — Pro renders it at a higher resolution than Standard. If you need a bigger file afterwards — for print, for a large listing image — run the finished frame through the image upscaler.
One photo per run, and the same for the background picture. There is no app to install: the page opens in a browser on an iPhone, an Android phone, a laptop or a tablet, nobody asks for access to your camera roll, and results open from any device you sign in on.
Changing backgrounds for free: what you get and the limits
You can try it for free. A new account gets two free generations in total — not two a day and not two a month — and this tool is one of the ones they cover. Free runs use Standard quality; Pro runs are part of a paid plan. After that, work continues on a plan or a pack, and the terms are on the pricing page.
Two things worth knowing before you start rather than after. Free runs carry a light ai.neiroset.com signature in the bottom-right corner — it is not a penalty for the free run, and any purchase takes it off permanently, including from images you already generated. And on this tool the Download button opens after a purchase; before that you can still generate, view and compare everything in History.
The pace limit mentioned above — six runs a minute per account — is the only limit on how often you can run it.
Do I need an account?
Yes. You can fill in the whole form as a guest, but pressing Create opens the sign-in window. Without an account there is nowhere to keep your results, and comparing four background options against the original is exactly what History is for.
What to keep in mind
Frequently asked questions
How do I change the background on a photo?
Upload the shot, pick a circle under Background or describe the scene in the wishes field, and press Create. The new version appears in History next to the original.
How do I get a plain white background?
Pick the White circle. If the result looks too clean, add "keep a soft contact shadow under the subject" to the wishes field and run it again — that shadow is what stops a product from looking like a sticker.
Can I get a transparent background instead?
Not from this page — here you always get a photo with something behind the subject. For a transparent PNG, use the background remover. There is also a Remove button in the row of circles that does the same job from this form.
Can I upload my own picture as the background?
Yes. The first circle in the Background row opens a file picker, and the caption confirms it with We'll take the background from your image. Your picture and a ready circle cancel each other out, so use one or the other.
Can I just describe the background in words?
That is what the wishes field is for, and it is the most flexible route. Be specific about color, light direction and how blurred the scene should be. Improve description will expand a short line for you.
Will my face change?
The instruction is to keep the person as they are and change only the surroundings. Because the frame is re-rendered, skin tone and small details can shift slightly, so ask it to keep the face, expression and clothing unchanged, and compare with the original before you share it.
Can I change the background to black, blue or gray?
Black and Studio gray have their own circles. Any other color — pale blue, beige, a brand shade — goes into the wishes field as a sentence: "a plain background in a soft dusty blue, no texture, even light".
Can I do a whole batch of product photos at once?
One photo per run, but the set stays consistent if you use the same circle and the same typed line each time. Everything you make is kept in History under your account.
Is it good enough for a passport or ID photo?
Treat that as a no. Document photos are commonly rejected when they have been edited with software or AI, and the rules differ by country and by document. Nothing here is designed to meet them.
Does it work on a phone?
Yes. The page opens in a mobile browser on iPhone and Android, and there is no app to install.
Who can see my photos?
On the higher paid plans a Private switch keeps a run out of the public feed — with it on, only you. Without it, a result may appear in the site gallery. It sits next to Create and has to be on before you start; on a free account it opens an upgrade window instead.
Try other tools
 Background remover
 Photo enhancer
 Image upscaler
 Unblur image
 Colorize photo
 Interior design
Virtual staging
Interior design
Virtual staging
 Anime style