Colorize Photo Online: Black and White to Color
Upload a black and white print, a scan of a negative or a faded sepia snapshot, and the AI picks colors that fit what it sees: skin, hair, foliage, brick, wood, sky, fabric. If you remember the real shades — the dress was navy, the house was red brick — type them into Additional wishes and the colorizing follows your lead. Press Create and the color version lands in History next to the original, which is never changed. The colors are a plausible reconstruction of how the scene could have looked, not a record of how it did.
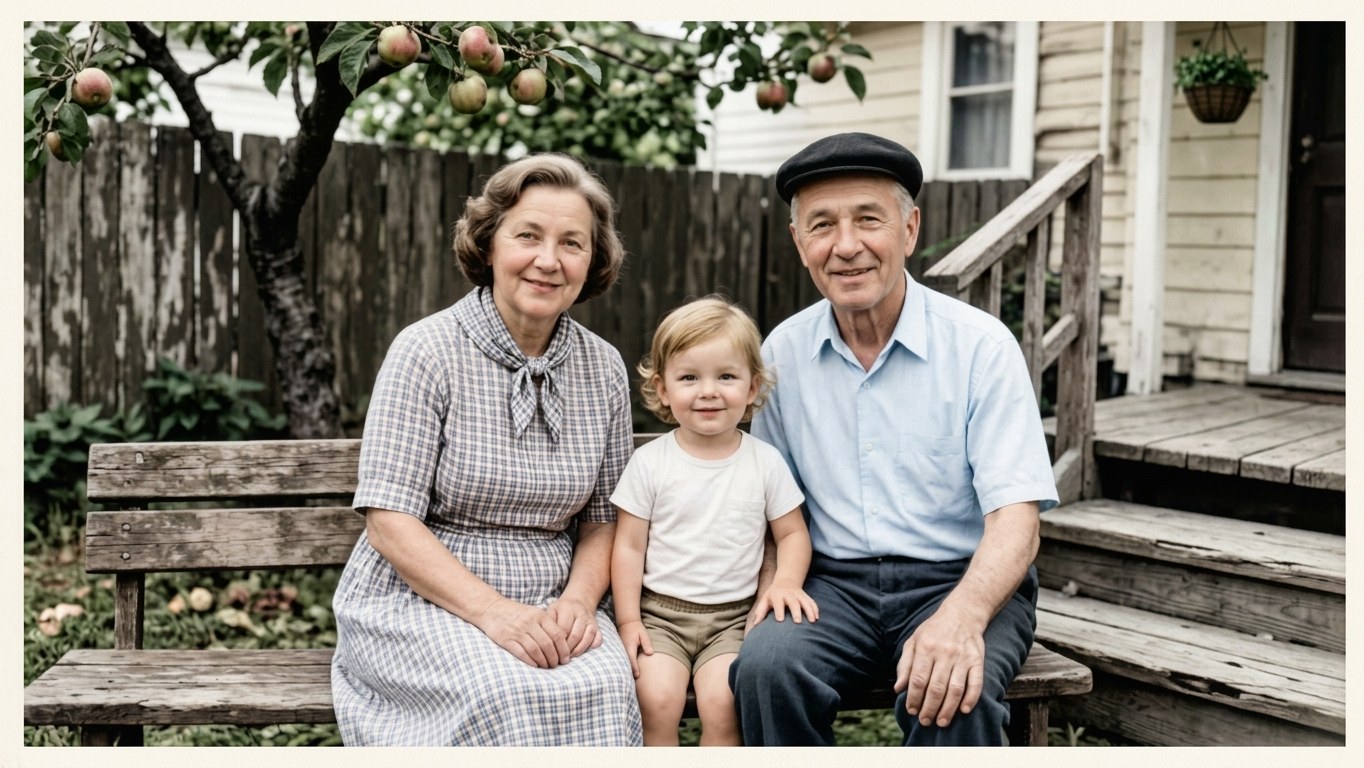
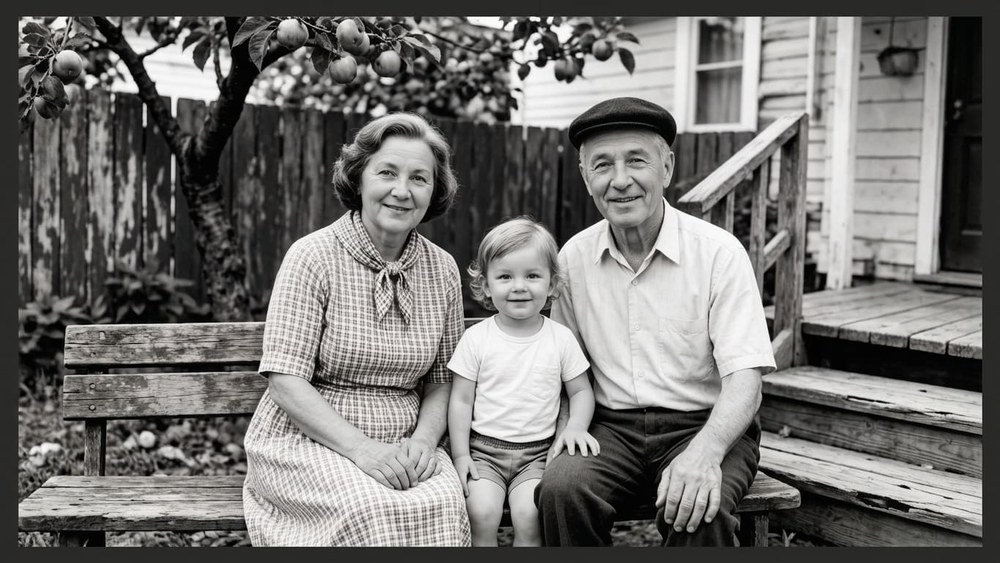 BeforeAfter↔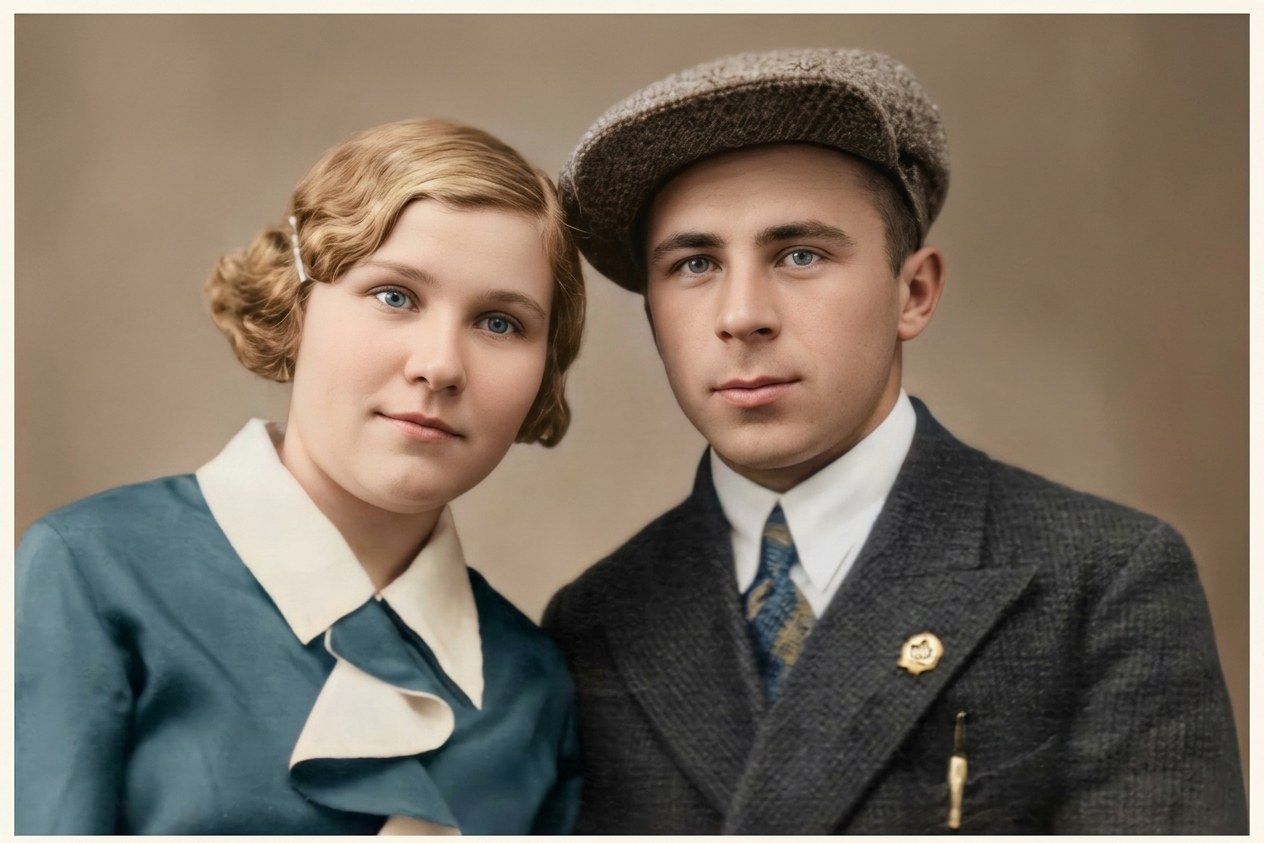
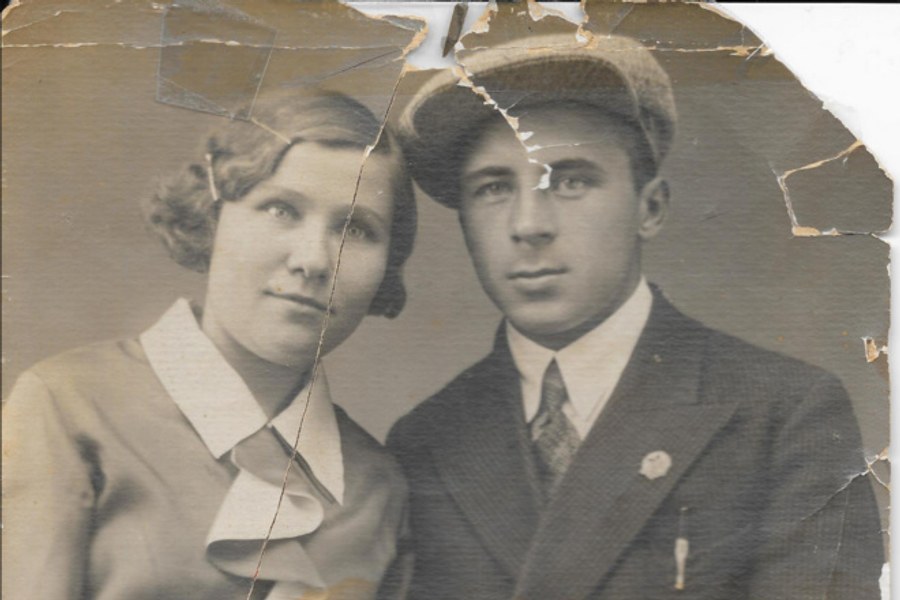 BeforeAfter↔
How to colorize a photo in three steps
There is nothing to install and nothing to learn. This tool works on still photographs and printed artwork — family prints, negatives and slides you have scanned, archival pictures, old illustrations and posters. It does not process video or sound, and it colorizes the picture you upload rather than editing a file on your computer.
Before and after
The comparison sliders near the top of this page hold a grayscale original on one side and the colorized version on the other. Drag the handle across a face and watch what actually changes: skin picks up warmth, hair separates from the background, clothing stops being one flat mass of gray, and the scene suddenly has depth that the gray version was hiding.
Your own before and after works the same way. Every run is saved in History right next to the photo you uploaded, at full size, so you can go back and forth as many times as you like. That pairing is not decoration — it is the only honest way to judge a colorization.
What to check, in this order: faces and skin tone first, then anything whose real color you happen to know, then the background. If something is wrong, add one line to the wishes field and run it again. Nothing is overwritten, the versions stack up side by side, and you keep the one you like.
What colorizes well
The pattern is simple: the model is most reliable when the color follows from what the object is. Grass is green because it is grass. Skin, wood, brick, water and sky all behave that way, which is why most everyday photographs come back looking natural.
The other half of the pattern matters just as much: when the color was somebody's choice rather than a property of the object — a painted door, a uniform, a team jersey, a dyed coat — the model is guessing. That is exactly what the wishes field is for, and what the accuracy section further down is about.
Tell it the colors you remember
This is the part worth reading twice, because it is where you know more than any model ever will. You remember that your grandmother's dress was navy blue, that the front door was painted green, that the barn was that specific faded red. The photograph does not contain that information. You do.
Type it into the Additional wishes field before you press Create, in plain language, one item at a time: "the dress is navy blue, the wall is pale yellow, the car is dark green." Short and concrete works better than a paragraph. Three to six specifics is a good size; beyond that the instructions start competing with each other and the weakest ones get dropped.
Three practical rules. Name the object the way it looks in the frame, not the way you think of it — "the woman on the left in the long coat" beats "Aunt Ruth". Use everyday color words; "olive green", "burgundy", "pale blue" land more reliably than a paint-chip name. And if the item is tiny or buried in shadow, expect the hint to miss: the model has to find the object before it can color it.
The same field sets the overall register, which is often the bigger win. "Muted, period-appropriate colors, not modern saturation" keeps a 1940s photograph looking like a 1940s photograph instead of a postcard. "Keep the film grain" stops the picture from looking scrubbed. And if a skin tone comes back wrong, describe it directly and run again — that is covered below.
Instructions you can copy
Paste one of these into the wishes field and swap in your own details.
Family photo, colors unknown
Colorize this photo in natural, muted tones appropriate to the period. Realistic skin, no pink cast, ordinary clothing colors rather than bright ones. Keep the composition and the film grain exactly as they are.
Colors you remember
Colorize this photo. The dress is navy blue, the wall behind is pale yellow, the foliage is green. Choose the remaining colors naturally and do not change the composition or the faces.
Close-up portrait
Colorize this portrait with a natural skin tone, warm hair color and a calm background. Do not smooth the skin, do not raise the contrast, and keep the facial features and the expression unchanged.
Skin tone correction after a first pass
Colorize this portrait with a deep brown skin tone. Do not lighten the skin and do not wash out the complexion. Keep the lighting of the original photo.
Heavy sepia or yellowed print
Remove the yellow sepia cast and colorize the photo in natural colors. Keep the historical look of the image rather than making it look modern and bright.
Street or city view
Colorize this street scene: brick, stone, asphalt, foliage and sky. Keep the colors restrained, like a film photograph of that era, and leave the signage and lettering unchanged.
Wartime or archival photograph
Colorize this archival photograph in muted, documentary tones. Keep skin and landscape natural. Do not invent colors for uniforms, flags or insignia — leave them neutral unless I name them.
Retro illustration or poster
Color this illustration with flat, even areas of color typical of its period. Keep the linework crisp and do not add shading or texture that is not in the drawing.
Where people use it
Almost every request starts the same way: somebody finds a box of pictures and wants to see the people in them in color instead of gray.
Genealogy is its own use case. People building a family tree colorize the one surviving portrait of an ancestor so the profile stops being an anonymous gray rectangle, and relatives who could never tell two cousins apart in a group shot suddenly can. If you are posting results to a family tree or a research group, label them as colorized — the color is an interpretation, and the next researcher deserves to know that.
Wartime and archival photographs are among the most requested and the most delicate. Color does bring a distant scene closer, which is exactly why the caveat matters: uniforms, flags and insignia are the least predictable things in the frame, and a confident-looking guess can quietly become a false claim about history. Colorize them, share them, and say plainly that the color was added.
For printing, one practical note: colorizing does not add pixels. If the scan is small and you want it on a wall, run the color version through the image upscaler afterwards.
How accurate are the colors?
Here is the honest answer, and it is the most important paragraph on this page. A black and white photograph records brightness only. A red sweater and a green sweater of the same brightness land on the same shade of gray, and once they do, no amount of processing can tell them apart. Any single gray frame has a whole family of equally plausible color versions, and colorizing picks one of them.
So what you get back is a plausible reconstruction, not a recovered original color. Nobody can promise historically accurate colors from a grayscale image, and you should be suspicious of anyone who does. What is genuinely reliable is the class of things whose color follows from what they are: skin, sky, foliage, wood, brick, water, most everyday clothing. Those come back close to the truth often enough that a colorized family photo simply looks right.
What is unreliable is everything where color carries information instead of following from shape. Military uniforms and insignia. Flags and banners. Team colors and school colors. Unusual fabrics and dyed hair. Painted houses, painted doors, painted vehicles. Eye color. In all of those the model is producing the most common answer it has seen, which is a statistical statement about photographs in general, not about your photograph. Name them in the wishes field if you know them, and check them yourself if you do not.
One documented failure worth knowing about: darker skin often comes back lighter than it was. Colorization models are trained on collections that are not evenly balanced, and they pull toward the average tone they have seen most, which washes out deep complexions. This is a known property of the technology rather than a one-off glitch. If it happens, correct it directly — "deep brown skin tone, do not lighten the skin" in the wishes field — and run it again. Compare against the original before you accept the result, because a lightened face is the kind of error that is easy to miss and unpleasant to publish.
And the rule that follows from all of it: a colorized photograph is an interpretation. It is wonderful on a wall, in a slideshow and in a family album. It is not a source, not a record of what the colors were, and not something to present as documentation of the past.
Colorizing is not restoration
These two get mixed up constantly, and the disappointment is always the same: someone uploads a cracked, torn, water-stained print and gets back a cracked, torn, water-stained print in color. Colorizing adds color. It does not repair the paper.
Scratches, creases, fold lines, tears, missing corners, tape marks, mold spots, water stains, emulsion damage and the texture of a fiber print all survive the process untouched — and once they are in color, some of them are more visible than before.
The sensible order is repair first, color second. Use the photo enhancer for a print that is damaged, dark, faded or flat; unblur image for a soft scan or a shot that missed focus; the image upscaler for a scan that is simply too small. Then bring the cleaned-up version back here and colorize it. The difference between colorizing a damaged scan and colorizing a repaired one is not subtle.
How to scan or photograph an old print
The colorizing only ever sees the file you upload, so a careless scan costs you real quality. None of this takes special equipment.
Heavy sepia is not a problem. A brown or yellowed print still carries its information as a single channel of brightness, exactly like a gray one, and the model reads straight through the cast. If the result keeps a yellow tint you do not want, say so: "remove the yellow sepia cast and colorize in natural colors."
Silvering, that mirror-like sheen on the dark areas of very old prints, is the one scanning problem worth fighting at the source: tilt the print slightly so the sheen falls outside the lens rather than into it.
Your photos and who can see them
Family archives are personal in a way that a product shot never is, so this deserves more than a footnote. Here is exactly how it works.
You upload one picture that you choose yourself — nothing asks for access to your camera roll, and no folder is scanned. The file on your device is never modified: colorizing produces a new image, and the grayscale original stays exactly as it was, both on your computer and in History. Results are stored in your own account and open on any device you sign in on.
The part to actually pay attention to is the Private switch. On the higher paid plans it keeps a run out of the public feed — with it on, only you see the result. Without it, a generated image may be shown in the site's gallery of work. The switch sits next to Create and has to be on before you start the run, not after; on a free account it opens an upgrade window instead.
Which gives one plain rule for sensitive material: if a photograph is one you would not want appearing anywhere else — a picture of a child, a portrait of someone who has died, anything a relative shared with you in confidence — either run it on a plan where Private is available and turn it on first, or do not upload it at all. And whoever else is in the frame never agreed to anything, so use the same judgment you would use before posting the photo publicly.
Formats, file size and devices
There is no app to install. The page opens in a browser on an iPhone, an Android phone, a laptop or a tablet, which is convenient for the most common workflow of all: standing over an album with your phone, photographing a page, colorizing it on the spot.
Accepted formats are the ones printed on the upload panel: JPG, PNG, WEBP — up to 10 MB. There is no limit on the resolution of what you upload, and the file goes to processing at full quality rather than being shrunk on the way in.
One iPhone note that trips people up: HEIC and HEIF files are not accepted. Either set the camera to save as "Most Compatible" in Settings, or share the picture once to yourself, which converts it to JPG along the way. Scans from a flatbed are normally JPG or PNG already.
Colorize photos free: what you get and where the limits are
You can try it for free. A new account gets two free generations in total — not two a day and not two a month — and this tool is one of the ones they cover. Free runs use Standard quality; Pro, which comes back at a higher resolution, is part of a paid plan. After that, work continues on a plan or a pack, and the terms are on the pricing page.
Two things worth knowing before you start rather than after. Free runs carry a light ai.neiroset.com signature in the bottom-right corner; any purchase removes it permanently, including from images you already generated. On this tool the Download button is open from the first run, so you can save what you make right away.
There is also a pace limit of six runs a minute per account — enough that normal work never touches it, even when you are going through a box of prints.
Do I need an account?
Yes. You can fill in the whole form as a guest, but pressing Create opens the sign-in window. Without an account there is nowhere to keep your results, and a colorized scan of a photograph you may not be able to re-scan easily is exactly the kind of thing you do not want to lose when a tab closes. Signing in is what puts every version in History beside its original.
What to keep in mind
Frequently asked questions
How do I colorize a black and white photo?
Upload the picture, optionally name the colors you remember in Additional wishes, pick Standard or Pro and press Create. The color version appears in History next to the grayscale original so you can compare them.
Are the colors historically accurate?
No, and no tool can make them so. A black and white image records brightness, not color, so many different color scenes produce the same gray frame. Natural things — skin, sky, foliage, wood, brick — come back close to the truth. Everything that was somebody's choice is a plausible guess.
Can I tell it what color something really was?
Yes, and it is the single most useful thing you can do for the result. Write it plainly in the wishes field before pressing Create: "the dress is navy blue, the door is green, the car is dark red." Three to six specifics work better than a long paragraph.
Why did the skin come out lighter than it should be?
Because colorization models tend to pull skin tones toward the average they were trained on, which lightens deeper complexions. It is a documented bias, not a fluke. Say the tone explicitly — "deep brown skin tone, do not lighten the skin" — and run it again.
Will it fix the scratches and creases too?
No. Colorizing adds color; it does not repair the surface of a print. Run damaged photos through the photo enhancer first, then colorize the cleaned-up version.
My photo is brown and yellowed with sepia. Is that a problem?
Not at all. A sepia print carries the same single channel of information as a gray one. If a yellow cast lingers in the result, ask for it to go: "remove the yellow sepia cast and colorize in natural colors."
Can I photograph a print with my phone instead of scanning it?
Yes, and most people do. Shoot straight on in soft daylight, keep flash and reflections off the surface, and crop away the album page and the white border before uploading.
The scan is small and soft. Should I colorize it anyway?
Fix it first. Unblur image handles a soft scan and the image upscaler handles one that is simply too small. Color on top of a sharp, larger frame is noticeably better.
Will the person still look like themselves?
In a normal photo, yes — colorizing follows the face that is already in the frame rather than inventing a new one. The picture is re-rendered, though, not tinted, so fine details such as jewelry, buttons, lettering and patterned fabric can shift. Compare with the original before you print or share.
Does the original photo change?
Never. The file on your device is untouched, and the color version is saved as a separate image next to the original in History. Each attempt is kept separately, so there is nothing to lose by trying another instruction.
Can I colorize a wartime or archival photograph?
You can, and many people do. Keep in mind that uniforms, flags and insignia are the least reliable parts of any colorization, and that the color is an interpretation. Ask for muted documentary tones, verify anything you can, and say the image was colorized when you share it.
Who can see my photos?
On the higher paid plans a Private switch keeps a run out of the public feed — with it on, only you. Without it, a result may be shown in the site's gallery of work. The switch sits next to Create, so turn it on before you start the run rather than after; on a free account it opens an upgrade window instead.
Does it work on a phone?
Yes. The page opens in a mobile browser on iPhone and Android, and there is no app to install. Just remember that HEIC files from an iPhone are not accepted — save or share the photo as JPG first.
Try other tools
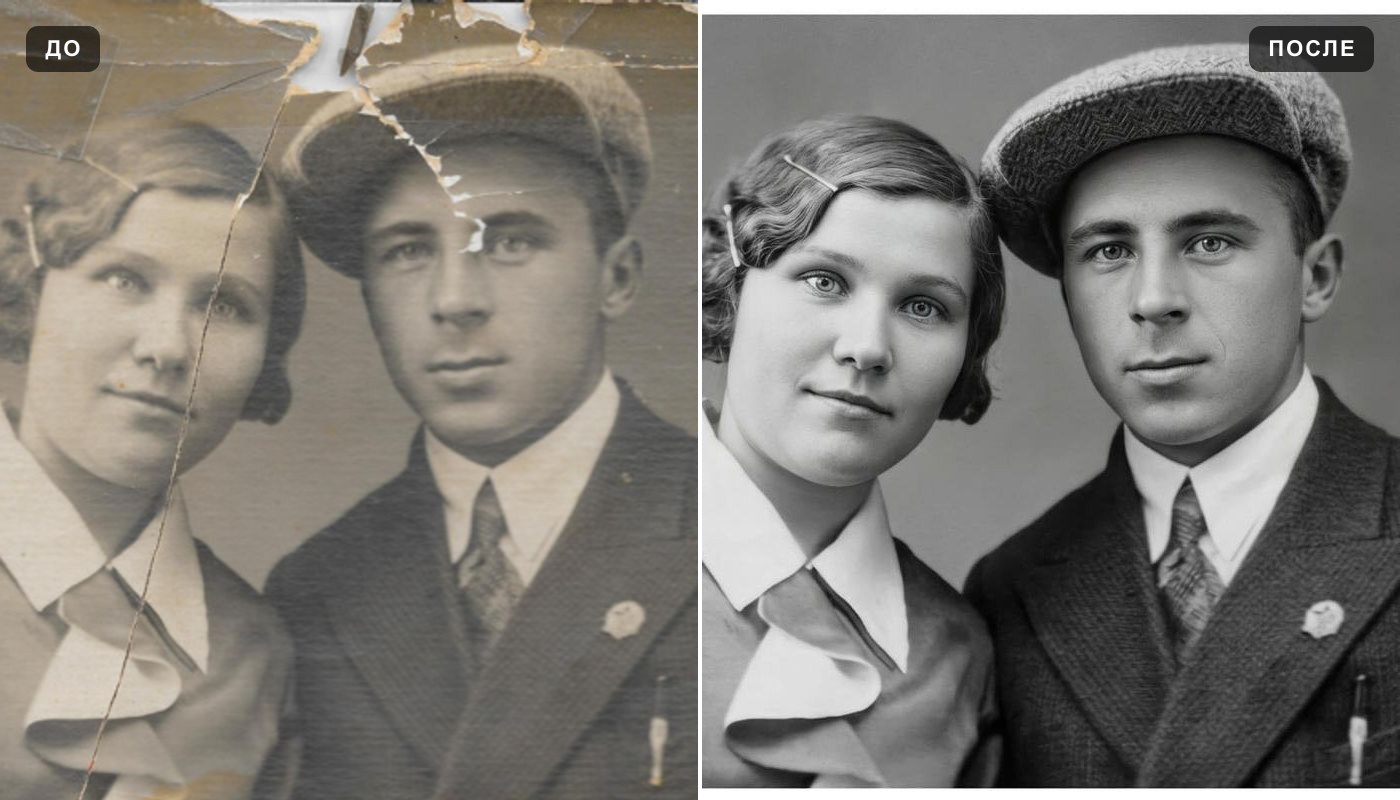 Photo enhancer
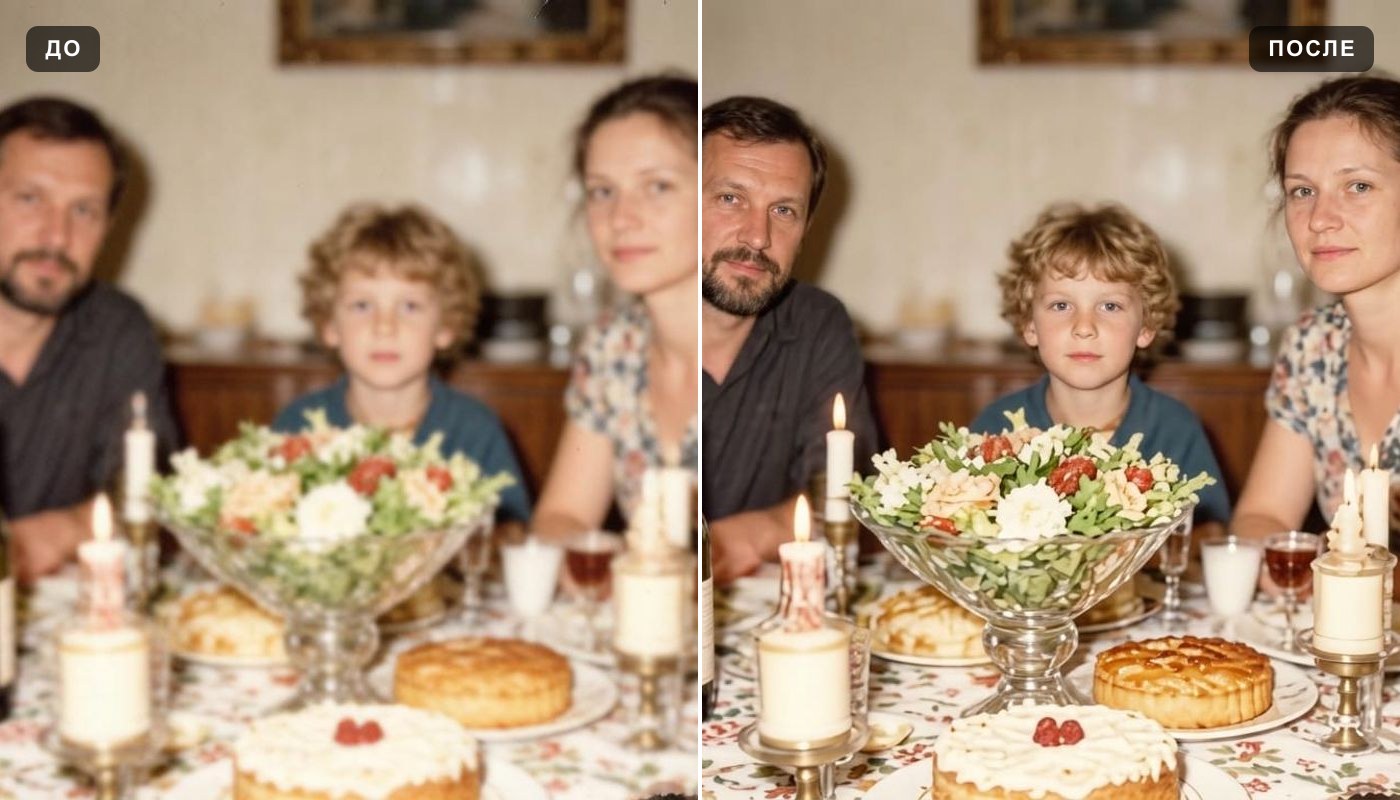 Unblur image
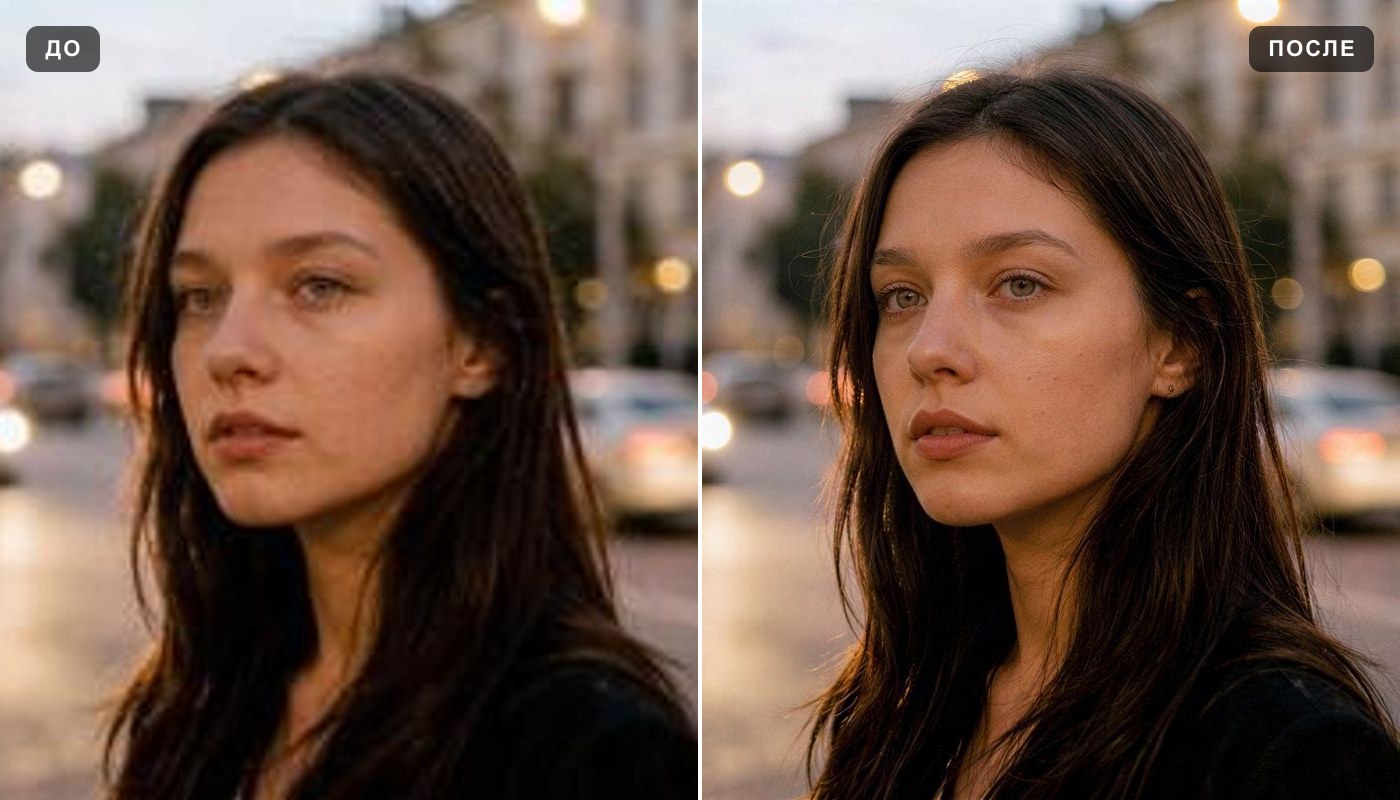 Image upscaler
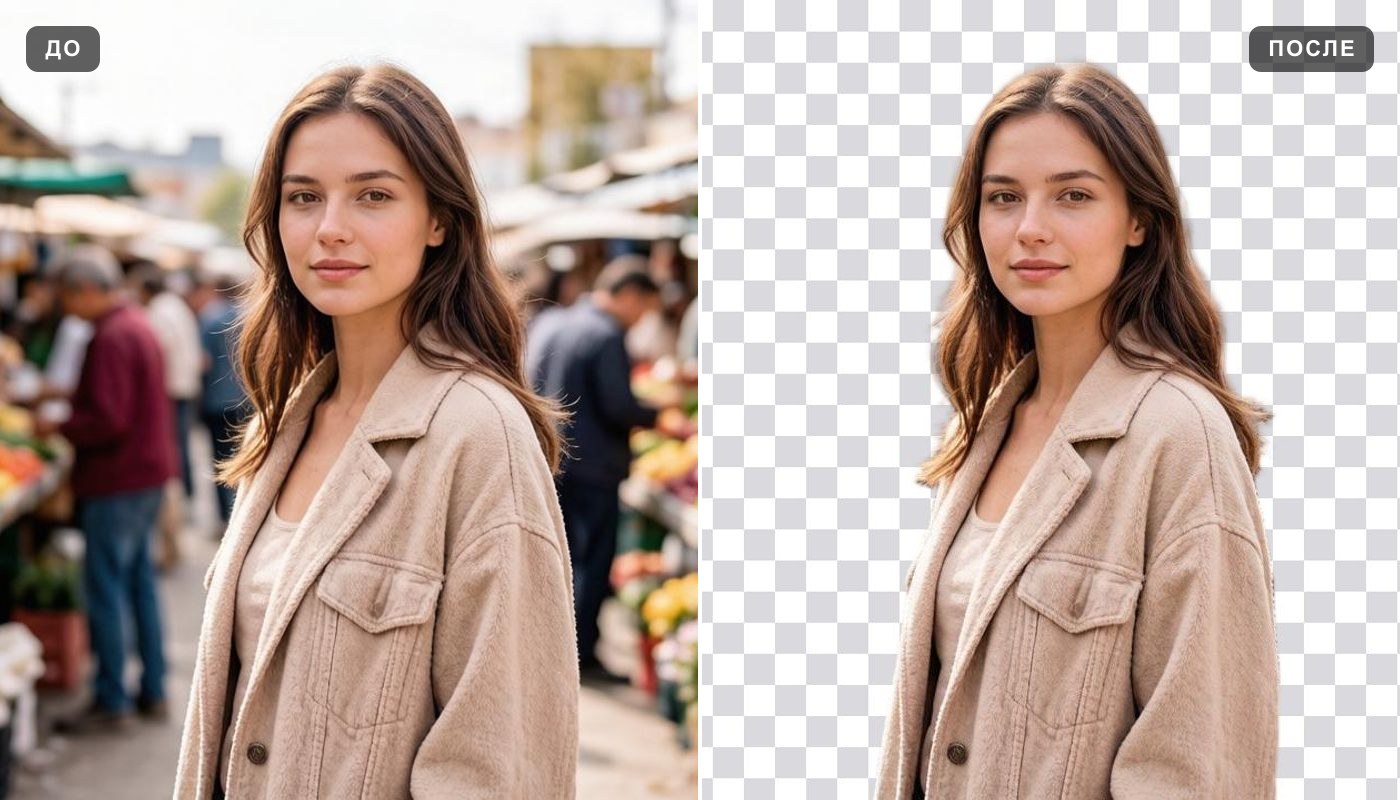 Background remover
 Change background
 Oil painting
 Anime style
 Ghibli style