AI Image Extender: Extend an Image Beyond Its Frame
Upload a photo and say which way the frame should keep going — left, right, up, down, or all four sides at once. The AI continues the same scene past the old edges: more wall, more sky, more road, more room around the subject. What you photographed is left alone; everything new is drawn around it, which is why a horizontal shot can become a vertical 9:16 Story without stretching anyone's face or cropping half the scene away. It works best on backgrounds, skies, landscapes and interiors — a person sliced off by the border is the one thing it struggles to finish convincingly.
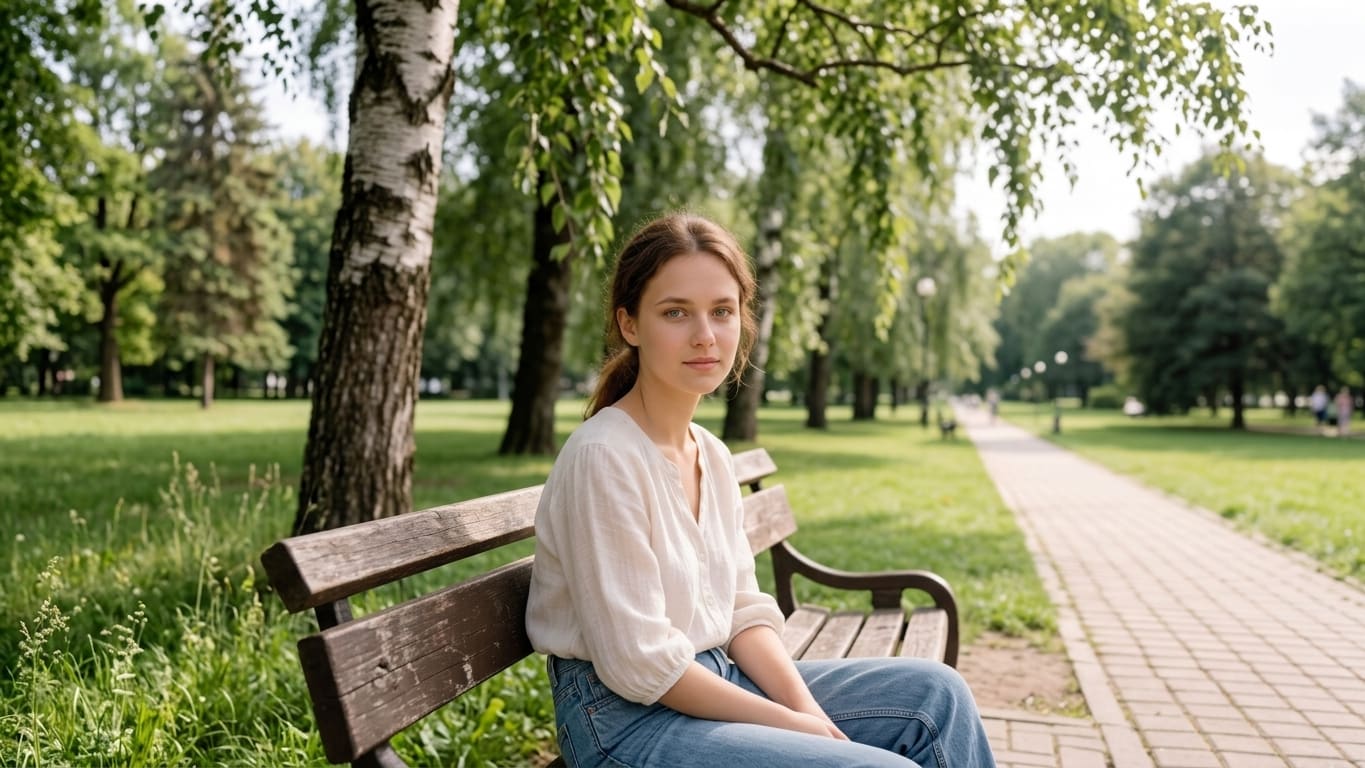
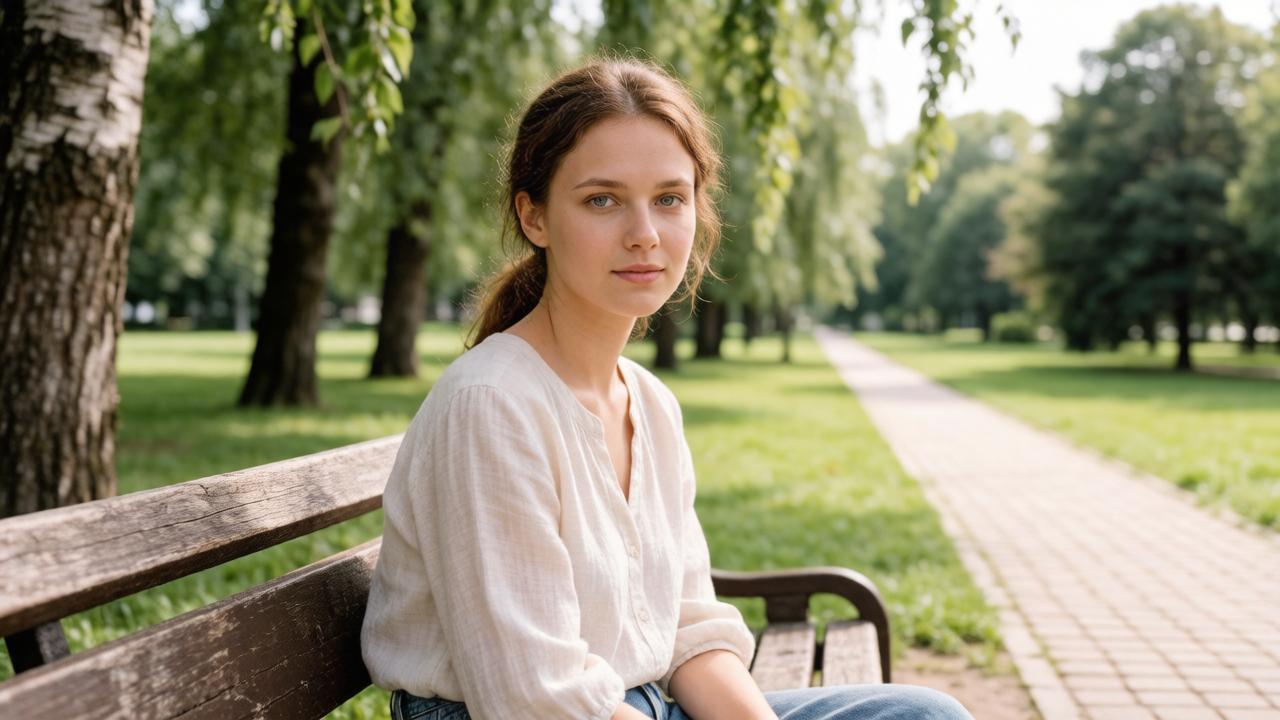 BeforeAfter↔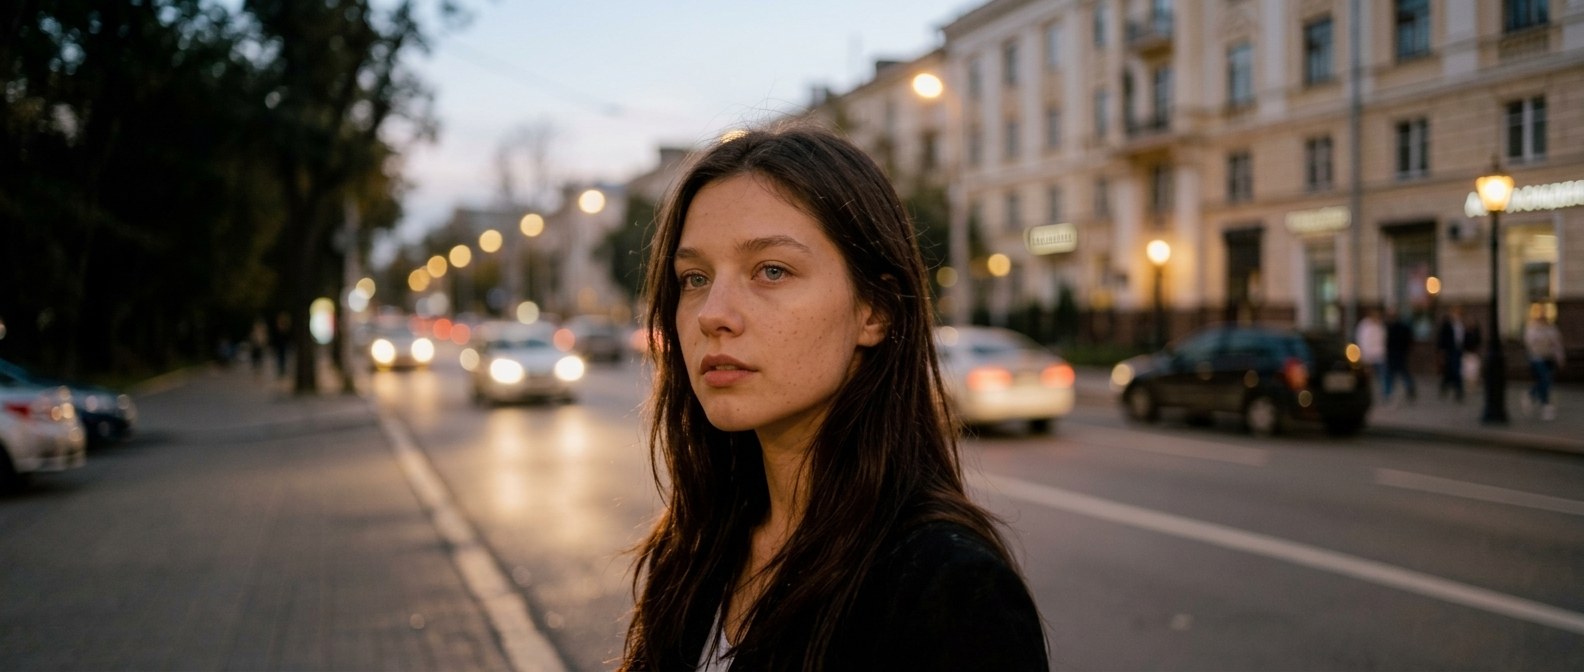
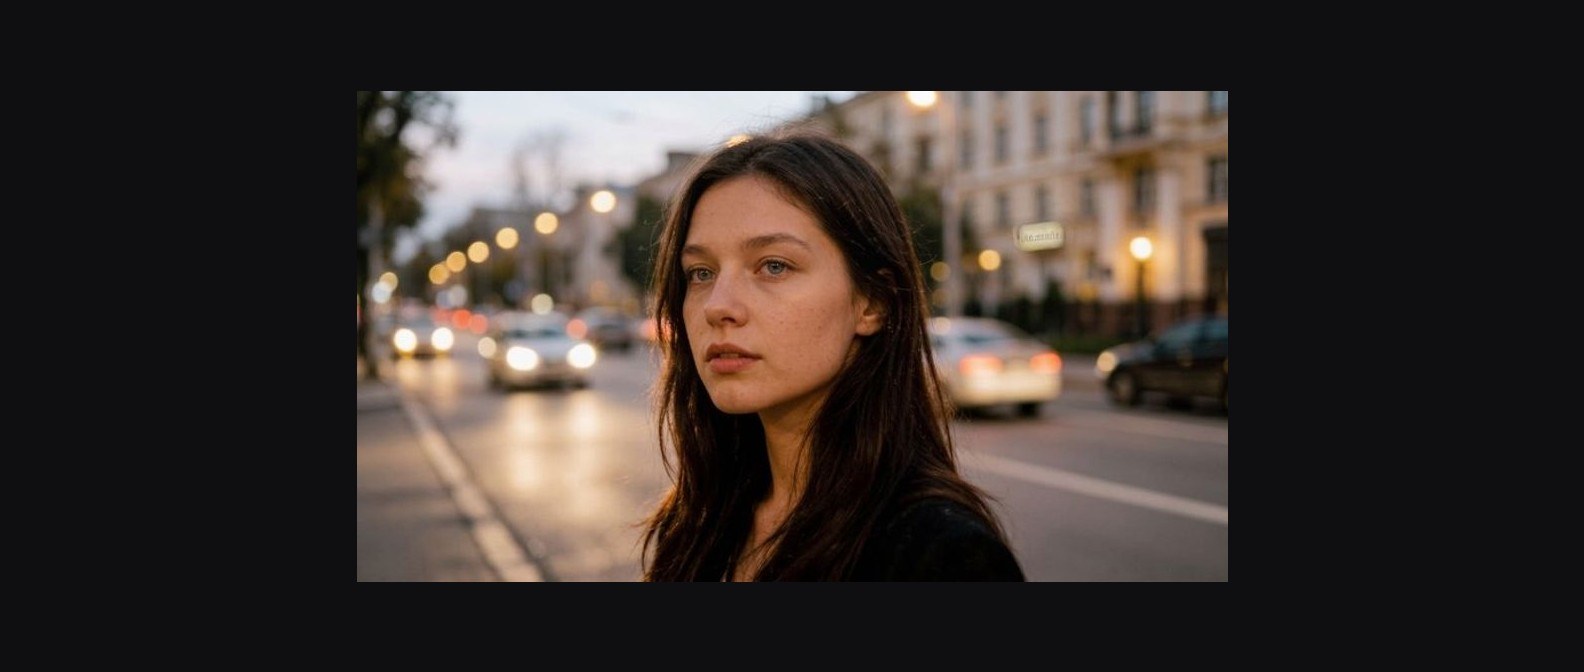 BeforeAfter↔
What an AI image extender does
An image extender makes a picture bigger by adding scene to it, not by stretching what is already there. You upload a photo, say which way the frame should keep going, and the AI paints what would plausibly have been just outside the border: more wall, more sky, more sidewalk, more table around the plate. The frame grows; the photograph in the middle stays the photograph you took.
That is worth saying bluntly on the first screen, because two different people search for this. If you want a wider picture with new content in it — the background finished, the scene continued, a horizontal shot turned vertical — this is the right page. If you only want a larger blank canvas with your photo sitting on it and nothing invented, this is not it: everything outside your original edges here is generated. Engineers call the technique outpainting; on a product page it usually turns up as extend image, expand image or uncrop image.
It is also where people land when they mean something else entirely. If the shape of the frame is already right and the file is simply too small, the frame does not need to grow at all — that is the image upscaler, which gives the same picture more pixels. This page gives the frame more scene, not more resolution.
How to extend an image
Everything happens on a web page, in a browser on a phone, a laptop or a tablet. There is no editor to install, no canvas to resize by hand, and no masks or layers to learn.
Which side to extend
Most tools make you say this sideways: you pick an output shape and the software decides where to add room. Here you say it directly, in words, and it is the single biggest lever you have on the result.
Say how much, as well as where. "A little more room on the left" and "twice as wide" are different requests and the model treats them differently — the first is nearly always the safer one.
Formats people ask for
Naming the format is often clearer than naming the sides, because the shape already implies the direction. These are the requests that come up most often. Copy one into Additional wishes and adjust it to your photo.
Instagram Story, 9:16
Extend this photo upward and downward into a tall vertical 9:16 frame. Continue the same scene, keep the people and objects exactly where they are and at the same size, and leave the top area calm so a caption can sit there.
Square post, 1:1
Extend the frame sideways to a square 1:1 format. Keep the subject centered and unchanged, and continue the background on both sides in the same light and perspective.
16:9 for a video thumbnail or a cover
Extend this vertical photo to the left and to the right into a wide 16:9 frame, continuing the background naturally. Do not add new people and do not change the existing ones.
Facebook cover
Extend the frame sideways into a wide banner shape and leave a quiet, uncluttered area on the right. Keep the existing scene, the lighting and the perspective as they are.
Phone wallpaper
Extend this landscape photo upward and downward into a tall phone wallpaper. Continue the sky and the foreground, keep the horizon straight, and keep the upper third simple so icons stay readable over it.
Room for a headline
Extend the frame to the right and leave an even, uncluttered stretch of background there for text. Keep the subject, the lighting and the colors untouched.
Bring back a cropped edge
Continue the cropped edges of this photo, carrying on the objects and the background that were cut off. Do not add anything that was not already implied by the scene.
One practical note: what comes back is the proportion you asked for, not a guaranteed pixel size. If a platform demands exact dimensions, crop or resize the finished file at the end.
Say what the new space contains
This is where the tool stops being a shape-changer. Leave Additional wishes empty and you get a reasonable continuation of whatever happens to be at the edge. Fill it in and you get the picture you actually had in mind — the reason people search for a photo extender with a prompt rather than just a wider frame.
The field takes up to 500 characters, which is enough for one sentence about what continues out there and one about what must not change. Instructions that work read like directions given to a person: "continue the beach and the sea to the left, same time of day, no extra people and no boats" beats "make it wider" every time. Concrete nouns help most — sand, hedge, brick wall, parquet, overcast sky.
Two habits are worth keeping. Say what to protect as well as what to add: "do not change the subject, the framing of the face or the colors" costs you four seconds and removes most of the surprises. And if you have only typed a few words, the Improve description button next to the field expands them into a fuller instruction that you can still edit before running.
Where people extend a frame
Worth checking before anything commercial goes out: marketplaces such as Amazon and Etsy set their own rules for how far a product image may be edited. Extending a plain studio background is one thing; inventing a setting around the product is another, and the rule book, not this page, decides which is allowed.
Before and after: what to look at
Every run leaves you with a pair — your upload and the extended version, side by side in History. Comparing them is not a formality here, because the interesting part of the result is the part that did not exist a minute ago.
Three places give a weak extension away. The seam, where the original stops and the new content starts: lighting, color and grain should carry across without a visible line. Anything straight: a horizon, a table edge, a baseboard, a window frame, the joints in a tiled floor — straight lines are where a mismatch in perspective becomes obvious. And repetition: given a large blank area to invent, a model will sometimes copy a pattern it already saw, so the same clump of leaves or the same brick shows up twice.
If any of the three looks wrong, running again with a more specific instruction usually fixes it faster than asking for less expansion — and both attempts stay in History, so nothing is lost by trying.
Extending a frame is not resizing it
These two get mixed up constantly, and the difference is the whole point of this page. Resizing takes the pixels you already have and spreads them over a different size or shape — nothing new enters the picture. Extending leaves your picture alone and draws new content beside it, so the frame genuinely contains more scene than it did.
The clearest case is a horizontal photo that has to become a vertical Story. Without extension you have three options and each one costs you something:
Extending is the fourth option. The scene keeps going above and below the original, nothing is squashed and nothing is thrown away. The same logic applies to squares, banners and wallpapers — every case where the picture you have is the wrong shape rather than the wrong size.
The mirror image of this confusion is worth naming too. If the shape is already right and the file is just small, extending it will not help — a wider frame is not a sharper or heavier one. That job belongs to the image upscaler, and the two steps combine happily: extend first to get the shape, then upscale to get the size.
Your original stays as it is
The model works outside the old edges. It is not asked to reinterpret what you photographed, so the middle of the result is the picture you started with: faces in the center do not drift into someone else, product colors do not shift, a sign that was legible stays legible. Everything generated happens around that.
That is also why the safest instructions are the ones that say so out loud. "Keep the subject exactly as it is and only continue the background" is not a magic phrase, but it does tell the model where its job begins.
One honest footnote about size. Pro returns a larger frame than Standard, but neither mode is a resolution tool — if the finished picture has to be big, run it through the image upscaler afterwards, in that order. Extending an already upscaled file just means the model has more area to invent.
Who can see the photos you upload
Results are saved to your own account History, which is what signing in is for: without an account there is nowhere to keep a result and nothing to compare the extension against once the tab closes.
On the higher paid plans there is a Private generation switch beside Create. With it on, the run stays out of the site's public gallery; without it, a result may be shown there. It has to be on before you press Create, not after — and on a free account the switch opens an upgrade window instead of turning on.
Nothing is scanned from your device on its own. You pick one file and that file is what the tool sees.
Extend images free: what you get and where it stops
You can try it for free. A new account gets two free generations in total — for the lifetime of the account, not two a day and not two a month — and this tool is one of the ones they cover. Free runs use Standard quality; Pro runs on a paid plan. After that, work continues on a plan or a pack, and the terms live on the pricing page.
Two things are better known up front than discovered later. Free runs carry a light ai.neiroset.com signature in the bottom-right corner — any purchase removes it permanently, including from pictures you generated earlier. And on this tool the Download button opens after a purchase: before that you can still upload, extend, compare and re-run as much as your generations allow, with every version sitting in History.
There is also a pace limit of six runs a minute per account, which normal use never reaches.
Do I need an account?
Yes. You can fill in the whole form as a guest, but pressing Create opens the sign-in window. Results belong to an account — that is what keeps the original and the extended version together instead of losing both when the page closes.
What files can I upload?
Exactly what the upload panel says: JPG, PNG, WEBP — up to 10 MB. There is no minimum or maximum resolution on the source, and the photo is sent for processing at full quality rather than squeezed on the way in. HEIC and HEIF from an iPhone are not accepted — set the camera to "Most Compatible", or share the shot to yourself once, which converts it to JPG along the way.
People at the edge of the frame: the honest limit
One weakness deserves its own heading, because it causes almost every disappointment with this kind of tool. A person cut off by the border is the hard case. If half a face, a shoulder, an arm or a hand is sliced by the edge, the model has to finish a human being from a fragment — and hands and faces are precisely where a small error is impossible to miss. Fingers multiply, an ear lands in the wrong place, a jawline does not match the half that is real.
Frequently asked questions
How do I extend an image online?
Upload the photo, write which side should keep going and what should fill it in Additional wishes, pick Standard or Pro, and press Create. The extended frame appears in History next to the original.
What is the difference between extending an image and resizing it?
Resizing redistributes the pixels you already have over a different size or shape, so a horizontal photo forced into a vertical one is either stretched, bordered or cropped. Extending adds scene that was not in the file: the subject keeps its proportions and its surroundings simply continue. One changes the container, the other changes the contents.
Can I just expand the canvas without AI adding anything?
Not here. Everything beyond your original edges on this page is generated content — that is the tool. If what you want is empty margins around a photo, that is a job for an image editor, not for an extender.
Is this the same thing as uncrop image?
Same job, different name. "Uncrop image" is a slightly misleading name for it, though: nothing is recovered from the original shot. The area outside the border is drawn from scratch, so it is a believable version of what might have been there, not the part your camera actually saw.
Will it make my image higher resolution as well?
No — a wider frame is not a bigger file in the sense people usually mean. Extending changes the shape and content of the picture. For pixel count, run the finished result through the image upscaler as a second step.
How far can I extend a photo in one go?
A modest addition on one or two sides comes back close to invisible. Large expansions are possible but riskier, since the model has more to invent and fewer clues to work from. Two or three smaller passes beat one ambitious one almost every time.
Can I turn a horizontal photo into a vertical Story?
Yes, and it is the most common reason people come here. Ask for the frame to be extended upward and downward to a vertical 9:16 format, continuing the same scene. Nobody gets stretched and nothing gets cropped out.
Will the person in my photo change?
Not if they are inside the frame — the model works around your picture, not over it. The exception is a person the border cuts through: finishing a partial face or hand is where results get unreliable, so extend toward the background instead, or crop the fragment out first.
Can I have it add an object that was never there?
Yes, if you ask for it plainly in Additional wishes. The more structured the object, the more obvious it is that it was added — a lamp, a plant or a rug in a room usually passes, a second person or a vehicle usually does not.
Can I replace the background instead of continuing it?
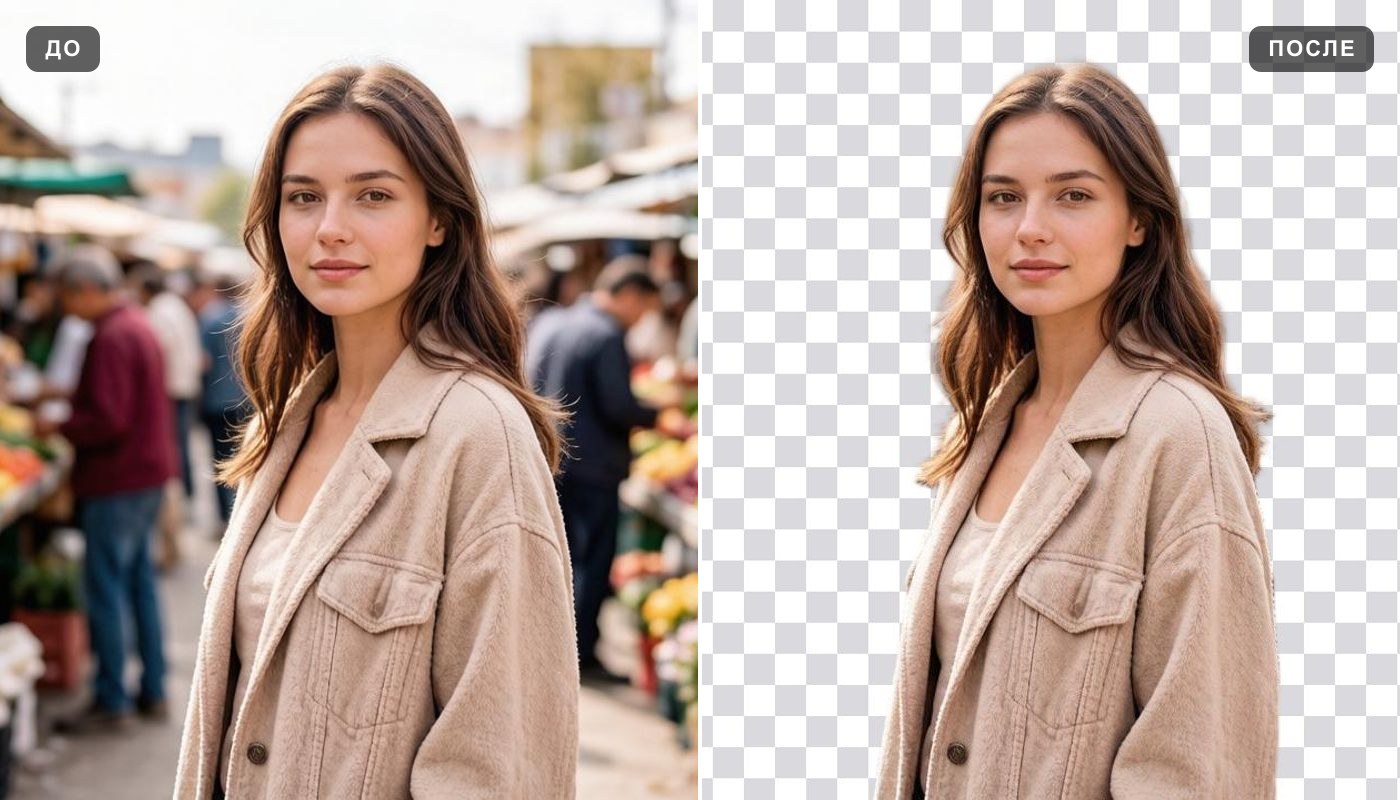
That is a different tool. Swapping the whole scene for a new one is change background; taking it away and keeping only the subject is background remover. This page keeps the background you have and carries it further out.
My photo is blurry and cropped. Which do I do first?
Fix the picture before you grow it, so the model has clean material at the edges to continue from. Start with unblur image, or with the photo enhancer if light and color are also off, and extend the result.
Why can I generate but not download?
On this tool the Download button opens after any purchase. Until then you can upload, extend, compare and re-run, and everything stays in History — a purchase then unlocks downloading permanently, including for the pictures you already made.
Does it work on a phone?
Yes. The page runs in a mobile browser on iPhone and Android and there is no app to install. Send iPhone photos as JPG rather than HEIC.
Try other tools
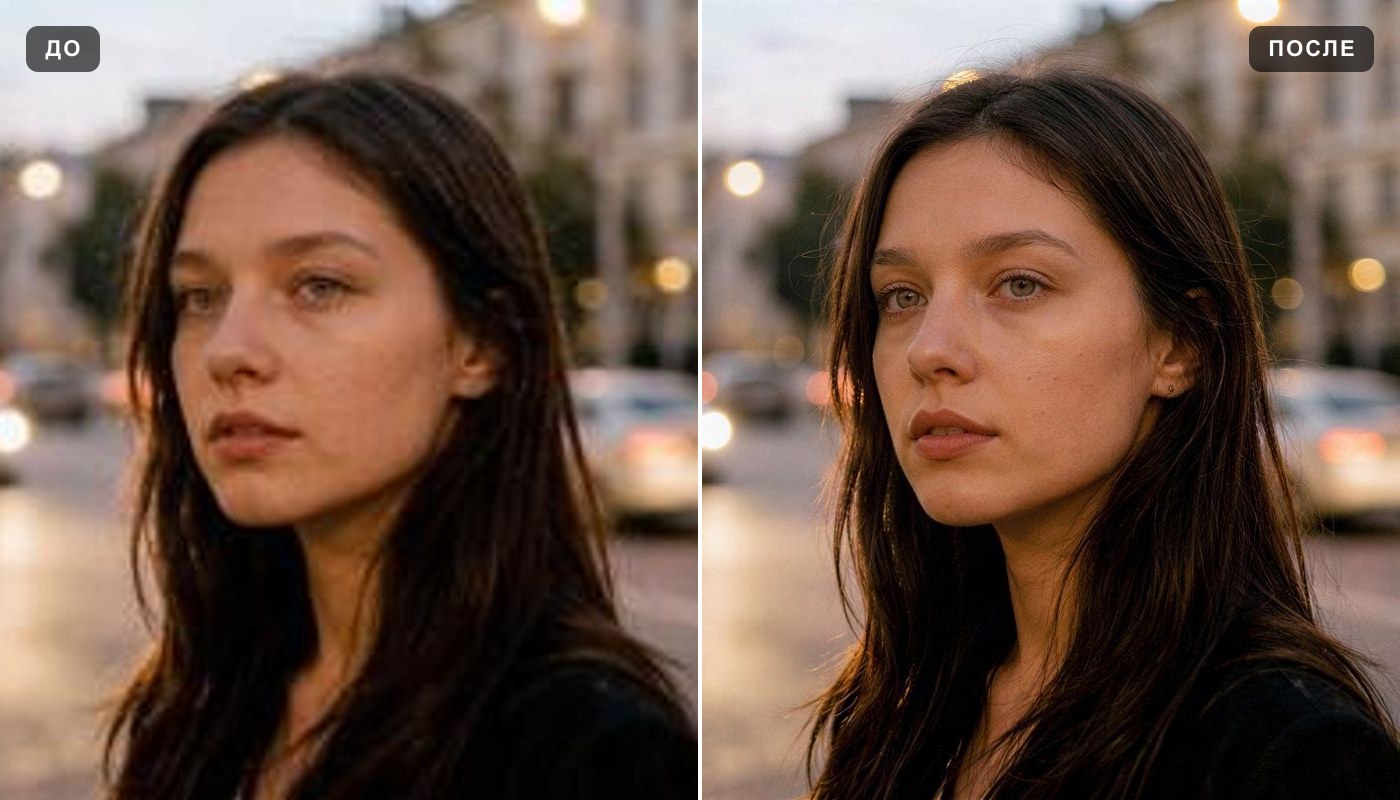 Image upscaler
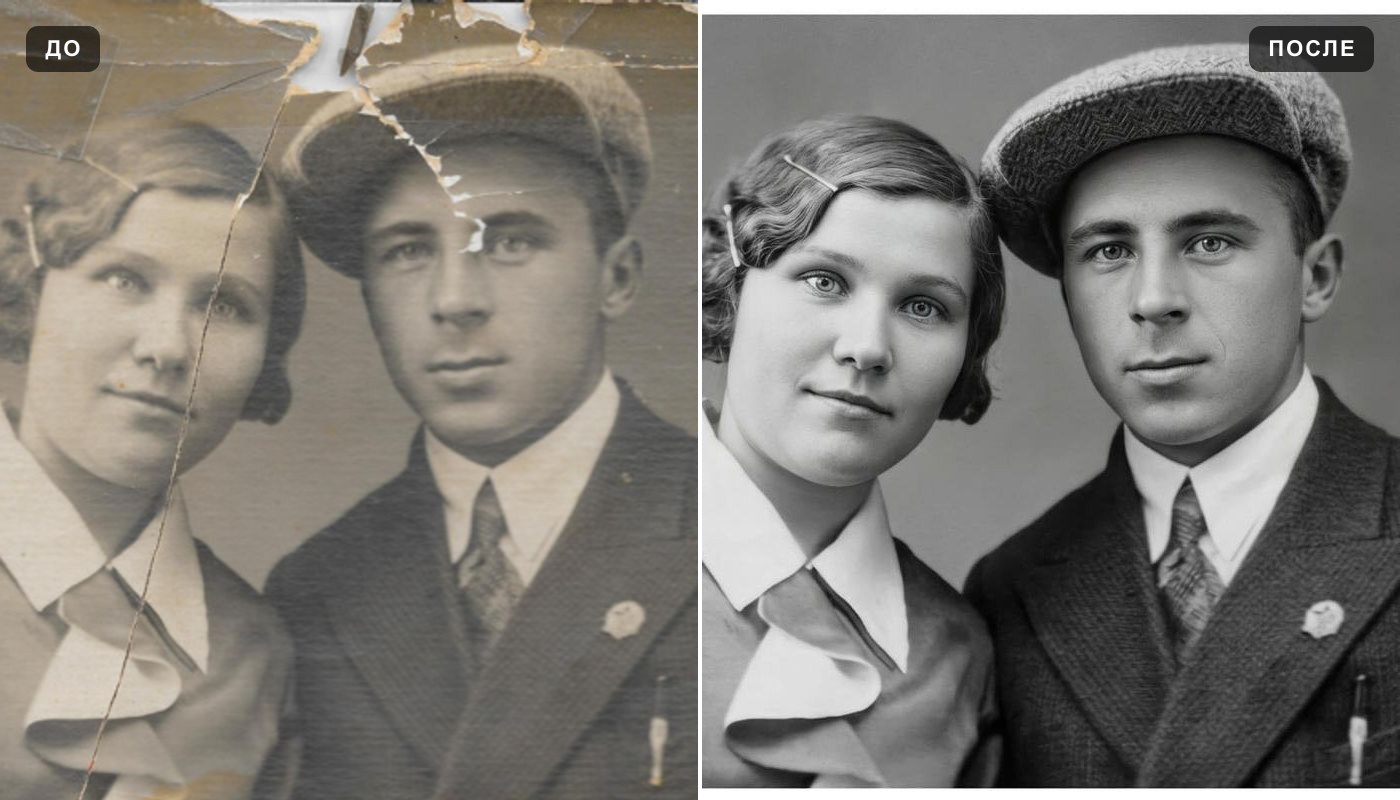 Photo enhancer
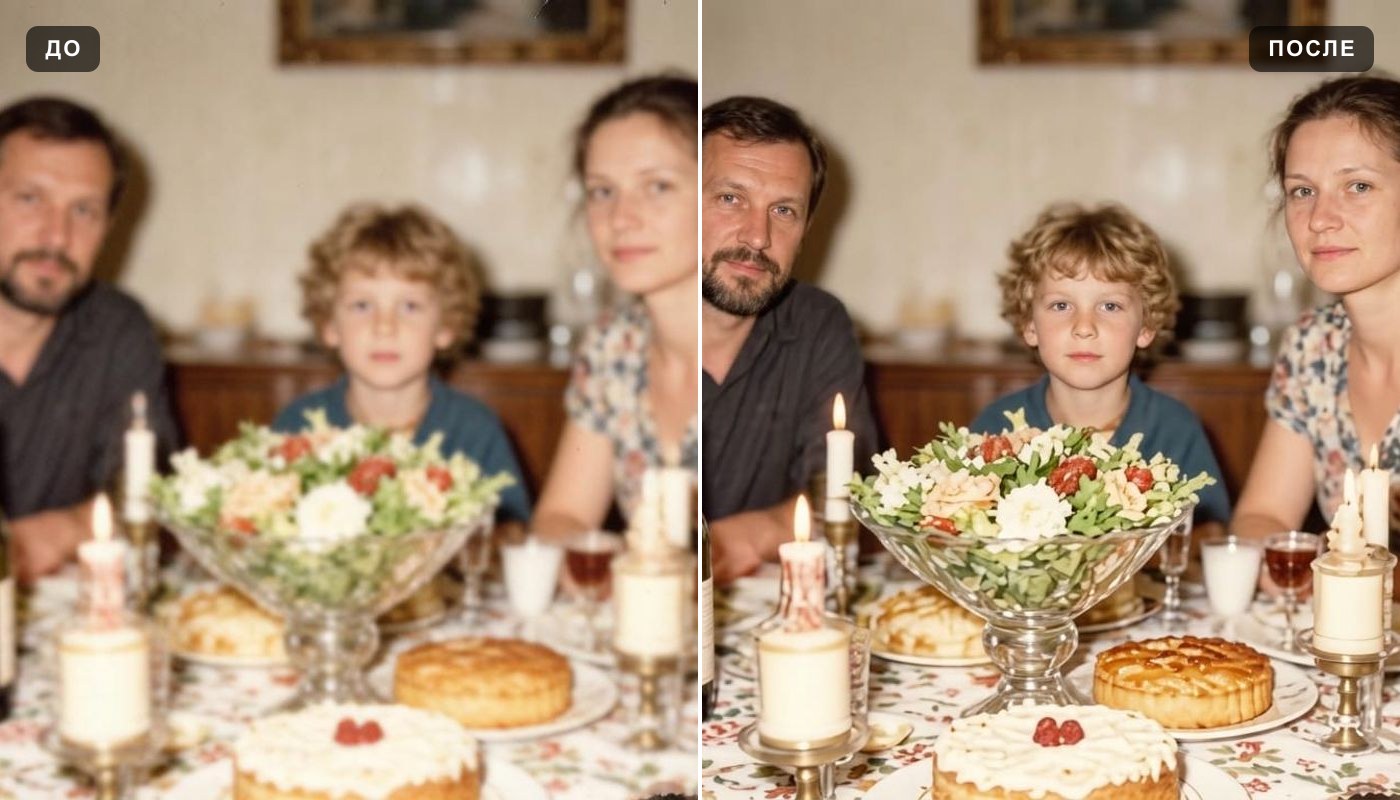 Unblur image
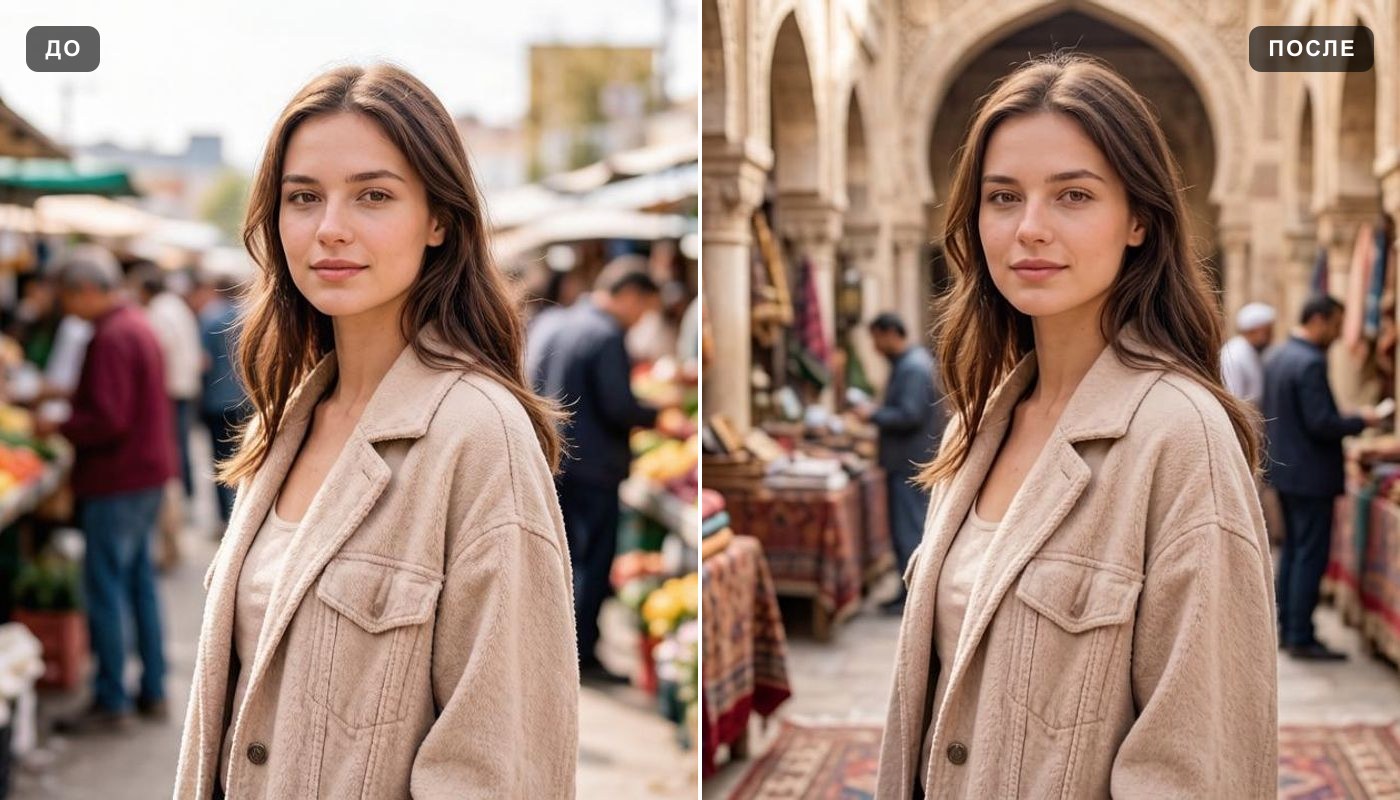 Change background
 Background remover
 Colorize photo
Virtual staging
Colorize photo
Virtual staging
 Interior design
Everything else is in the tools catalog.