Blur Background on a Photo: Bokeh Like a DSLR Lens
Upload a photo and the AI finds the subject - a person, a pet, a product - keeps it sharp and softens everything behind it, the way a fast portrait lens does. How strong the blur should be is up to you: say it in plain words in Additional wishes, from a light blur that keeps the room readable to heavy bokeh that turns the wall into patches of color. Press Create and the blurred version lands in History next to the original, which is never touched. The setting stays in the frame - it just stops competing with the subject for attention.
 BeforeAfter↔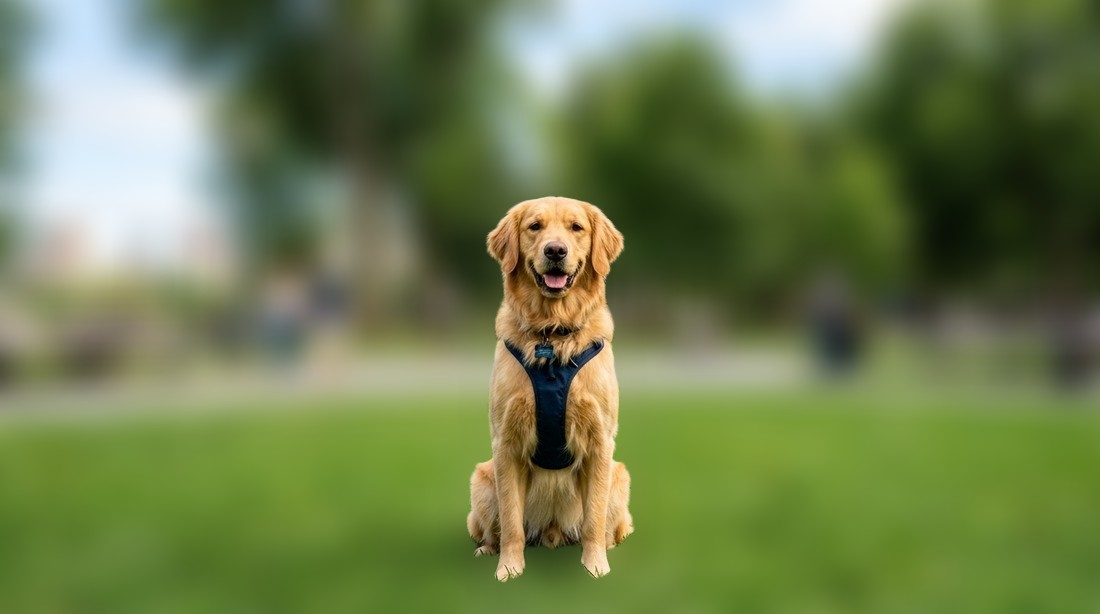
 BeforeAfter↔
How to blur the background in three steps
There is nothing to install and nothing to select by hand: you do not trace the subject and you do not paint a mask. The model reads the photo, works out what is in front and what is behind, and softens the part behind. If you want a different amount of softening than it chose, you say so in words and run it again. This tool works on still photographs only — it does not process video or sound.
Before and after
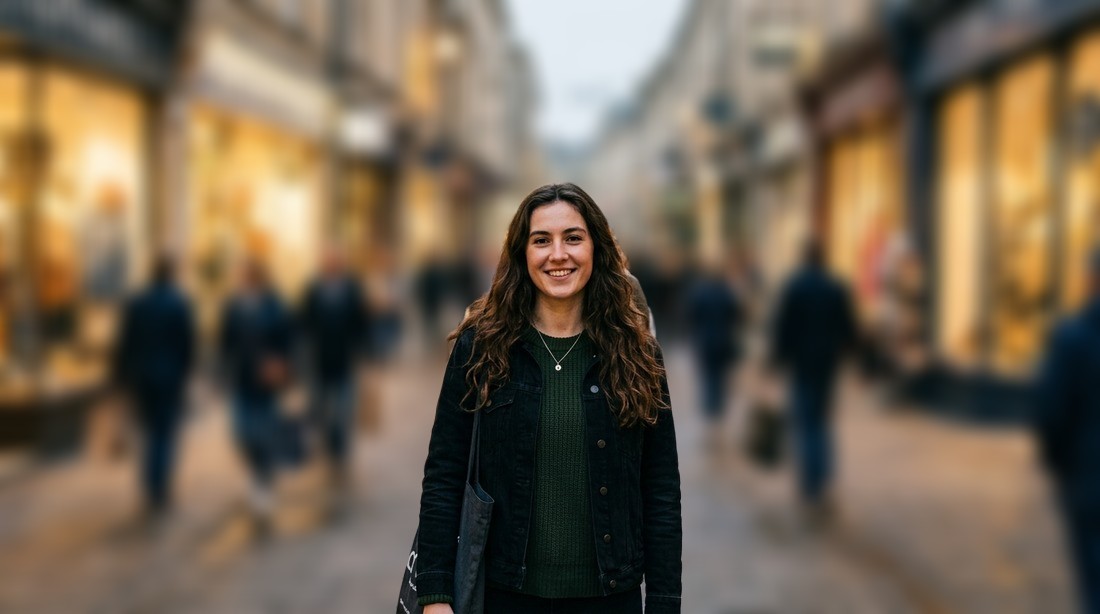
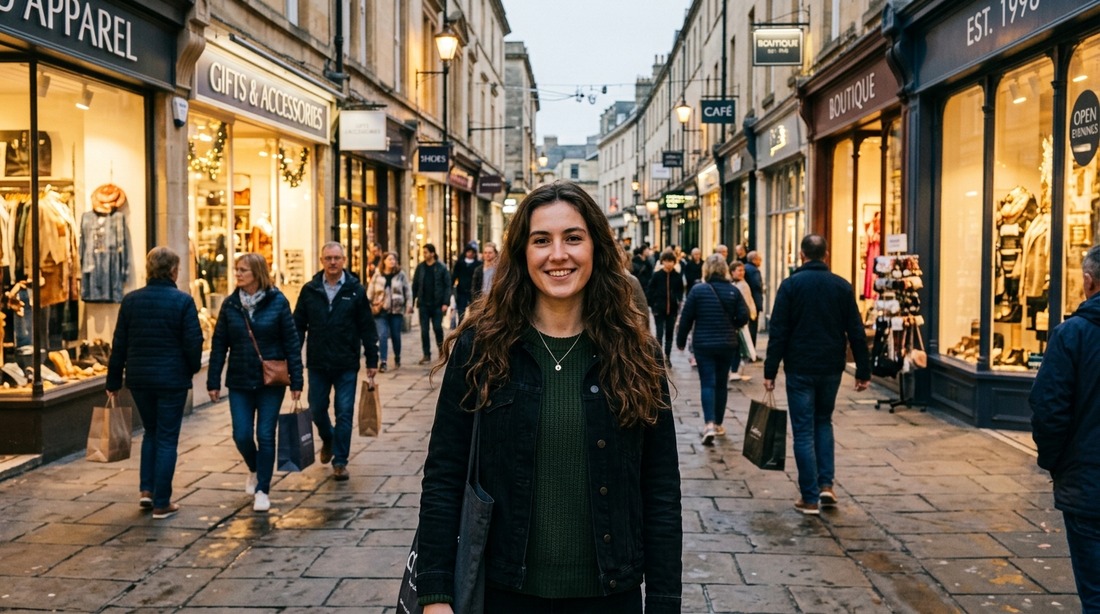
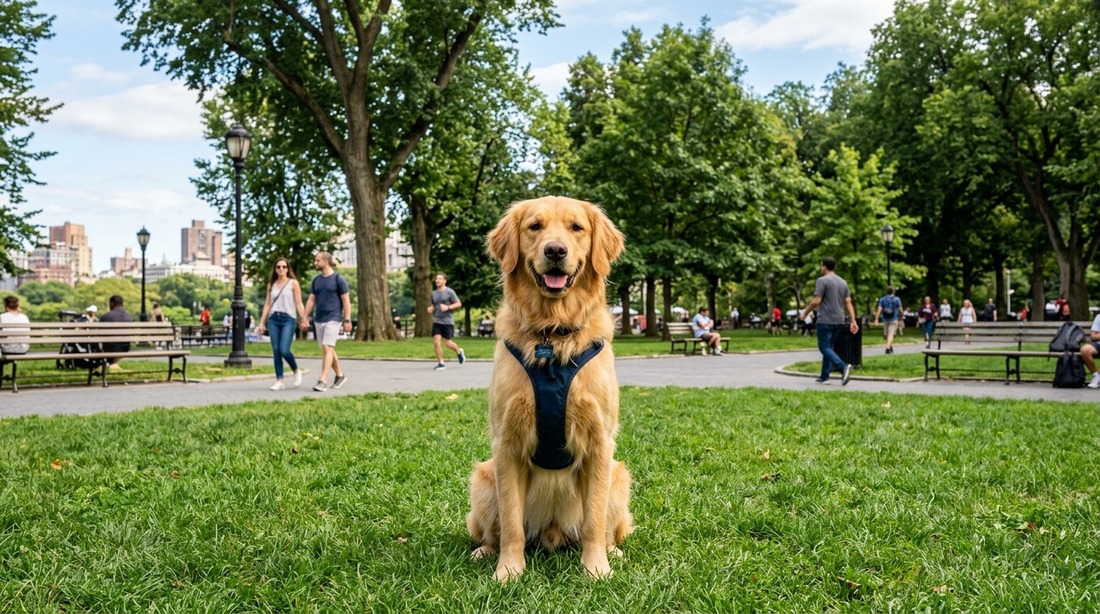
The comparison sliders near the top of this page hold two ordinary cases. In the first, a portrait on a busy evening street: the storefronts, the signage and the people walking past were all in focus and all competing for attention, and afterwards they are soft patches of light while the face and the hair stay sharp. In the second, a dog in a park, where the fence, the trees and the picnic tables drop away and the animal steps forward out of the clutter.
Your own pair works the same way. Every run is saved in History right next to the photo you uploaded, so you can flip between them as many times as you like and nothing is overwritten. Try a lighter version and a heavier one, then keep the one that still looks like a photograph rather than a filter.
What to look at, in this order: the outline of the subject first — especially the hair, the shoulders and any gap between an arm and the body — then how far the softening reaches, then whether anything that should have stayed crisp got caught in it. Those three checks take ten seconds and catch almost every problem worth fixing.
Where people blur the background
Almost every request comes down to the same thing: the subject is good, the surroundings are not, and nobody wants to reshoot.
Privacy is the quietest reason and one of the best ones. A photo taken in public usually has other people in it: a stranger at the next table, somebody's child in the playground behind you, a name badge, a street number, a delivery label on a box by the door. Softening the back of the frame makes all of that unreadable while the picture still looks natural. If you are about to post a photo taken in a public place, it is a sensible step before you do.
Product photos have a second benefit: a softened room reads as a deliberate studio choice rather than a phone snap on a countertop, and the buyer's eye goes to the item. Keep the item itself untouched, though — the shape, color and condition of what you are selling are the information in that photo.
Blur it, swap it or cut it out: three different jobs
These three get mixed up constantly, and picking the wrong one is the most common reason a result disappoints. The difference is simple: what happens to the place the photo was taken in.
The place stays. It is still your living room, still that street, still the park — just soft. The photo keeps its light, its colors and its sense of depth, and nothing in it is invented. This is what you want when the setting is fine but distracting, and it is the only one of the three that still looks like an unedited photograph.
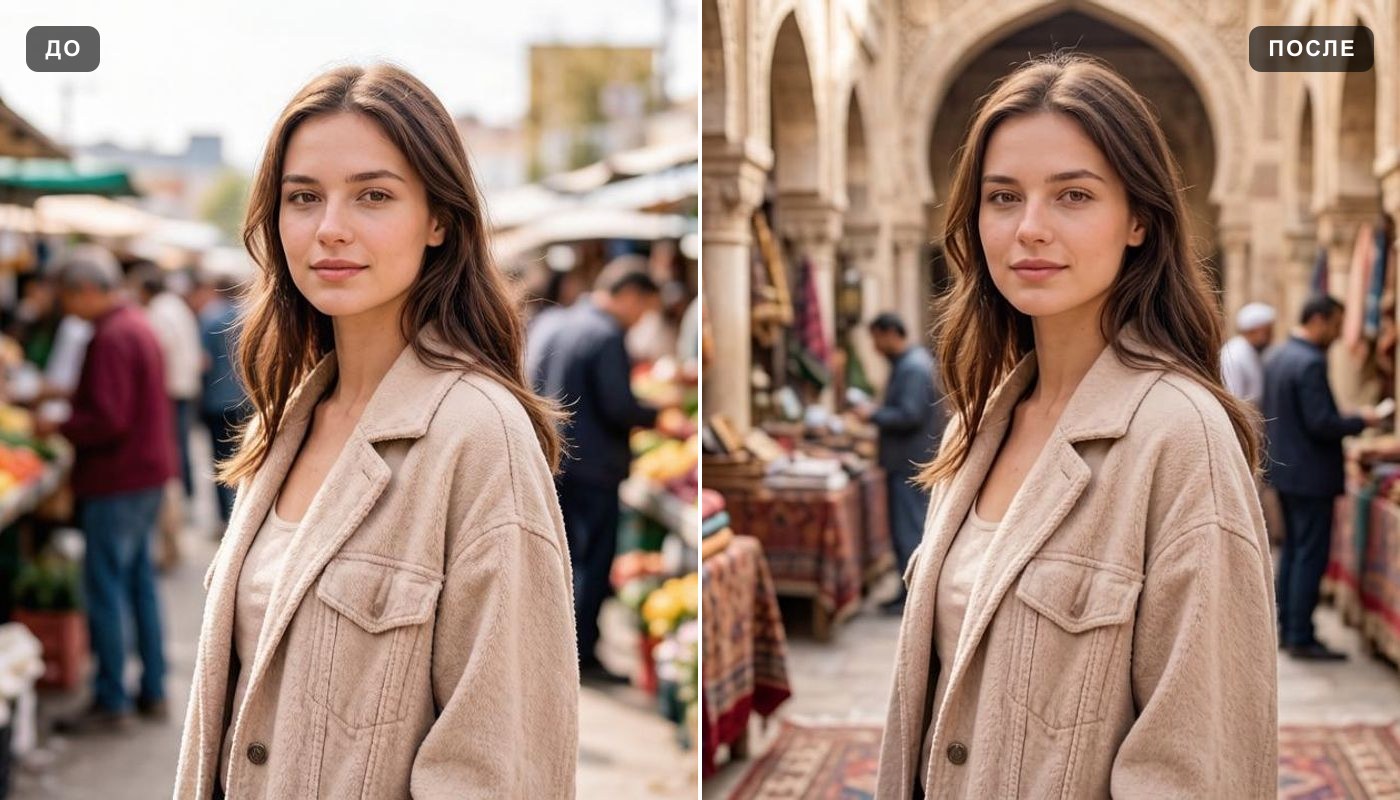
A different setting entirely: a plain studio wall, an office, a beach, a color you name. Use change background when the real surroundings will not do at all. It is a bigger edit, and the light on the subject has to be talked into matching the new scene.
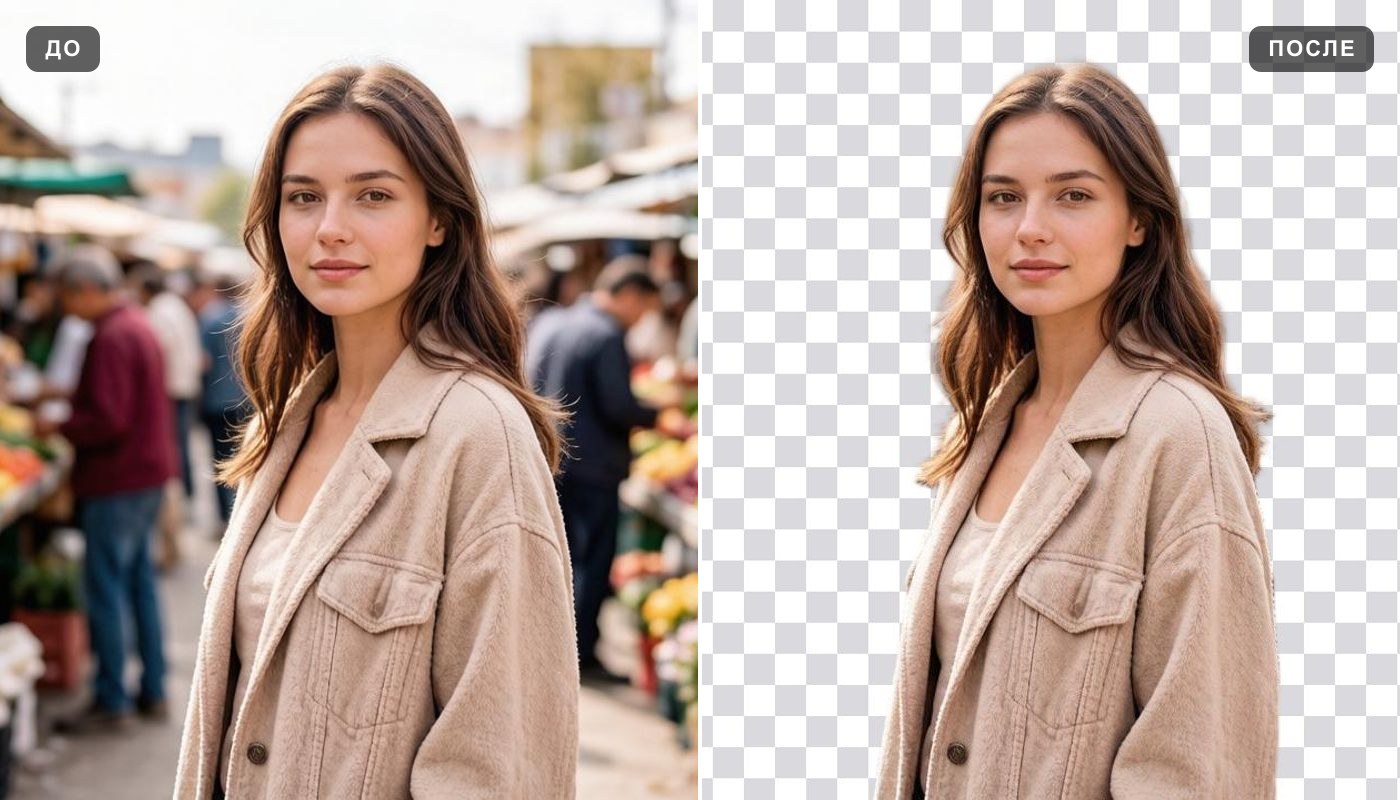
Nothing behind the subject at all, so you can drop it onto a color, a layout or a listing template yourself. That is the background remover. It hands you a cutout to build with, not a finished photograph.
One more thing worth separating, because the word is the same: if your photo came out soft all over — the camera missed focus, your hand moved, the light was low — you want the opposite of this page. That is unblur image. This page adds softness behind a sharp subject; it cannot put focus back into a subject that never had it.
How strong should the blur be?
This is the decision that makes or breaks the photo, and it is entirely yours. There is no slider and no set of presets to click — the amount lives in the Additional wishes field, in ordinary language, which is more flexible than a slider ever is: you can ask for a soft far wall while the floor near the subject stays readable, and no single number can express that.
Three rough levels cover most work. Light takes the edge off without hiding anything: you can still tell it is a kitchen, the room reads, and the picture simply calms down. This is the one for a family photo where the place is part of the memory. Moderate is the classic portrait look, roughly what an 85 mm lens at f/2.8 gives you: shapes and colors survive, detail does not, and the face sits clearly in front. Leave the field empty and this is about what you get. Heavy dissolves the back of the frame into patches of color and round highlights — the right choice for a product shot, a profile picture, or any photo where the surroundings add nothing at all.
Two practical notes. Heavier is not automatically better: past a certain point the photo starts to look like a cutout pasted onto a smear, and the giveaway is always the same — a subject that is too crisp against a background that is too soft. And a strong blur is less forgiving of edge mistakes, because the boundary between sharp and soft is where the eye goes first. If the edges of your subject are complicated, a moderate blur hides small errors that a heavy one advertises.
You can also describe where the softening should fall, not just how much. Ask for it to build up with distance — gentle just behind the subject, strongest at the far wall — and the result looks far more like a real lens than an even wash of blur across everything. If you are not sure how to word a request, the Improve description button next to the field expands a short note into a fuller instruction; it is a paid action, on the same footing as a run, so it is worth writing your own line first and reaching for it only when you are stuck.
Wishes you can copy
Paste one of these into Additional wishes and change the details to match your photo.
Light: keep the room readable
Blur the background lightly. The room should still be readable, just softer and calmer. Keep the person and their clothing completely sharp.
Moderate: the standard portrait look
Blur the background the way an 85 mm portrait lens at f/2.8 would: the person stays sharp, the background reads as shapes and colors without detail. Natural falloff, no halo around the hair.
Heavy bokeh
Strong bokeh: turn the background into soft patches of color with round highlights where the lights are. Keep the subject sharp and do not brighten the photo.
Everything except the person
Blur everything except the person in the middle of the frame, including the floor in front of them and the ceiling above. The person stays completely sharp, edges included.
Blur that grows with distance
Blur the background gradually: gentle just behind the subject, heaviest at the far wall. Keep the ground right under the subject readable so the photo keeps its depth.
Product on a table
Keep the whole product sharp with a crisp outline, and blur the table surface and the wall behind it evenly. Do not change the color, the shape or the labels on the product.
Hide a messy room
Blur the room behind me strongly so the shelves, the laundry and the papers are not readable. Keep me and my clothing sharp and keep the lighting as it is.
Strangers walking behind
Blur the people walking behind us so their faces and any signage are not readable. Keep both of us in front completely sharp, including our hair.
Pet with fine fur
Keep the dog sharp, including the whiskers and the fur on its ears, and blur the park behind it moderately. No halo or outline around the animal.
Which photos blur cleanly
The model has to answer one question before it can do anything: where does the subject end and the rest begin. Everything that helps it answer that gives a cleaner result.
More than one person in the frame
Group photos work, with one thing to watch. When several people stand at roughly the same distance, the model usually keeps all of them sharp and softens what is behind the group — which is what you want. When they stand at clearly different distances, it has to choose, and it can choose wrong: someone half a step back may end up softened along with the wall.
The fix is a sentence in the wishes field naming who stays sharp, described the way they look in the frame rather than by name: «keep both people in the front row sharp and blur only what is behind them», or «keep the woman in the red jacket and the child next to her sharp». Asking for one person to be separated out of a group is the harder request of the two — it works, but check the result.
Hair, glasses and hands: where the edges get hard
Almost every problem with a softened background shows up in the same handful of places. None of them is a reason to avoid the tool — they are just the spots to zoom in on before you publish.
There is also a general point worth knowing. The subject stays sharp — that is the entire job of this page — but the frame comes back re-rendered rather than filtered, so very fine detail can shift a little: a thin chain, small lettering on a shirt, the pattern in a knit, the exact shape of the hairline. On a portrait for a profile picture nobody will ever notice. On a photo of a piece of jewelry or a label you are selling, compare it with the original in History before you use it.
When an edge does come out wrong, the quickest fix is usually not a heavier blur but a lighter one plus a sentence about the problem area: «keep the wispy hair at the top of the head sharp, no halo». And if a single object in the frame needs to go rather than be softened, that is a different job — the AI photo editor handles edits aimed at one thing in the picture.
A photo tool, not a setting in your meeting app
Worth saying plainly, because the same words mean two different things. Half the people looking for a blurred background want the live effect during a call — the one that softens your actual room while you talk. That lives in the video settings of whatever app you are calling in, it runs on your own machine, and no website can switch it on for you. This tool does not process video or sound at all.
What it does cover is every still picture around that work: the account photo people see when your camera is off, the headshot on a team page or a conference site, a portrait for a resume or a bio, the screenshot you are about to paste into a deck. Those are exactly the images where a busy room behind you reads as careless, and they are one upload away from looking deliberate.
If a portrait needs more than a softer setting — even skin tone, better light, a cleaner overall look — there are pages for that: professional headshot for a portrait aimed at a work profile, photo retouch for gentle cleanup that keeps skin texture, and photo enhancer for a picture that is simply dull or low quality. Softening the background is a good last step after any of them.
Formats, file size and devices
There is no app to install. The page opens in a browser on an iPhone, an Android phone, a laptop or a tablet, which suits the most common case of all: you took the photo on your phone a minute ago and you want the room behind you softened before you post it.
Accepted formats are the ones printed on the upload panel: JPG, PNG, WEBP — up to 10 MB. There is no limit on the resolution of what you upload, and the file goes to processing at full quality rather than being shrunk on the way in.
One iPhone note that catches people out: HEIC and HEIF files are not accepted. Either set the camera to save as «Most Compatible» in Settings, or share the picture once to yourself, which converts it to JPG along the way.
Size of the result: the returned frame measures 1024 px on the long side on Standard and 2048 px on Pro, so a large original comes back smaller than it went in. For a profile picture, a post or a listing thumbnail that is plenty. If you need the softened version big — a print, a banner, a full-width hero image — run it through the image upscaler afterwards, in that order: blur first, enlarge second.
Blur background free: what you get and where the limits are
You can try it for free. A new account gets two free generations in total — not two a day and not two a month — and this tool is one of the ones they cover. Free runs use Standard quality; Pro, which comes back at the higher resolution, is part of a paid plan. After that, work continues on a plan or a pack, and the terms are on the pricing page.
Two things worth knowing before you start rather than after. Free runs carry a light ai.neiroset.com signature in the bottom-right corner; any purchase removes it permanently, including from images you have already generated. The Download button, on the other hand, is open from the very first run on this tool, so you can save what you make right away.
There is also a pace limit of six runs a minute per account — high enough that normal work never touches it, even when you try two or three different blur strengths on the same photo.
Do I need an account?
Yes. You can fill in the whole form as a guest, but pressing Create opens the sign-in window. Signing in is also what gives you History: every attempt kept beside the original, so a lighter and a heavier version sit side by side instead of replacing each other, and nothing is lost when the tab closes.
What to keep in mind
Frequently asked questions
How do I blur the background of a photo?
Upload the picture, optionally say how strong the blur should be in Additional wishes, pick Standard or Pro and press Create. The model finds the subject itself — there is nothing to trace or select — and the result appears in History next to the original.
Will the subject stay sharp?
Yes, that is the whole point: the softening is applied behind the subject, and the face, pose and clothing stay as they are. The frame comes back re-rendered rather than filtered, though, so very fine detail — a thin chain, small lettering, the exact hairline — is worth comparing with the original before you publish.
How do I make the blur stronger or softer?
Say it in words in Additional wishes. There are no presets to click here: «blur the background lightly, the room should still be readable» gives a gentle result, «strong bokeh, background as soft patches of color» a heavy one. Leave the field empty and you get a moderate, portrait-style amount.
Can I blur the background behind a product or a pet?
Yes. The subject does not have to be a person — a mug, a bag, a pair of sneakers, a dog or a cat all work the same way. For a product listing, ask for the item's outline to stay crisp and for its color and labels to be left alone.
What is the difference between blurring the background and swapping it for another one?
Blurring keeps the real place and softens it, so the photo stays a photo of where you actually were. Swapping puts a different setting behind the subject entirely — a studio wall, an office, a beach — and that is change background.
Can I get the subject on its own instead, with nothing behind it?
Not from this page — here you always get a photograph with a softened setting behind the subject. For a cutout on a transparent PNG that you can place into your own layout, use the background remover.
In a group photo, who stays sharp?
Usually everyone standing at about the same distance from the camera, with the softening applied behind the group. If people are at clearly different distances, name who should stay sharp: «keep both people in the front row sharp and blur only what is behind them».
Can I blur just one face or a license plate?
No — this tool works on the whole area behind the subject rather than on one object you pick. In practice a stranger or a plate behind the subject does become unreadable, which covers most of the reason people ask. If something has to leave the frame completely, use the AI photo editor instead.
Does it work on a phone?
Yes. The page opens in a mobile browser on iPhone and Android, and there is no app to install. Just remember that HEIC files from an iPhone are not accepted — save or share the photo as JPG first.
Who can see my photos?
On the higher paid plans a Private switch keeps a run out of the public feed — with it on, only you. Without it, a result may be shown in the site's gallery of work. The switch sits next to Create, so turn it on before you start the run rather than after; on a free account it opens an upgrade window instead.
Try other tools
 Background remover
 Change background
 Photo retouch
 Professional headshot
 Photo enhancer
 AI photo editor
 Unblur image
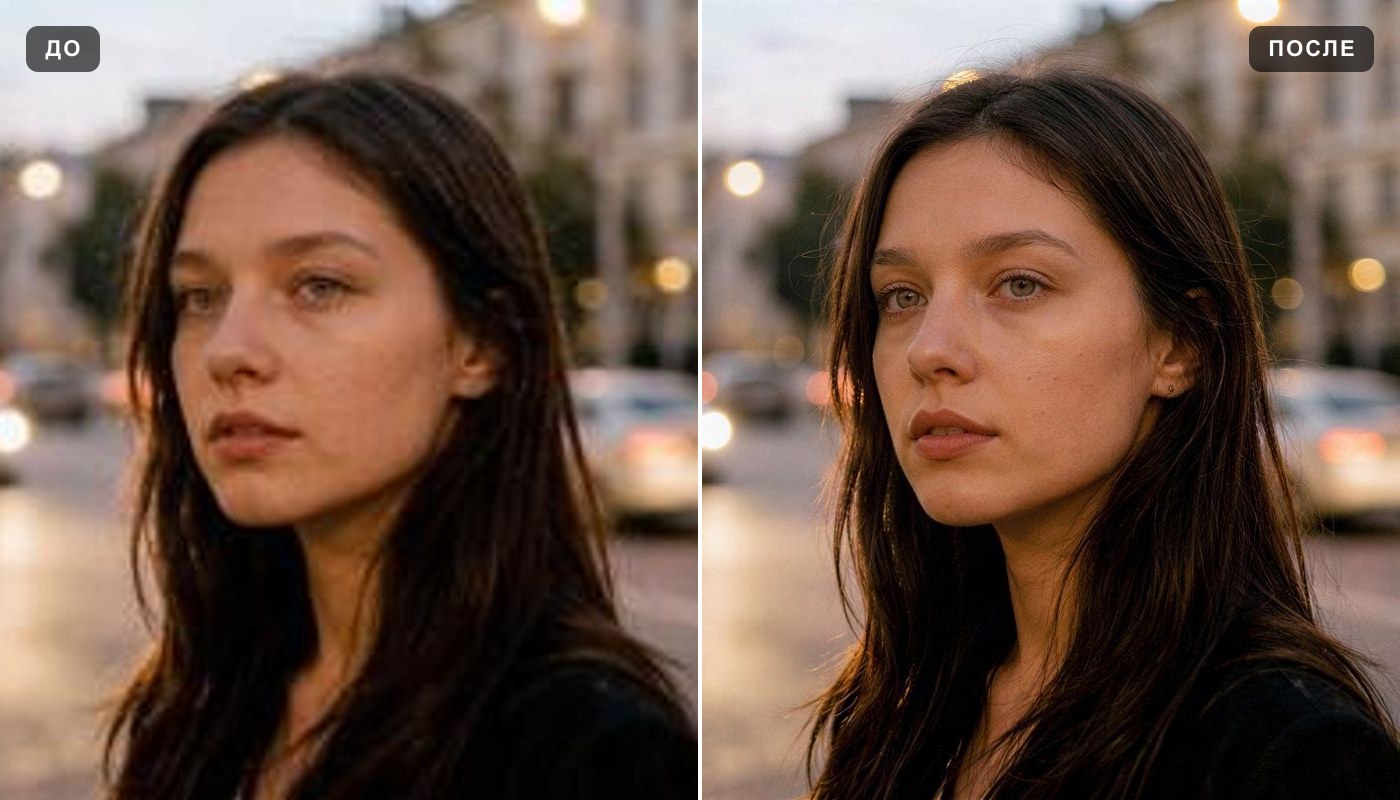 Image upscaler