Turn a Selfie Into a Professional Headshot
Upload an everyday photo and the AI rebuilds it into a professional portrait: a plain white or light gray backdrop, even light, a business top and a head-and-shoulders vertical frame. One row of circles under the upload panel carries the whole choice — White, Light gray, Jacket, Shirt, Blouse, Turtleneck, or As is if you are already dressed for it — and anything more exact goes into Additional wishes in your own words. This is an edit of the photo you already have rather than a new photo of you: nothing is generated from scratch, no model is trained on your face, and your features are meant to come back unchanged while the backdrop, the light, the clothing and the framing are rebuilt. Download is open from the very first run.
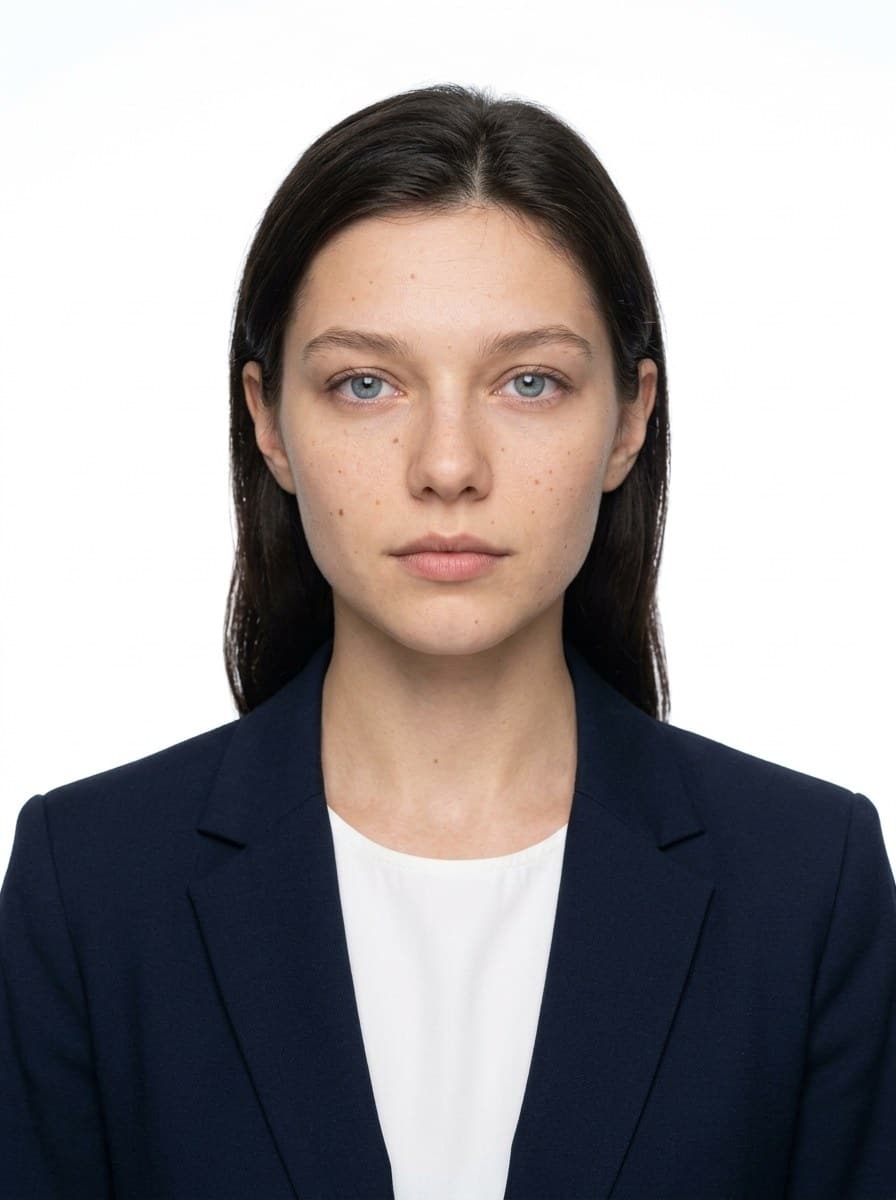
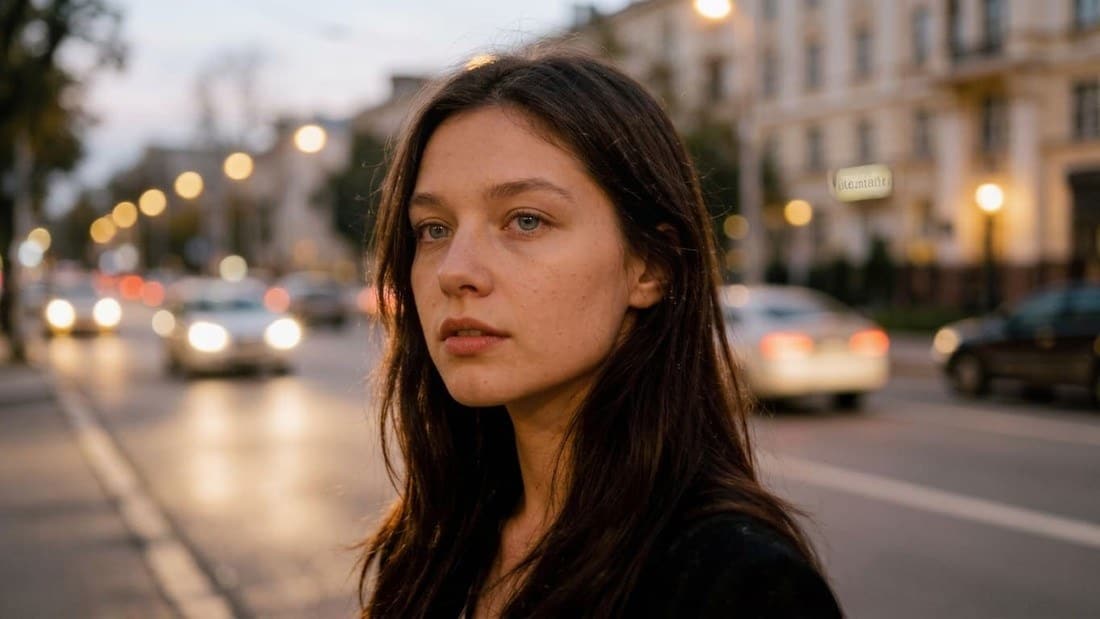 BeforeAfter↔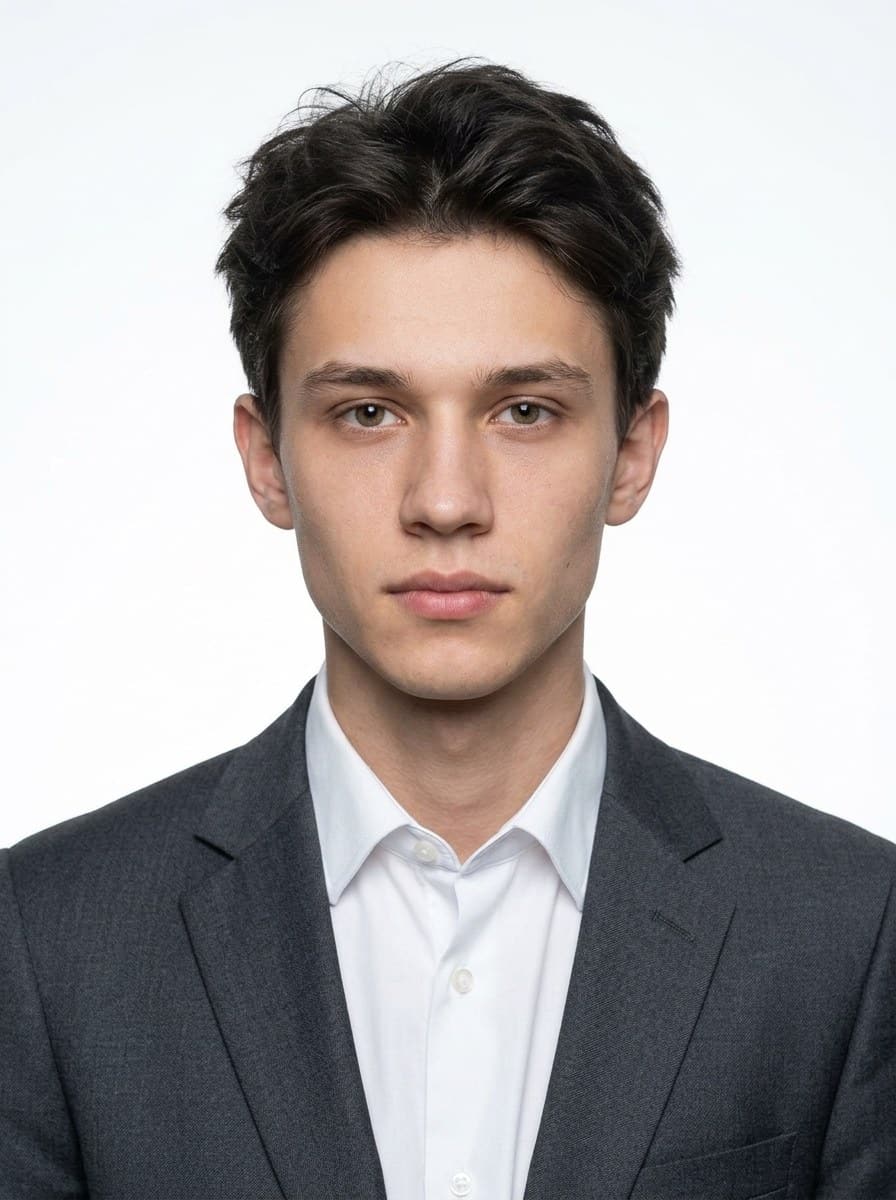
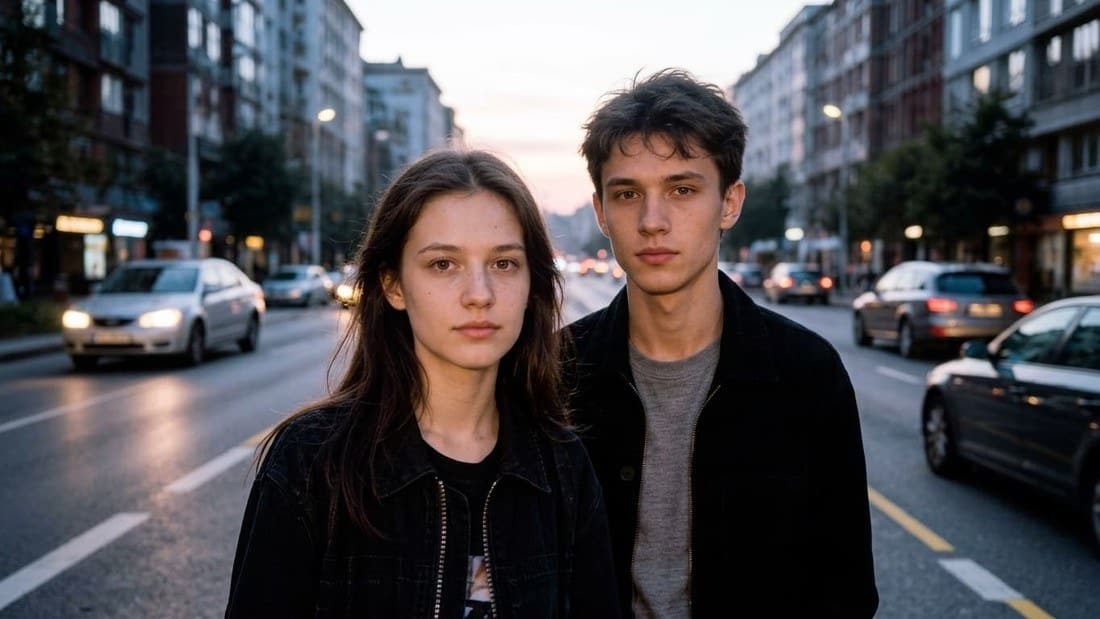 BeforeAfter↔
One photo in, a professional portrait out
Most people do not own a portrait of themselves. They own a phone, a wall at home, a t-shirt, and a profile that has been waiting for a decent picture since the last job change. This page is built for exactly that: you hand over the photo you already have, and it comes back as a portrait — plain backdrop, even light, a business top, head and shoulders in a vertical frame.
It is worth being blunt about the method, because this category is loud with promises. Nothing here is invented from scratch. You do not upload twenty pictures, you do not wait while a model learns your face, and no new person is assembled for you out of training data. One photo goes in and one edit comes out: the same face, in front of a different background, wearing a different top.
The word headshot currently covers two different products, which is worth untangling before you spend a run. One of them is a studio in software form: you send in twenty pictures, a model spends half an hour learning your face, and it then produces photographs of you that were never taken. This is the other kind. Your own photograph is edited — background, light, clothing, framing — and everything else about it is left where it was. Faster, and the face that comes back is the one you uploaded rather than a reconstruction of it.
That is also where the limit sits. The face in the result is meant to be the face you uploaded, and on a decent source it is. On a weak one — dark, soft, shot from across a room, your face tiny in the frame — features can drift, and a portrait that is almost you is worse than no portrait at all. Open the result next to the original at full size before you use it anywhere.
How to make a professional headshot in three steps
Nothing to install: it runs in a browser on a phone, a laptop or a tablet. If the first version misses, change one circle or one line of the wishes and run it again — the attempts line up in History, so you can choose at the end instead of on the spot.
Background and clothing: what each circle does
Everything the form asks of you sits in one row of circles under the photo, headed Background and clothing. Seven of them, and White is already selected when you arrive — which means a portrait on a plain white backdrop is what you get if you change nothing at all.
One thing the row does not announce about itself: only one circle can be active at a time. Press Jacket and White switches off; press Jacket again and nothing is selected. That matters less than it sounds, because a plain light backdrop and a tidy top are what the tool aims for on its own — the circles steer that, they do not switch it on.
So when you want a specific pair, choose one with a circle and type the other into Additional wishes: pick Light gray and write "navy jacket over a white shirt, no tie", or pick Shirt and write "plain white background". The field takes ordinary sentences, not keywords.
What is worth writing in the wishes field
There is an Improve description button beside the field that expands a short line into a fuller one. It is a paid action on your account, the same as a run, so it is worth using when a description is genuinely hard to phrase rather than out of habit.
Where a portrait like this goes
A professional network profile. The most common reason people land here, and it fits for a specific reason: what comes back is still a photograph of you, not a cartoon, an illustration or a person who does not exist. Networks that ask members for a genuine photo of themselves are asking for exactly that. Where your own judgment comes in is the clothing — a jacket you have never owned is still a jacket you were not wearing. If that sits badly, pick As is and change nothing but the backdrop and the light.
Resume. In the US a photo on a resume is optional and in many fields it is deliberately left off. Where it is used — international applications, academia, consulting, client-facing roles — the brief is short: plain backdrop, tidy top, calm face. That is this tool's entire job description.
A team page or an about page. Here the value is consistency rather than glamour. Eleven people photographed in eleven kitchens look like eleven different companies; eleven headshots run through the same circle look like one team. Pick a circle, tell everyone to use it, and the page holds together without booking a photographer for a day.
Email signature and small avatars. These are displayed tiny and usually cropped to a circle or a square. A plain backdrop and a centered head are what survive that; the kitchen behind you does not. The result comes back vertical, so crop it square yourself before uploading it somewhere that wants a square.
A work badge or a student ID. Mechanically this is the closest thing on the list to what the tool does: head and shoulders, plain backdrop, calm expression. Whether it is accepted is not ours to promise — employers and universities set their own rules for the photo they will print, and some require one taken on site or ban edited photos outright. One email to HR or the campus card office settles it before you spend a run.
Where this photo does not belong
Tools in this category tend to promise that their portraits are accepted anywhere. This block says the opposite, because it is true and because the alternative is you finding out later, at a counter, with an appointment to reschedule.
A portrait made here must not be used for a US passport or visa application. The reason has nothing to do with how good it looks. The State Department requires the photograph you submit to be unaltered — not edited with software, not run through an app, no filters and nothing made or changed by AI. Cropping is the only change allowed. This tool replaces the background and replaces your clothing, which is precisely what that rule names. You can read the requirements on the State Department's own page: travel.state.gov.
Everything above this block is what the tool is for: profiles, resumes, team pages, signatures, a photo someone will look at. The line runs between a portrait that represents you and a photograph that has to prove who you are. We would rather lose the second kind of visitor than send them to a counter with a picture that gets refused.
What your source photo should look like
A phone selfie is fine — most of what goes through this tool is one. What matters is that your face is readable, because everything the portrait keeps, it keeps from there.
Hair off the face helps. What you are wearing mostly does not matter, since the top is being replaced anyway — unless you plan to use As is, in which case it is the whole picture. Heavy beauty filters already baked into the photo are worth avoiding: the tool ends up rebuilding a face that has already been smoothed once.
If the only photo you have is soft, dark or small, fix that first and make the portrait second: unblur image for a blurry frame, photo enhancer for a dark, flat or noisy one, image upscaler for a tiny one. Then bring the cleaned-up version back here.
What the AI changes and what it keeps
Most disappointment in this category is a mismatch of expectations, so here is the split as plainly as it goes.
The background, all of it, along with whatever was standing in it. The light on your face and shoulders. Your clothing, unless you chose As is. The framing: head and the top of the shoulders in a vertical 3:4 frame with even margins. Fine detail near the edges — collars, hair against the backdrop, small jewelry, lettering and patterns on clothes — is redrawn rather than copied.
Facial features and their proportions, apparent age, the shape of the eyes and the nose, moles and freckles, skin tone, hairstyle, glasses. The instruction behind the tool says so directly: do not smooth the skin into plastic, do not slim the face, do not change the eye color. It is your photograph being edited, not a person being generated.
Will people be able to tell it was made with AI?
It is the first question asked about every tool of this kind, and the honest answer is: sometimes — and you will usually spot it before anyone else does. The giveaways are specific and they live in the same places every time. A backdrop so evenly lit that it looks painted. Skin smoothed until it has no pores. A collar that does not quite sit on the shoulders under it. An earring fused into the hair. A soft halo where hair meets the background.
Four things push it down. A sharp, evenly lit source, since most visible strangeness begins as missing information. Light gray instead of White, which gives the frame a little depth instead of a flat wall. As is, which removes the hardest part of the job by leaving your own clothes on. And one line in the wishes: "natural skin texture, no retouching, do not smooth the face".
One more habit worth having. The same photo gives a different result every time — each run is rendered fresh rather than replayed from a saved recipe. Run it two or three times and compare them in History; the spread between attempts is usually wider than any setting you could have changed.
Then the check that actually matters: open the result at full size and look at your own face. If what looks back is someone who resembles you rather than you, that run is not usable, however good everything else in the frame is.
Privacy: what happens to the photo you upload
A portrait is a photo of your face, so it is fair to ask where it goes. You pick one file yourself and that one file is what is sent. The page never asks for access to your camera roll or your gallery, and nothing else on your device is read.
The photo goes for processing at full quality — it is not squeezed down on the way in — and both the upload and the result are kept in your account so you can find them again in History. That storage is the reason an account is needed at all: without one there would be nowhere to put your pictures, and they would be gone the moment the tab closed.
Deleting is real deleting. Remove a result from History and the files behind it — the portrait and the photo you uploaded for it — are deleted from storage rather than hidden from your list. The one exception is a file still attached to another result you decided to keep.
One switch to know about before you start. On the higher paid plans a Private toggle keeps a run out of the public feed: with it on, only you see the result. Without it, a result may appear in the site gallery. It sits next to Create and has to be on before you press the button; on a free account it opens an upgrade window instead.
Free runs, formats and the size you get
You can try it for free. A new account gets two free generations in total — not two a day and not two a month — shared with the other tools on the site, and this one is covered by them. Free runs use Standard quality; Pro is part of a paid plan. They are free after you sign in, not without an account. After that the work continues on a plan or a pack, and the terms live on the pricing page.
Two things are better known up front than discovered later. Until there has been a purchase on the account, results carry a light ai.neiroset.com signature in the bottom-right corner; any purchase removes it permanently, including from pictures generated earlier. And Download on this page is open from the start — you can save your portrait on a free run, signature and all. There is also a pace limit of six runs a minute per account, which ordinary use never approaches.
Accepted formats are the ones printed on the upload panel: JPG, PNG, WEBP — up to 10 MB, with no limit on the resolution of what you send in. HEIC and HEIF are not accepted — on an iPhone, either set the camera to save as "Most Compatible", or share the photo to yourself once, which converts it to JPG along the way.
The result is always a vertical 3:4 portrait, whatever shape the photo you uploaded was: head and the top of the shoulders, even margins, face centered. The long side is 1024 px on Standard and 2048 px on Pro, and the exact frame size is printed right under Quality before you press Create. For a site that wants a square or a circle, crop the middle of that frame yourself — the head is already centered for it.
It all runs in a browser, on a phone, a laptop or a tablet. There is no app to install, and your results open from any device you sign in on.
Do I need an account?
Yes. You can fill in the whole form as a guest — upload the photo, pick a circle, write your wishes — but pressing Create opens the sign-in window. That account is what keeps every version in History next to the original, on whatever device you pick up next.
Frequently asked questions
How do I turn a selfie into a professional photo?
Upload the selfie, pick a circle in the Background and clothing row, add anything specific in Additional wishes and press Create. You get back a vertical portrait on a plain backdrop with a business top, and Download is open from the first run.
Will it still look like me?
That is the whole design: this edits your photo rather than generating a person, so features, proportions, age, moles and skin tone are meant to come back unchanged. On a sharp, well-lit source they do. On a dark, blurry or distant one, features can drift — which is why the first thing to do with a result is compare it with the original at full size.
Will people be able to tell it was made with AI?
Sometimes, and always in the same places: a backdrop too evenly lit to be a real wall, over-smoothed skin, a collar sitting oddly, hair edges against the background. A sharp source, Light gray instead of White, As is for the clothing, and a line asking for natural skin texture all reduce it. Look at the result full size before you use it.
Do I have to upload several photos to train a model on my face?
No. Most AI headshot products work that way — twenty pictures, a model trained on your face, new photographs invented from it. This one does not: one photo, one run, a result in seconds. Nothing is trained on you and nothing is kept to build a likeness from — the tool edits the picture you gave it and stops there.
Is it free?
A new account gets two free generations in total, shared across the site's tools, and they run at Standard quality. They are free after you sign in. Until there has been a purchase on the account, results carry a small ai.neiroset.com signature in the corner.
Can I use it as a photo for a professional network profile?
Yes — it stays a photograph of you, which is what those networks ask for, rather than an illustration or an invented face. The judgment call is the clothing: if wearing a jacket you never owned feels wrong on a work profile, pick As is and change only the backdrop and the light.
Is it good enough for a resume photo?
For the cases where a resume carries a photo at all — international applications, academia, consulting, client-facing roles — yes. The ask there is a plain backdrop, a tidy top and a calm face, and that is exactly what comes back.
Can I use it for a work badge or a student ID?
Mechanically it is the right shape of picture, but acceptance is up to whoever prints the card. Employers and universities set their own photo rules and some of them require a photo taken on site or refuse edited ones. Ask HR or the campus card office first — it is a one-line question.
Can I use it for a passport or a visa application?
No, and this is the one place we will not soften it. The State Department requires an unaltered photograph — no software editing, no apps, no filters, nothing made or changed by AI, cropping aside. This tool changes the background and the clothing. For those applications, have a photo taken at a pharmacy, a shipping store or a studio. The block above has the details and the link.
Can I choose the background and the clothing at the same time?
Only one circle can be active at once — selecting a second one turns the first off. Choose the one that matters more and type the other into Additional wishes: pick Jacket and write "plain light gray background", for example. The tool aims for a plain light backdrop anyway, so nothing is lost.
Can I keep my own clothes?
Yes — that is the As is circle. Only the backdrop, the light and the framing change. Use it when you are already dressed for the shot, or when your clothing is the point: a uniform, scrubs, a lab coat, high-visibility gear.
What size is the result?
A vertical 3:4 frame, whatever the shape of the photo you uploaded. The long side is 1024 px on Standard and 2048 px on Pro, and the exact size appears under Quality before you run it. Crop the middle if you need a square — the head is centered for that.
There are two people in my photo. Which one does it use?
Whoever is closest to the camera, unless you say otherwise. Write "the woman on the left" or "the man in the blue shirt" in Additional wishes and that is who the portrait is built from.
I only have one photo and it is blurry. What do I do?
Clean it first, then make the portrait. Try unblur image for a soft frame, photo enhancer for a dark or noisy one, or image upscaler for a small one, and bring the result back here.
I just want my real photo with a white background behind it.
Then change background is the narrower tool: it swaps the backdrop and leaves you exactly as you are, clothing included. background remover cuts you out instead and hands you a transparent PNG to place yourself.
Does it work on a phone?
Yes. The page opens in a mobile browser on iPhone and Android and there is no app to install. HEIC files from an iPhone camera are the one thing to convert first.
Who can see my photos?
On the higher paid plans a Private switch keeps a run out of the public feed — with it on, only you. Without it, a result may appear in the site gallery. It sits next to Create and has to be on before you start; on a free account it opens an upgrade window instead. Deleting a result from History removes the underlying files from storage.
Try other tools
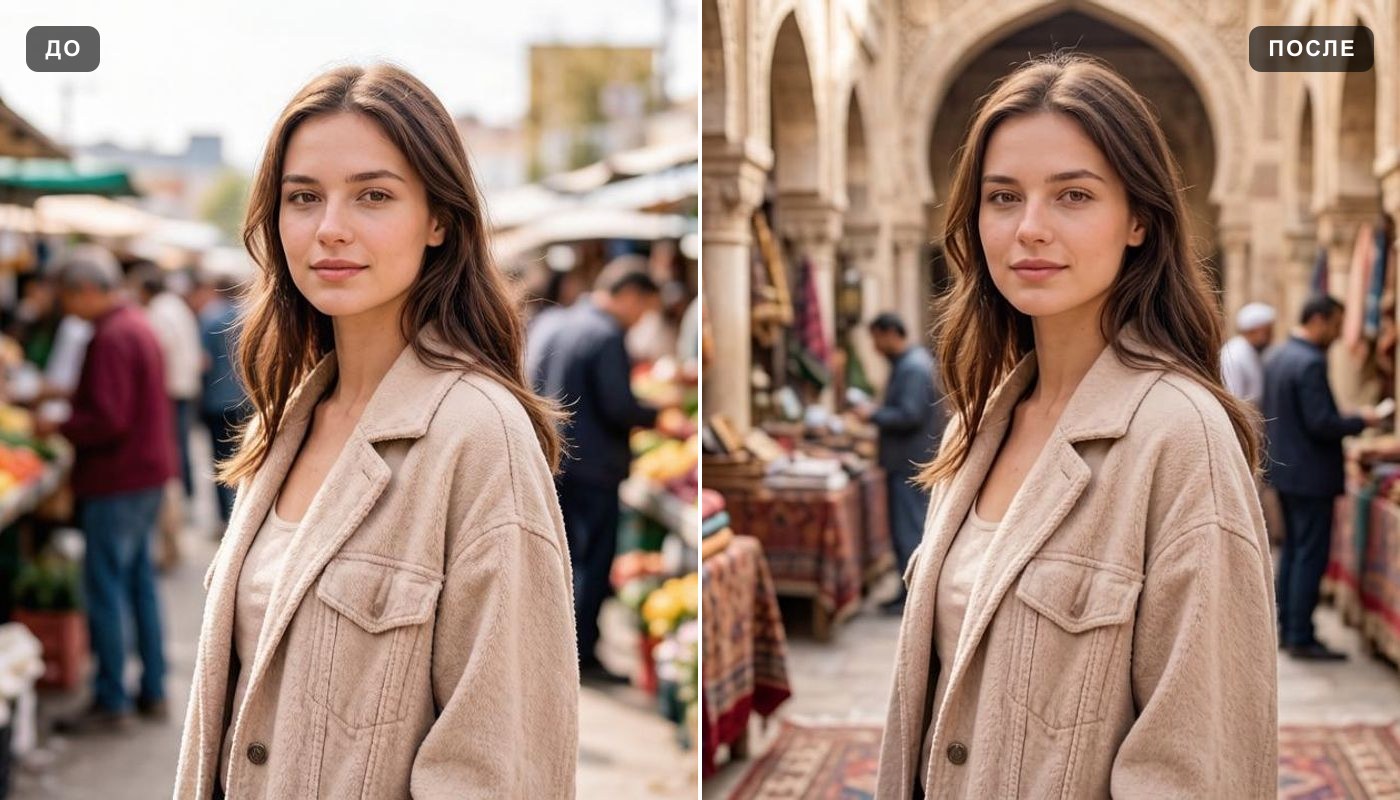 Change background
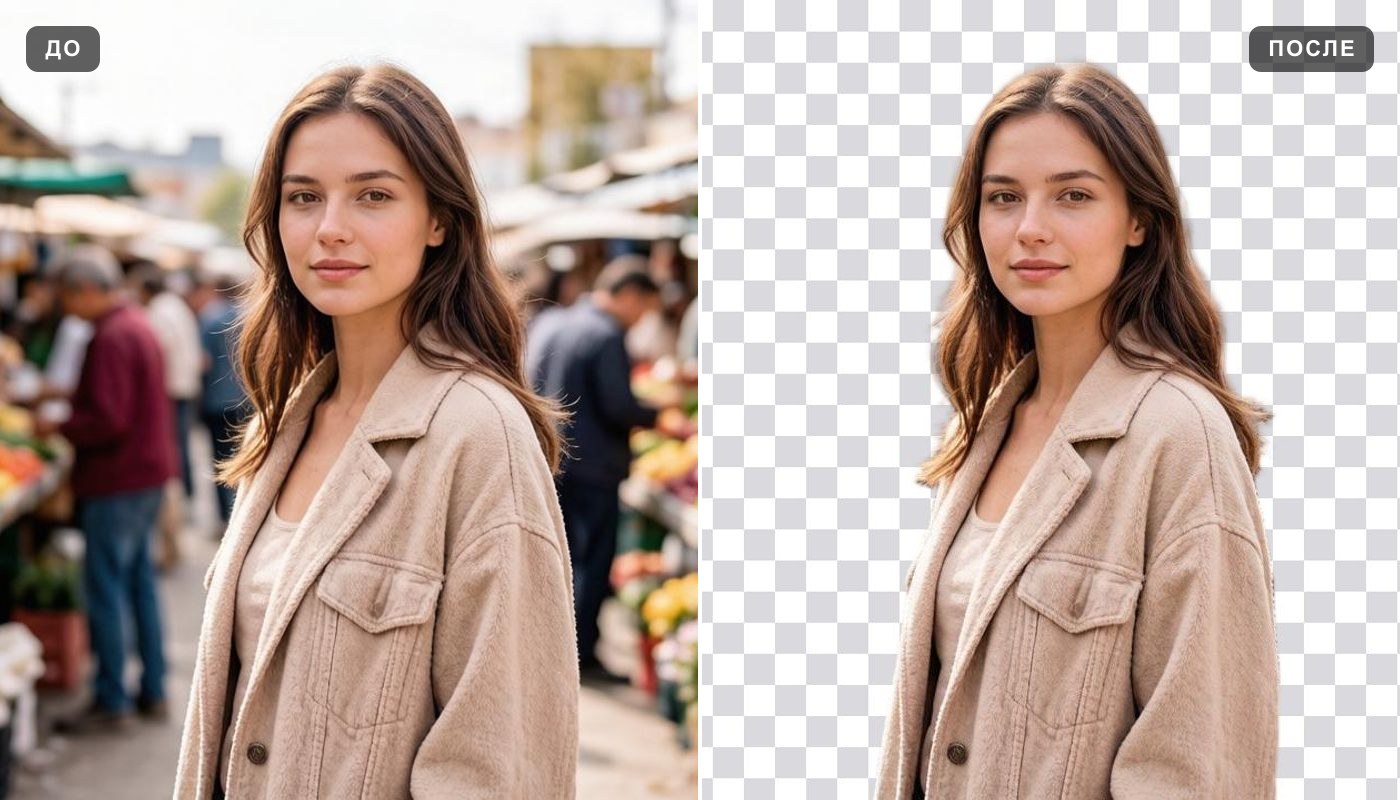 Background remover
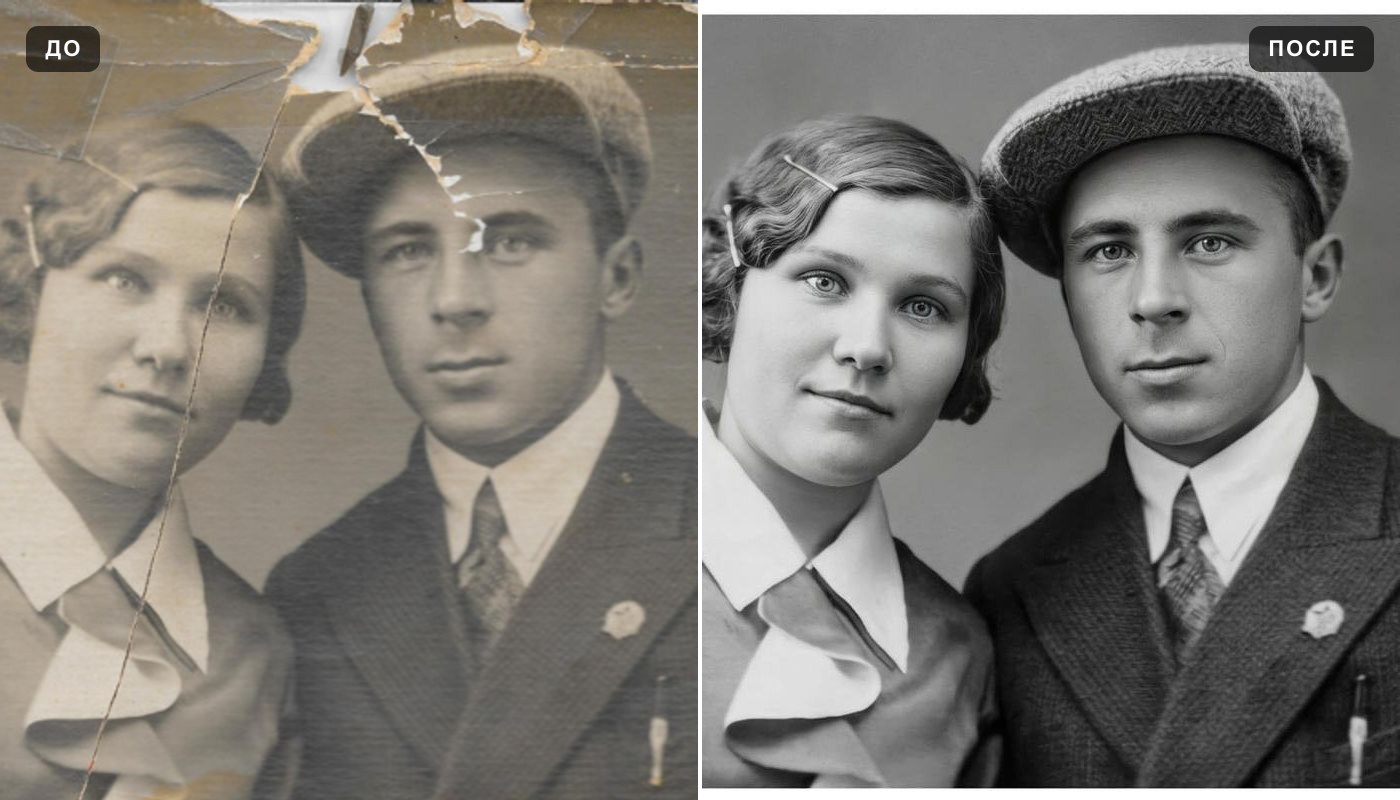 Photo enhancer
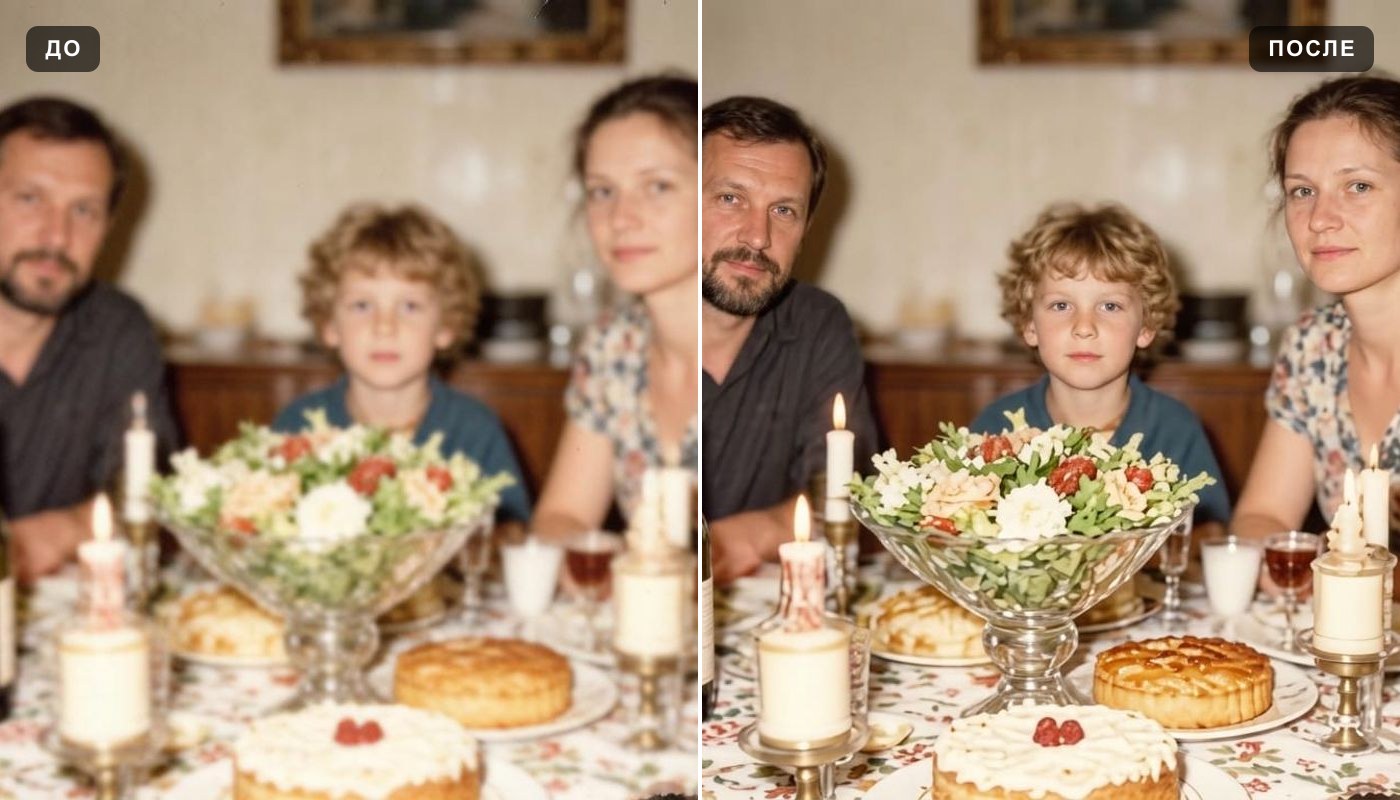 Unblur image
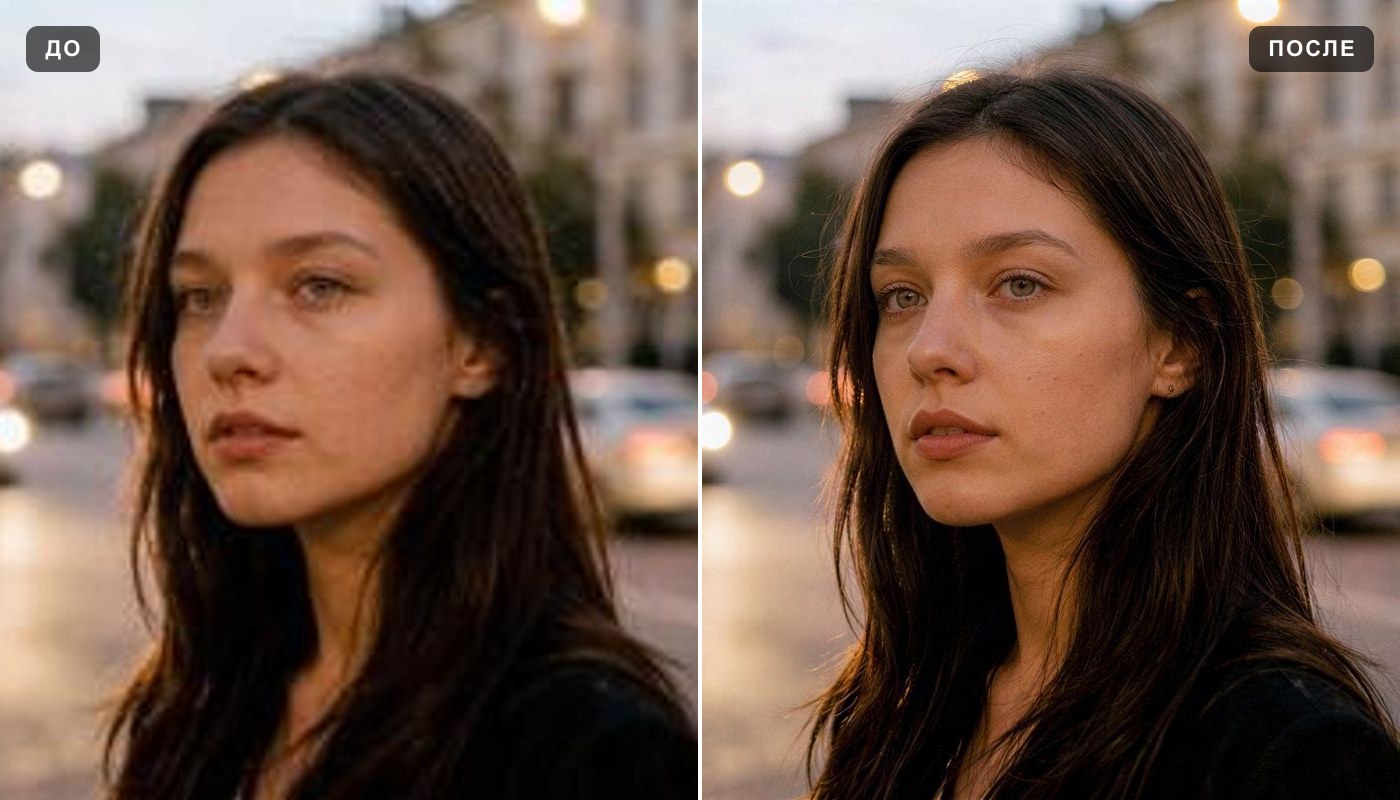 Image upscaler
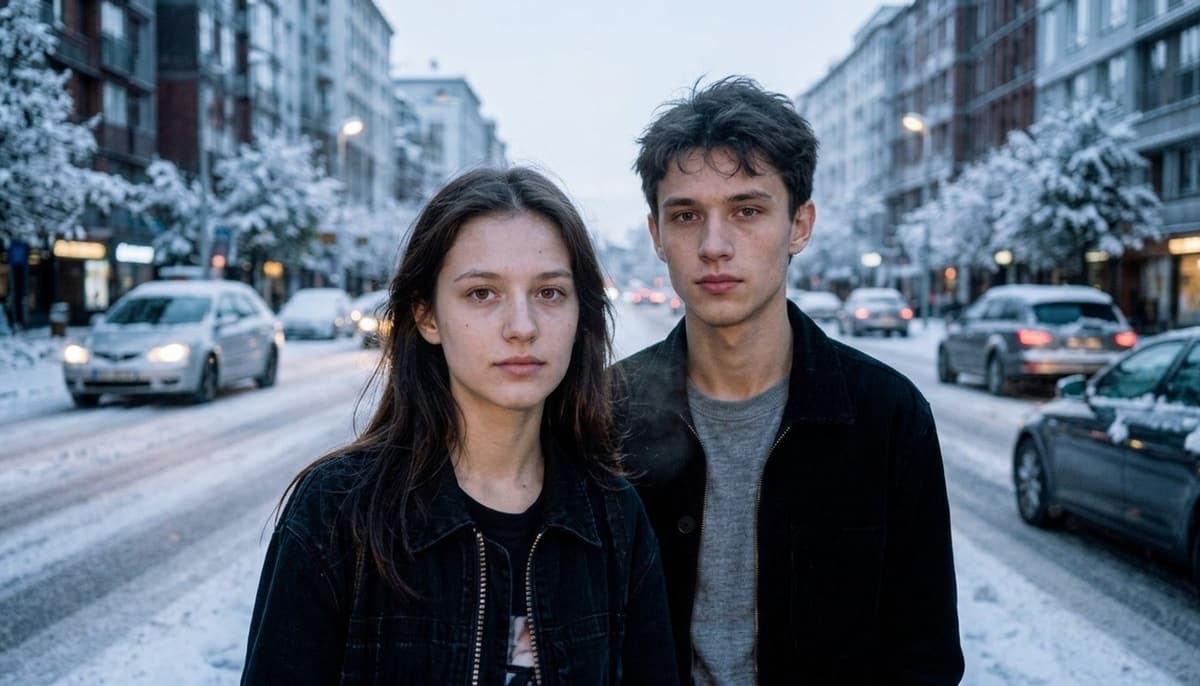 AI photo editor
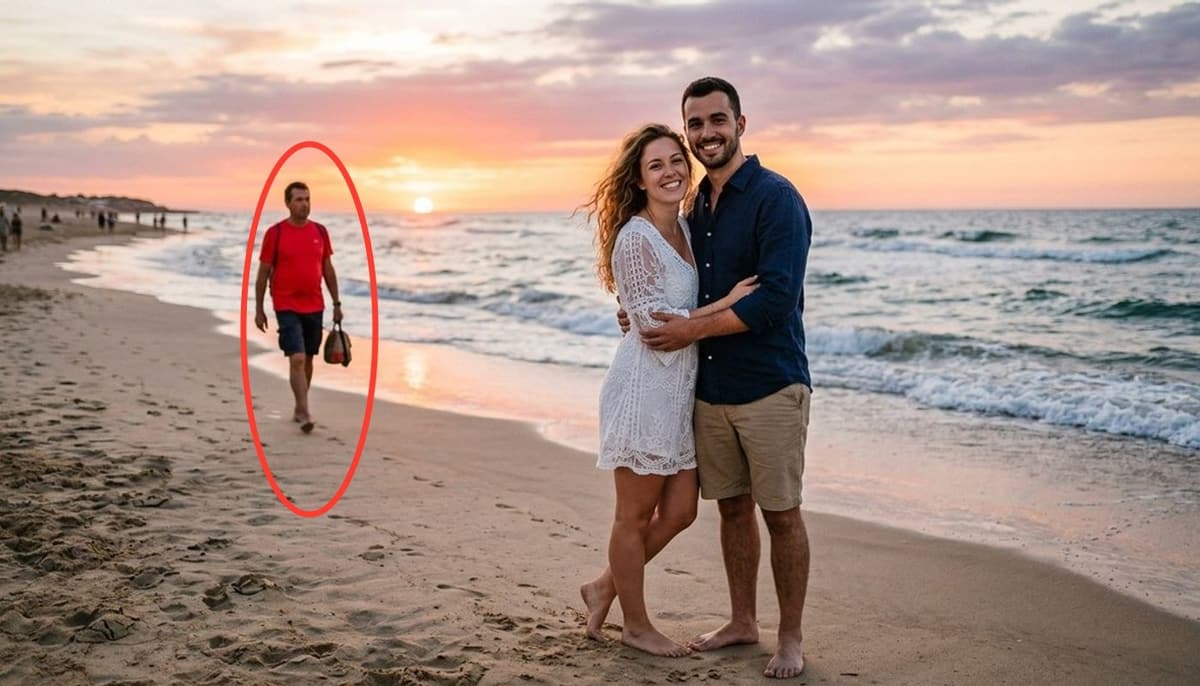 Remove a person
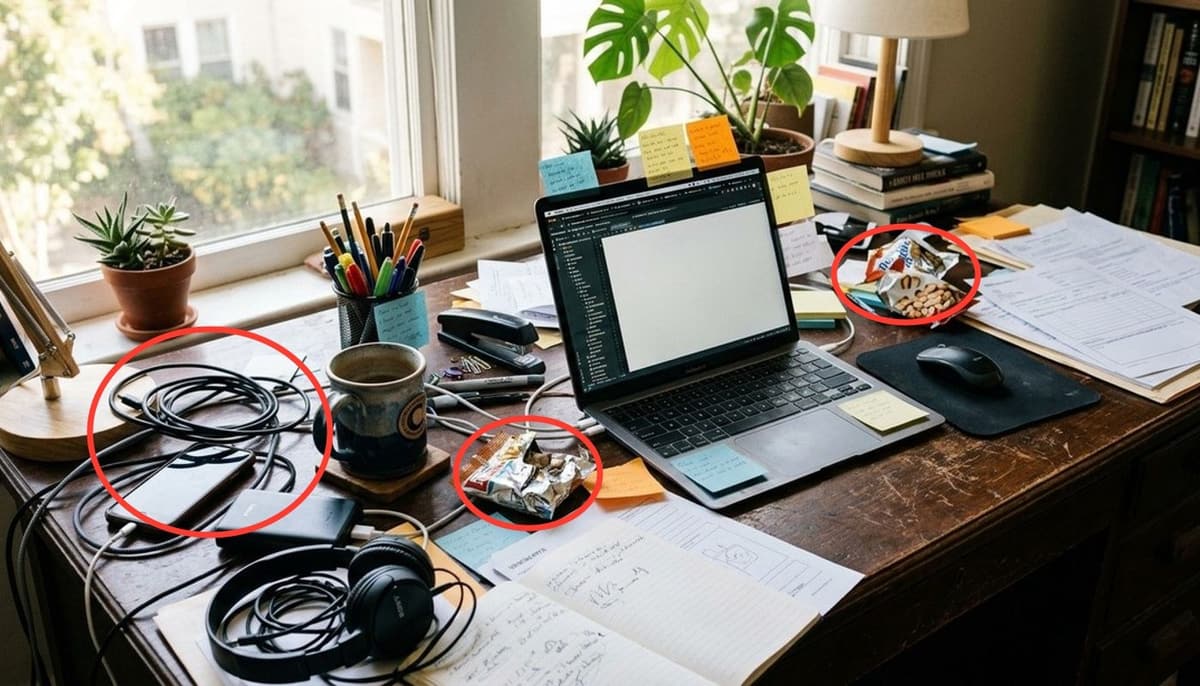 Remove clutter