Photo Retouching Online: Clear Skin, Real Texture
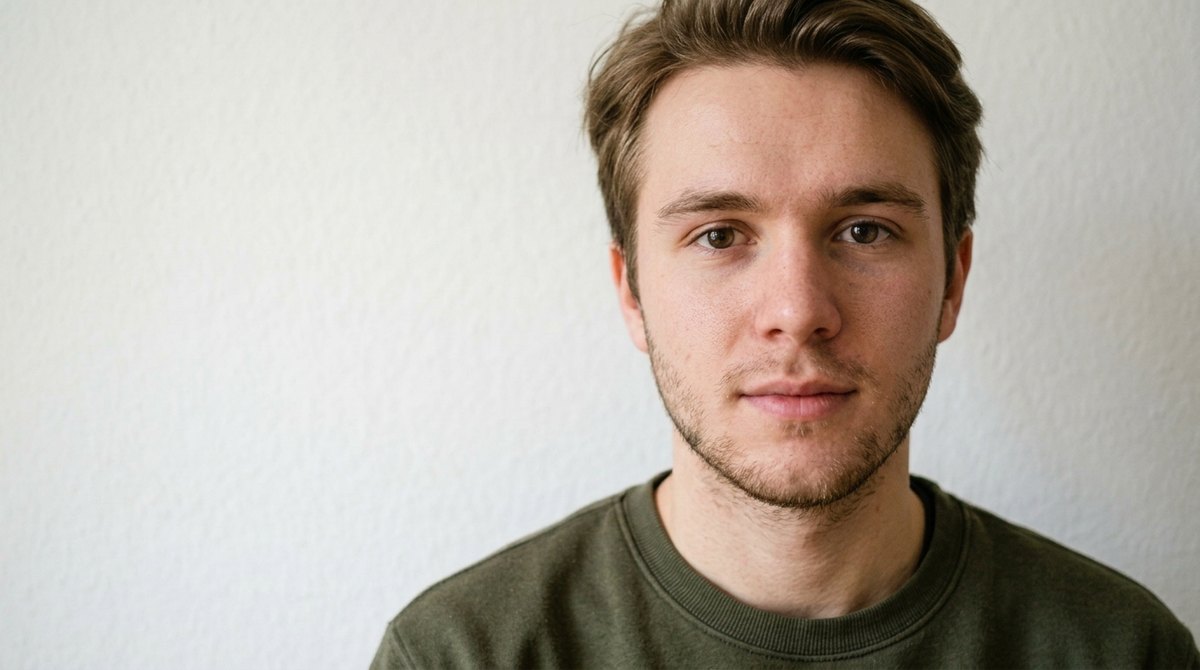
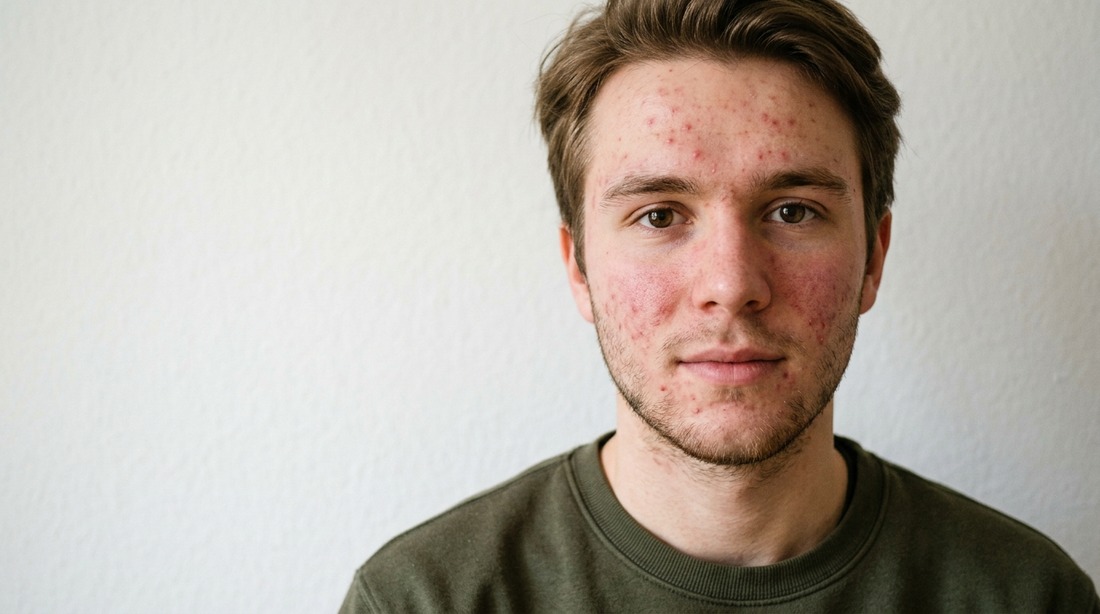
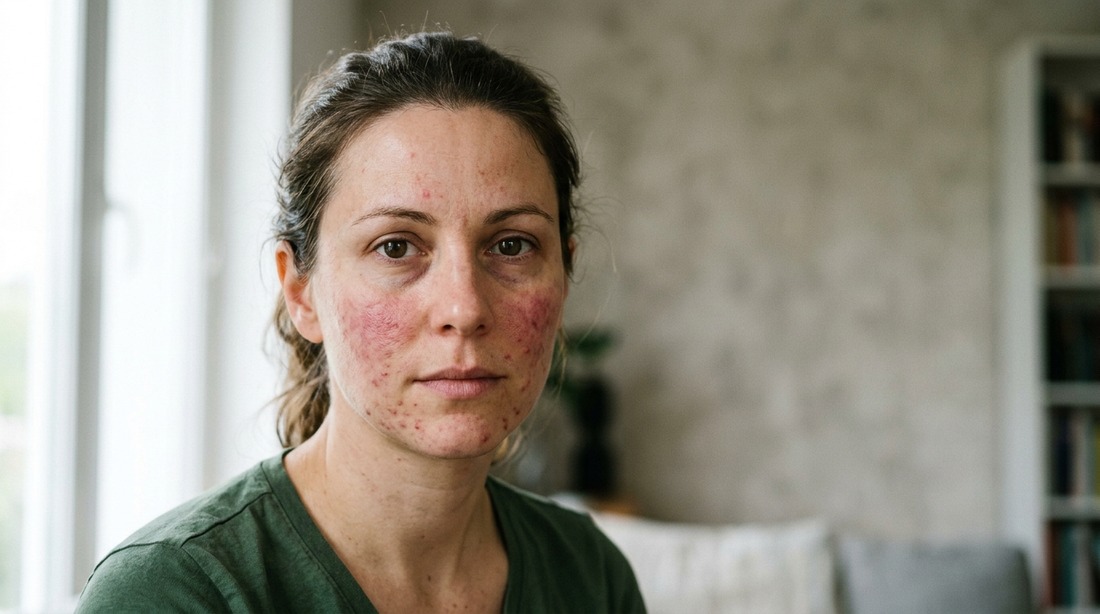
Upload a portrait and the AI clears what is temporary: acne, blemishes, redness, the shadows under your eyes after a short night. It evens out a patchy skin tone and softens wrinkles instead of erasing them. What makes you recognizable stays — pores, skin texture, moles, freckles, scars, the shape of your face and your age. If you want to steer it, type a line into Additional wishes: "clear the acne, keep the freckles". Press Create and the retouched frame lands in History next to the original, which is never changed.
 BeforeAfter↔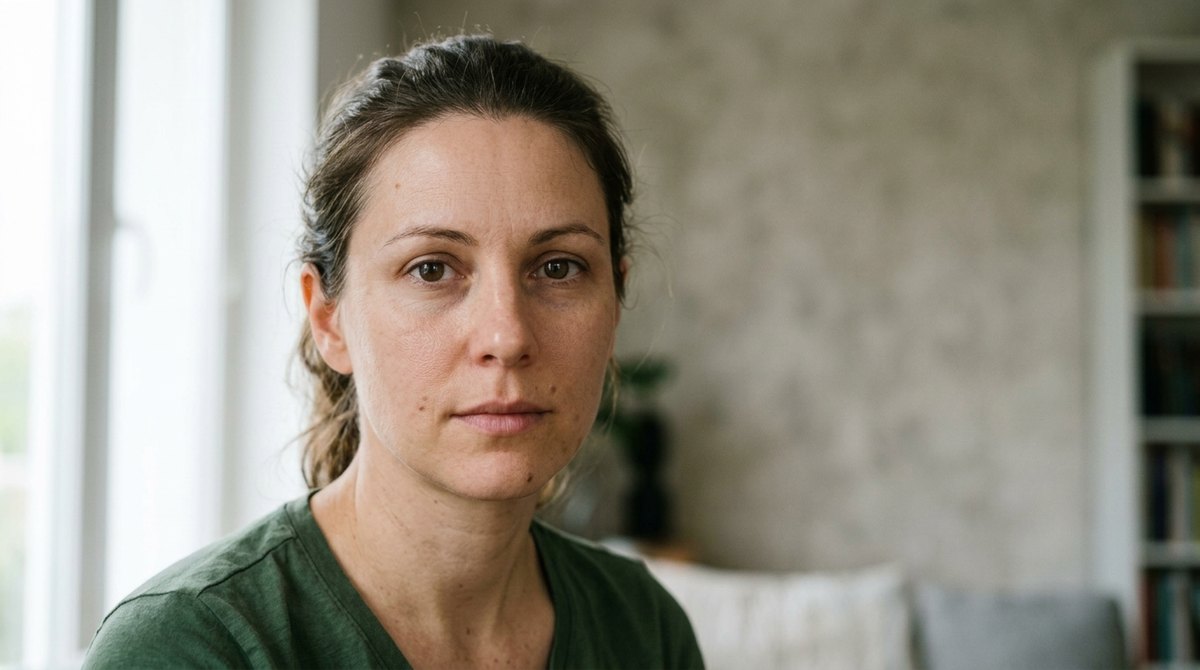
 BeforeAfter↔
How to retouch a portrait in three steps
There is nothing to install and nothing to learn: no sliders, no layers, no brush to drag across a cheek. It handles still photographs of people: one face, two faces, or a whole group. It does not process video or sound, and it never modifies the file on your device — the retouched version is a new image saved next to the one you uploaded.
Before and after
The two comparison sliders near the top of this page each hold an untouched photo on one side and the retouched version on the other. Drag the handle slowly across a cheek, because that is where the whole question lives. The blemishes are gone. The skin is still skin.
Your own pair works the same way: every run is saved in History next to the photo you uploaded, at full size. That side-by-side is not decoration — with retouching it is the only honest way to judge a result, because the failure mode here is not a glitch but a face that has quietly stopped looking like a face.
What to look at, in this order. Zoom in on the cheek: you should still see pores and the fine hair on the skin. Check the moles and freckles — same places, same sizes. Look at the nose and the jawline against the original; nothing there should have moved. Then the eyes and the teeth, because brighter than life is the most common giveaway. If something is off, add one short line to the wishes field and run it again.
What the retouching fixes — and what it leaves alone
The dividing line is simple, and it is the whole idea behind this page: what is temporary gets cleaned up, what is permanently you stays. A breakout on your chin was not there last month and will not be there next month; a mole has been there your whole life. One of those is worth removing from a photo and the other is not.
And here is the other half, which matters just as much. These come back untouched, on purpose: pores and skin texture — the grain of real skin, the fine hair on a cheek, the stubble on a jaw; moles and birthmarks, same place, same size, same shade; freckles, which are not a flaw; scars, which are part of a face people already recognize; laugh lines and expression, because a smile that creases reads as real; and the shape of your face — jawline, nose, eyes and proportions exactly as they were.
If you want something from that second list gone anyway — a mole you have never liked, a scar from a bad week — say so in Additional wishes. The default is to keep it, and the default is deliberate. This is not a reshaping tool either: it will not narrow a jaw, change a nose or alter how old somebody looks.
Why plastic skin gives itself away
Almost everybody has seen a retouched portrait and thought "something is off" without being able to name it. It is worth naming, because once you can see it you will never accept it in your own photos again.
A one-slider beauty filter does not remove blemishes. It blurs the whole face and hopes the blemishes go with it. The skin loses its microstructure: pores disappear, the fine hair vanishes, a cheek becomes an even matte plane. Light then stops behaving correctly on it, because real skin scatters light and a smooth plane does not — highlights flatten, the nose loses the shading that gave it shape, and the face looks pressed out of vinyl. Most filters finish by brightening the eyes and teeth past anything a camera has recorded.
The tell is easiest to spot at full size: a filtered face has a soft, weightless patch where the cheek should be, while the sweater, the wall and the hands are still sharp. The face is the only blurry thing in a sharp photograph. Once you notice that mismatch you cannot un-notice it, and neither can a recruiter looking at a profile.
This tool works the other way around: it finds the spots and works on those, leaves the texture in place, and keeps the light on the face consistent with the rest of the frame. The result you are aiming for is not "nice retouching" — it is nobody noticing anything happened, and you being able to zoom in on your own cheek and still see pores.
Which portraits retouch well
The tool only ever sees the file you upload, so the input decides most of the outcome. None of this needs a studio — a phone by a window is plenty.
The cases that fight back. Midday sun or a bare flash carves hard shadows and burns out highlights, so there is no smooth tone left to even. Mixed light — a warm lamp on one cheek, cold daylight on the other — shifts skin color across the face. And a bright reflection across glasses hides the eye behind it, which cannot then be cleaned.
If your photo is dark, soft or noisy, fix that first and retouch afterwards: the photo enhancer for a dull or low-quality frame, unblur image for a shot that missed focus. Retouching a good file and retouching a bad one are two different experiences.
Tell it what to fix in Additional wishes
Leave the field empty and you get a general, restrained pass over the whole face — the right default for most photos. But you are the one who knows what actually bothers you in this picture, and one short line is usually the difference between a decent result and the one you keep.
Write it the way you would say it out loud, before pressing Create. Short beats long: one to three specifics land reliably, a paragraph of competing instructions does not. And name what you can see in the frame rather than what you call it in your head — "the spot on the chin" works, "my usual problem area" does not.
Two more worth knowing. "Keep the skin texture and the pores" is useful even though it is already the default, because it pins down the one property you care about most. And "retouch only the woman on the left" aims a group photo at one person instead of spreading the pass across every face.
Next to the field there is an Improve description button. It takes your note and expands it into a fuller instruction, which helps when you know what bothers you but not how to phrase it. One thing to know before pressing it: it is a paid action, the same as a run.
Instructions you can copy
Paste one of these into the wishes field and swap in your own details.
Everyday selfie, general clean-up
Clear the acne, spots and redness, soften the shadows under the eyes and even out the skin tone. Keep the pores, texture, moles and freckles, and do not change the facial features.
Acne only, nothing else
Clear the acne and the inflamed redness around it. Do not touch anything else: leave the skin texture, the moles, the freckles, the eyes and the teeth exactly as they are.
Tired face after a short night
Soften the dark circles and the puffiness under the eyes so the face looks rested. Do not lighten the whole face, do not smooth the skin and do not brighten the eyes.
Portrait for a work profile
Retouch conservatively. Clear temporary blemishes and even the skin tone, but keep every pore, every mole and the natural age of the face. The result must look like an unedited photograph.
One person in a group photo
Retouch only the face of the man in the blue shirt on the right: clear the redness and the spots, keep his skin texture. Leave everyone else in the frame untouched.
Second pass, dial it down
Retouch much more gently — the previous version looked too smooth. Keep clearly visible pores and texture, and remove only the most obvious spots.
Where people use it
Most requests come down to one situation: there is exactly one photo where you look like yourself, and there is a breakout on your chin in it.
Profile pictures are the most common case, and the honest advice is to be conservative. A profile photo does a specific job: the person who meets you should recognize you immediately. Clearing a breakout keeps that job intact, since the breakout was not there last month anyway. Smoothing your whole face breaks it, and the first handshake is where the bill arrives.
A team page has one extra problem: consistency. Retouching will not fix six different rooms of lighting, but it does remove the most distracting difference — one person with a visible breakout and five without. Run every portrait with the same short instruction, and keep a light hand.
If what you need is a clean portrait for a work profile — plain background, business clothing, tidy framing — that is a different job and lives on the professional portrait page. Retouching works on the skin in the photo you already have; it does not change your clothes or your background.
Group photos and family pictures
A group shot works, with one arithmetic caveat that explains most disappointments. In a portrait a face might take up a third of the frame; in a photo of nine people at a holiday table, each face is a small fraction of it. On a small face there is very little skin detail to work with, so the pass comes back subtle or barely visible.
Two ways around it. For a quick improvement across the whole picture, run the group shot as it is and accept that the nearest faces improve most. For a photo that matters — the one going on the wall or in the holiday card — crop tighter first, or crop out the one person who needs the work and retouch that crop on its own. You can also aim the pass with words: "retouch only the teenager in the red sweater" concentrates the work on one person, which is often what you want at a family gathering.
Two more things. Flash is usually involved in a group shot, so red-eye is worth naming in the wishes field. And these are faces of people who did not ask to be edited: retouching a relative's photo for the album is one thing, publishing a version of someone else's face that they never approved is another.
Retouching by hand and retouching here
A skilled retoucher does something genuinely different from what happens on this page. They work over your frame by hand, on layers, spot by spot: they can remove one blemish and leave the one beside it, follow a written brief, match twenty images to each other, and every original pixel they did not deliberately change is still exactly where it was. It also takes an hour or more per image, comes back in days rather than minutes, and is priced as the skilled manual work it is.
Here, a single pass re-renders the frame with the blemishes gone: you upload, optionally write a line, and look at the result a minute or two later. The honest trade is this — it is not handwork. Nothing is edited pixel by pixel, so fine details can shift: a strand of hair at a hairline, the pattern on a knit, the shape of an earring, small lettering on a shirt. Run the same instruction twice and you may get two slightly different versions. That is why the comparison against the original matters before you publish.
A reasonable split: use this for profile pictures, team pages, event photos, school pictures and family prints, where a clean face in a minute is what you need. For a paid campaign, a printed page or a wedding album, hire the retoucher. And whatever you do, do not run the face through a smoothing filter to save the fee — that costs more than either option.
Formats, file size and devices
There is no app to install. The page opens in a browser on an iPhone, an Android phone, a laptop or a tablet, which suits the most common workflow: taking a selfie, liking everything about it except one spot, and fixing it on the same phone.
Accepted formats are the ones printed on the upload panel: JPG, PNG, WEBP — up to 10 MB. There is no limit on the resolution of what you upload, and the file goes to processing at full quality rather than being shrunk on the way in. Under Quality, Standard returns a longer side of 1024 px and Pro 2048 px, so a portrait you plan to print is worth running on Pro.
One iPhone note: HEIC and HEIF files are not accepted. Either set the camera to save as "Most Compatible" in Settings, or share the picture once to yourself, which converts it to JPG along the way. If you need the retouched portrait larger than it comes back, run the result through the image upscaler afterwards.
Retouch photos free: what you get and where the limits are
You can try it for free. A new account gets two free generations in total — not two a day and not two a month — and this tool is covered by them. Free runs use Standard quality; Pro, which comes back at a higher resolution, is part of a paid plan. After that, work continues on a plan or a pack, and the terms are on the pricing page.
Two things worth knowing before you start rather than after. Free runs carry a light ai.neiroset.com signature in the bottom-right corner; any purchase removes it permanently, including from images you have already generated. On this tool the Download button is open from the first run. There is also a pace limit of six runs a minute per account, which normal work never touches.
Do I need an account?
Yes. You can fill in the whole form as a guest, but pressing Create opens the sign-in window. Signing in is also what puts every attempt in History next to the original, which is exactly what you need when you are comparing a gentle pass against a stronger one. A tip on spending two free runs well: leave the wishes field empty on the first to see what the default pass does, then write one precise line for the second.
Who can see my photos?
You upload one picture that you pick yourself — nothing asks for access to your camera roll, and the file on your device is never modified. The part to pay attention to is the Private switch: on the higher paid plans it keeps a run out of the public feed, so only you see the result. Without it, a generated image may be shown in the site's gallery of work. The switch sits next to Create and has to be on before you start the run; on a free account it opens an upgrade window instead. One plain rule for portraits: if a photo is one you would not want appearing anywhere else, especially a photo of a child, turn Private on first or do not upload it at all.
What to keep in mind
Frequently asked questions
How do I retouch a photo online?
Upload the portrait, optionally write what you want fixed in Additional wishes, pick Standard or Pro and press Create. Leave the field empty and you get a general, restrained pass. The result appears in History next to the original, and Download is open from the first run.
Will the skin still look like skin?
That is the whole point of this page. Pores, skin texture and fine hair are kept, so the face does not turn into the smooth vinyl of a beauty filter. Zoom in on a cheek in History and check — if a result ever comes back too smooth, add "keep clearly visible pores and skin texture, retouch gently" and run it again.
Will it erase my wrinkles completely?
No, and that is deliberate. Wrinkles and creases are softened, not removed, because a face with no lines at all stops reading as a real person of that age. For even less change, say "soften the lines only slightly, keep the age of the face".
Can I tell it to fix just one thing?
Yes, and it is the most useful thing the wishes field does. "Clear the acne on the chin, leave everything else alone" or "soften the under-eye shadows only" both work. One to three short instructions land more reliably than a paragraph.
Do moles, freckles and scars stay?
Yes, by default — they are part of how people recognize you, not blemishes to be cleaned. If you do want one gone, name it: "remove the small mark on the left cheek, keep the freckles".
Can it whiten teeth and fix red eyes from a flash?
Both, yes. Teeth are lightened to a natural shade rather than a fluorescent one, and pupils that glowed under a flash come back to a normal color. Ask for either directly if the default pass did not go far enough.
I need a portrait for a work profile. Is this the right page?
Only if the photo itself is already right and you just want the skin cleaned up. If you need a plain background and business clothing built from a casual photo, use the professional portrait page instead.
My photo is blurry, dark or noisy. Will retouching fix that?
No — those are quality problems, not skin problems. Run the photo enhancer on a dark or low-quality frame, or unblur image on one that missed focus, then bring the repaired version back here.
There is a distracting object in the background. Can this remove it?
No, retouching works on the face. To take something out of the frame use remove object from photo; to make clutter less noticeable without deleting it, blur background is easier. For broader changes there is the AI photo editor.
Does it work on a group photo, and on a phone?
Yes to both. In a group photo each face occupies a small part of the frame, so the effect is strongest on the nearest people — crop closer, or name one person in the wishes field. On a phone it runs in the mobile browser, though HEIC files need saving as JPG first.
Try other tools
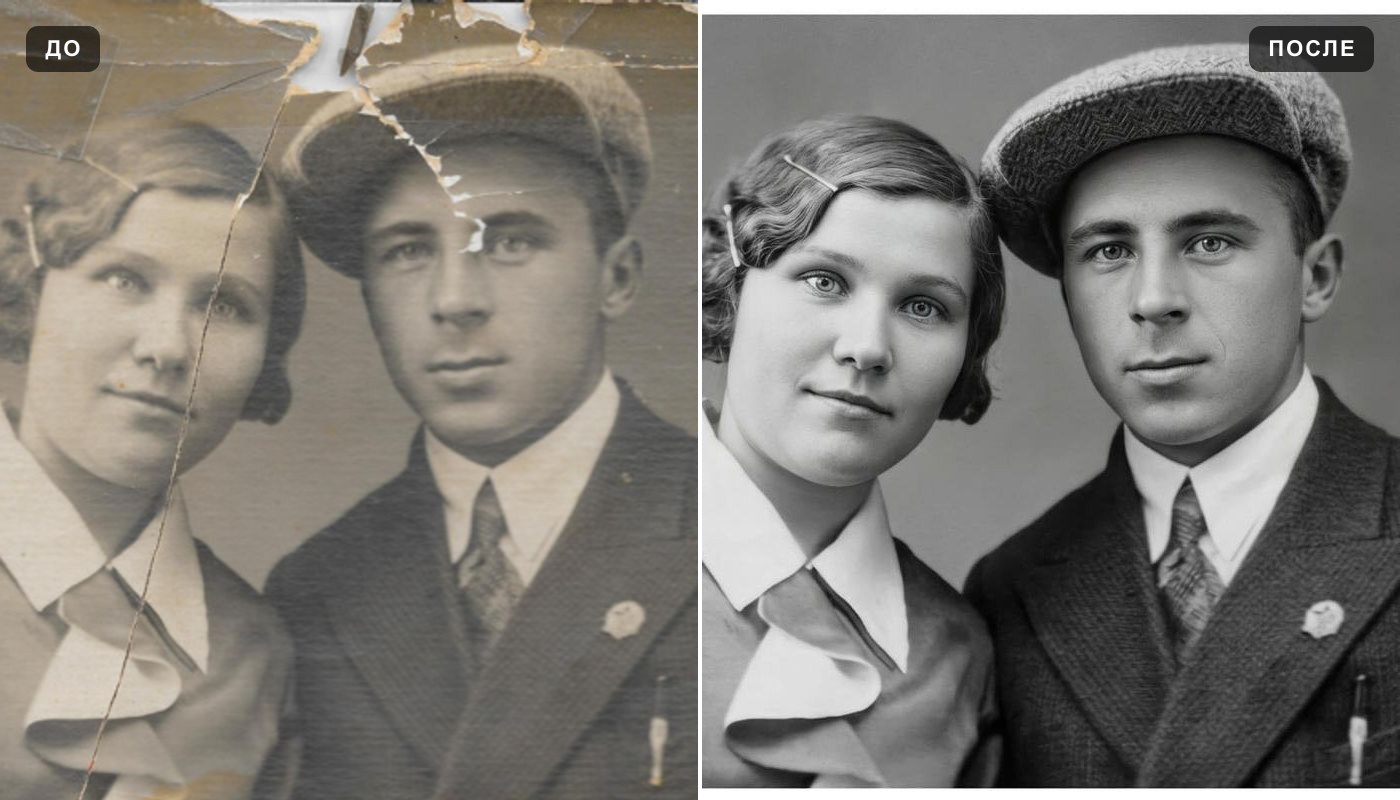 Photo enhancer
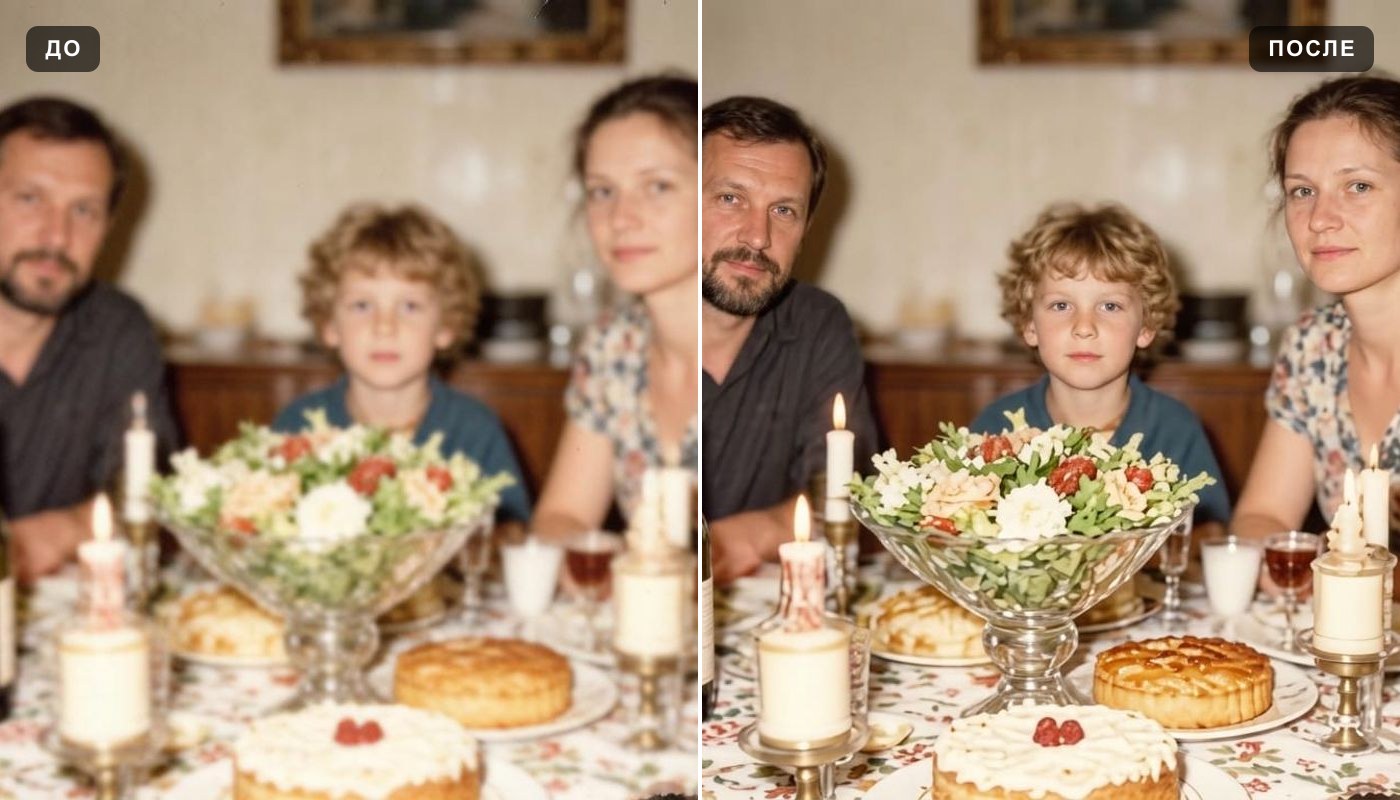 Unblur image
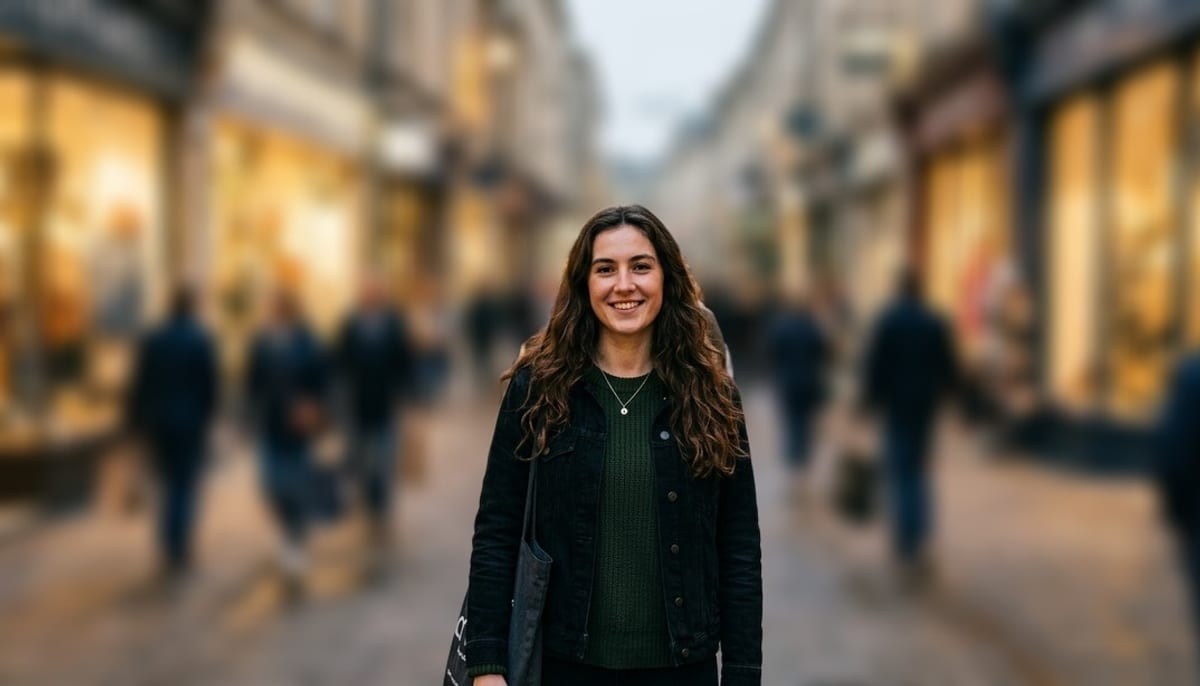 Blur background
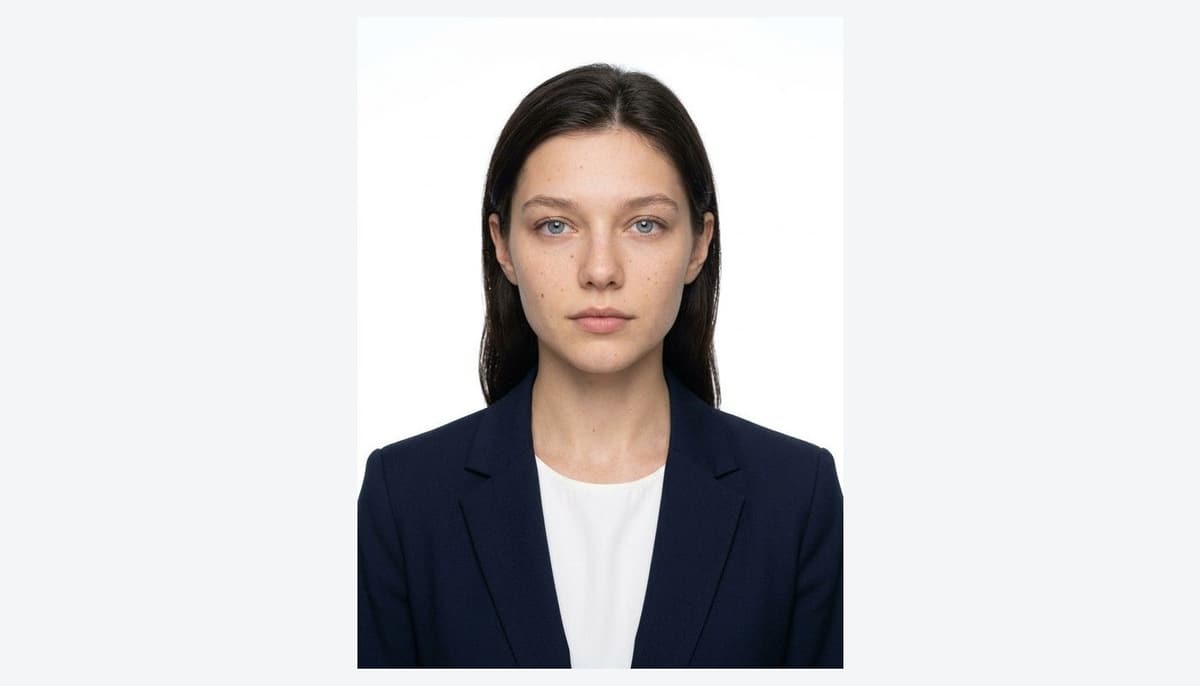 Professional portrait
 Remove object
 AI photo editor
 Restore old photos
 Colorize photo