AI Object Remover: Remove Unwanted Objects From Photos
Upload a photo and click the thing you want gone: the model finds its outline for you, so there is no brushing and no cutting it out by hand. It then rebuilds what was behind the object - the same wall, the same sidewalk, the same light and shadows. Everything outside the selection comes back the way you uploaded it, with the framing and the crop untouched. Your first edit is free once you are signed in.
Drop your photo here
JPG, PNG, WEBP — up to 10 MB. You will select the object right on the photo.

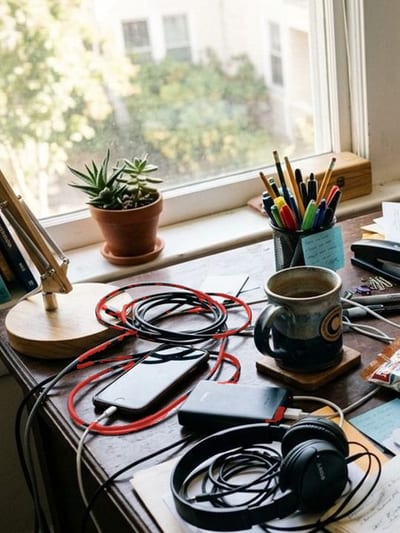
 BeforeAfter↔
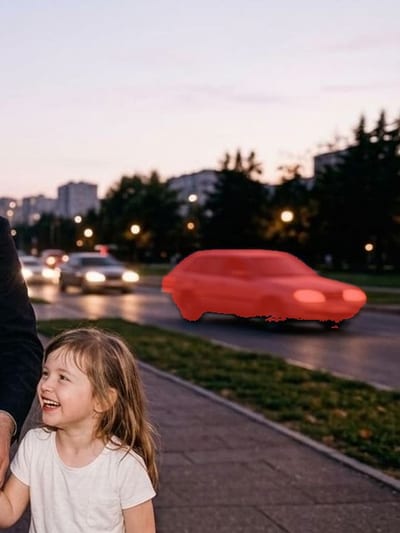
 BeforeAfter↔
What an AI object remover does
The frame is good and one thing in it is not: a cable strung across the sky, a bin at the edge of the yard, a cup left on the table, a car parked exactly where you were looking. An object remover erases that one thing and puts back what should have been visible behind it.
The first screen of this page is an editor, not a form. You upload the frame, it opens across the full width, and you work on the photo itself: click what you want gone, look at the outline the model draws around it, and apply the edit. There is nothing to type about the object — the click already says which one you mean.
What comes back is your photo with one area rebuilt, not a fresh picture of the same scene. That difference is the whole subject of the next three sections.
Click the object instead of painting over it
Almost every tool that erases objects from photos opens the same way: pick a brush, set its size, and paint over the thing you want gone, carefully, along its edge. That step exists because the software has no idea what it is looking at. It needs you to mark the pixels for it, and on a bicycle, a chain-link fence or a tangle of cables that is slow, fiddly work.
Here the click does it. Tap the object and the model reads the frame, works out where that object ends and the background begins, and outlines it for you — the legs of a chair, a cable across its whole length, a car together with the shadow under it. The hint under the frame says exactly that: Tap an object — the model outlines it. If you have used the tap-to-erase feature on a recent iPhone, this will feel familiar; the difference is that this one runs in a browser, on any phone or laptop.
The brush has not gone anywhere, it has just stopped being step one. It is there for the correction, which takes a second or two:
Nothing touches the photo while you do any of this. Until you press the button, you are only drawing a selection.
The background is rebuilt, not blurred over
The cheap way to make something disappear is to smear the area or stamp a patch of neighboring pixels over it. Both leave the mark everyone recognizes on sight: a soft blob where the object was, or a section of wall that is visibly a copy of the wall next to it.
This model works the other way around. It reads what surrounds the selection and continues it through the gap: a brick wall keeps its courses and its mortar lines, a lawn keeps the direction it was mowed in, a sidewalk keeps its joints running straight, a wooden table keeps its grain. It also takes the object’s shadow with it when the shadow is inside the selection — a bin standing on gravel leaves neither the bin nor the dark patch it cast.
How well that goes depends less on the size of the object than on what is around it. Sky, asphalt, grass, water, a painted wall — these are close to a sure thing, because the model only has to keep doing what the surface was already doing. Lettering, tile, brick, a railing or a bookshelf behind the object is where a seam can show. There is a candid list of the hard cases further down the page.
What the selection changes and what it leaves alone
This is what separates an edit from a regeneration, and it is worth being exact about. The selection is the one area the model is told to clear, and the background is rebuilt to match what surrounds it. Clearing something is the one case where the whole frame passes through the model — otherwise a pale patch is left where the object used to be — so the rest of the shot can shift very slightly.
In practice that means the framing and the crop do not change, the aspect ratio does not change, and the picture comes back the same shot you uploaded rather than a new one built from a description. What it does not mean is a guarantee that every pixel elsewhere is identical, so it is worth a look before you keep the result.
Two controls make that easy to verify. Hold Before / after to flip between the current state and the original, and use the Versions strip beside the frame: Original, Edit 1, Edit 2 sit next to each other, so you can step back at any point. Each new edit works from the result of the previous one, which is how you clear several things without losing the ones you already fixed.
How to remove an object from a photo in three steps
It all happens on one page in a browser — a phone, a laptop or a tablet, with nothing to install. Download frame is open on this tool from the start, so you can save the result as soon as you like it.
Remove power lines and wires from a photo
Wires are the most common request on this page and, more often than not, the cleanest result. A power line is thin, high in contrast and usually set against sky — and sky is the friendliest background there is to continue, because it is a gradient rather than a texture. Click one cable, the model follows it across the frame; click the next one to add it.
Two honest notes on this one. Where a cable passes in front of something detailed — a tree canopy, a window frame, the lettering on a sign — that detail has to be rebuilt through the gap, and this is where a faint seam can show up. And a very long, very thin line sometimes comes back in pieces: take the leftovers with a second click instead of expecting one pass to catch every inch of it.
A tip that costs nothing: clear the sky wires first and the poles second. With the lines gone, the pole stands alone against a simpler background, and the second edit has an easier job than it would have had.
Remove a reflection from a photo
A reflection is not an object, but it is handled the same way: select it, and the area is rebuilt as if it had not been there. What decides the outcome is how much of «what is really there» the frame still shows around it.
A small, bright, contained reflection: flash bounce on glass, glare on a laminated menu or a framed print, a lamp caught on the side of a kettle or a bottle in a product shot, a bright patch on a car door. There is plenty of surrounding surface to continue, and the eye has nothing to compare the repair against.
A window that carries a second scene inside it — a room mirrored in a storefront, the street reflected across a shop window, a phone visible in a mirror. Select the reflection together with whatever it is a reflection of, or you get one and not the other.
A flare spread across half the frame, a window where the reflection is brighter than the view behind it, a glass display case with goods behind the glass. The model does not see through glass; it rebuilds the surface from the surroundings. Over a large area that is invention with a clean finish, not a recovery.
Photos like these are usually taken and edited on the same phone, and that is fine: the editor opens in a mobile browser on iPhone and Android, goes full screen when the frame is loaded, and takes the same taps as on a laptop.
Remove cars from a photo
The car parked in front of the house on listing day, traffic in a vacation shot, a delivery van that rolled into the frame while you were setting up. Cars are a good case and a demanding one at the same time. Good, because a car is a compact shape with a clear edge, standing on asphalt, gravel, concrete or a driveway — all surfaces that continue easily. Demanding, because a car brings more than itself to the frame.
Include the shadow and, on a wet road, the reflection under the car in the selection. Left behind, they are the giveaway: a clean street with a car-shaped dark patch still lying on it.
Litter, bins and street clutter
The catch-all case, and the one the tool is steadiest at: everything in the frame that is not the subject and is not worth keeping.
Small items on a plain surface are the most dependable thing on this page. A lot of them at once goes better a few at a time: because every edit starts from the previous result, clearing a table is a series of short passes rather than one heroic attempt, and you can stop at whichever version looks right.
Product photos for Amazon, Etsy and Shopify
Marketplace galleries have a house style: the item, a clean surface, nothing else. Most of what gets shot on a kitchen table breaks it in some small way — a cord in the corner, a price sticker on the box, the clamp holding the item upright, the edge of the backdrop where the paper stops.
Those are exactly the jobs this tool is for. Take out the stand or the prop holding something up, clear the props around a flat lay, lift a barcode or a shipping label off a carton, kill the lamp reflection on a glossy lid, remove background objects that crept into the shot behind the item. A logo on something that belongs to you is an object like any other, and it comes off the same way: the mark on a mug you make, a badge on a jacket you are selling.
One boundary, and it matters more than anything else on this page: a chip, a scratch, a stain or a dent on the item you are selling is not clutter. Removing it makes the photo say something untrue about what will arrive in the box. Clear the table around the product, not the flaw on it. If what you actually need is the item on plain white or on a transparent background, that is a different door — background remover for a cutout, change background for a new scene.
Real estate and interior photos
Listing shots, rental ads, renovation before-and-afters, portfolio frames for a contractor or a designer. The list of what gets removed is remarkably consistent: the cable down the wall behind the TV, the router and its wires, the drying rack, the pet bowl, the bin under the desk, the car on the driveway, the yard hose coiled by the steps.
Interiors are also where keeping the framing intact earns its keep. A room photo is full of straight lines — baseboards, door frames, window mullions, the grout in the tile — and any tool that re-renders the whole picture bends them slightly. Here only the selected patch changes, so the lines that were straight stay straight.
Where the line sits for a listing: the photo is a claim about the property. A cable, a bin or a parked car is clutter, and clearing it is ordinary housekeeping. A crack in the ceiling, damp on the wall, a missing tile or a cracked pane is the thing a buyer or a renter is entitled to see. Same tool, completely different act. For an empty room you want furnished rather than cleaned, use virtual staging.
Signs, dates and stray text in the frame
Lettering behaves differently from objects. The model has to rebuild the surface under the characters and resist writing something new in their place, which is a harder ask than continuing a wall. Short, isolated text on a plain surface goes well: a sticker on a box, a small sign on a wall, a number on a door, the orange date stamp burned into the corner of an old family photo.
Longer or denser lettering — a shopfront sign, a poster wall, a caption strip, a page of print — belongs to the tool built for it, where the prompt is tuned for type and the surface under it: remove text from image. If instead you want to change something rather than erase it — a new color, a different material, an object swapped for another — that is the AI photo editor.
What to expect, and where it struggles
Nothing here works on every photo, and no honest page can promise a perfect first pass. These are the things that actually go wrong, so you know what to look for before you publish anything.
And one line about when not to do this at all. The edit is out of place wherever the value of the photo is that it is true: an insurance claim, a news photo, a court exhibit, a listing for something you are selling. Taking a cable out of a shot of your apartment is housekeeping. Taking the chip out of the cup you are selling is misleading whoever buys it.
Formats, free edits and limits
The uploader takes JPG, PNG and WEBP, up to 10 MB per file, and says so on the panel: JPG, PNG, WEBP — up to 10 MB. You will select the object right on the photo. HEIC and HEIF from an iPhone are not accepted — set the camera to «Most Compatible», or share the shot to yourself once, which converts it to JPEG on the way.
There is no minimum resolution. Very large files are fitted to a working size of about 2048 px on the long side when they upload, so a frame straight off a modern camera comes back a little smaller than it went in; anything already below that keeps its own size. The crop and the framing are never changed either way.
There is also a pace limit per account, set high enough that ordinary work never meets it.
Free edits and what they cover
Your first edit is free once you are signed in, and no plan is needed to make it — press the button while it still reads Try it free. After that, edits run on a paid plan or a pack; the terms are on the pricing page. Download frame is open on this tool from the beginning, so the free edit is a file you can actually keep, not a preview.
Do I need an account?
Yes. The editor asks you to sign in before it takes a photo at all, and that is not a formality: your frame is uploaded so the model can work on it, and each edit is stored as a version against your account. Without one there would be nowhere to keep the original next to the result, and the comparison is half the point.
Frequently asked questions
How do I remove an object from a photo?
Upload the photo into the editor at the top of this page, click the object you want gone, and apply the edit. The model outlines the object for you and rebuilds the background where it used to be. The cleaned frame appears as a new version next to the original.
Do I have to outline the object myself?
No. One click is the whole selection step — the model finds the edges. The brush is there only for corrections: Add to take in a corner it missed or the shadow underneath, Subtract to give back a piece you want to keep.
What is left in the spot where the object was?
Whatever the surroundings say should be there. The model continues the surface through the gap — the wall, the floor, the road, the grass, the sky — matching the lighting and the direction of the shadows. On plain surfaces this is close to invisible; on brick, tile or lettering a seam can show up close.
Does the rest of the photo change?
No. Only the selected area is edited, and it is composited back into your frame. Outside the selection the pixels are left alone, the crop and the aspect ratio stay as they were, and nothing is recolored. Hold Before / after to check it for yourself.
Can I remove several things from one photo?
Yes, one at a time. Each edit starts from the result of the one before it, and every stage stays in the Versions strip, so you can clear a table or a curb step by step and go back if a step went badly.
Can it remove power lines and wires?
That is the most forgiving case on this page. Cables against sky come out cleanly because sky is simple to continue. Where a line crosses trees, a roofline or a sign, look closely at the joint, and pick up any leftover stretch with a second click.
Can it remove a reflection or glare?
A small one, usually yes — flash bounce on glass, glare on a menu, a lamp on a glossy surface. A whole scene mirrored in a window is a different matter: the model does not see through glass, it rebuilds the surface from what is around it, so over a large area the result is plausible rather than true.
Can I remove a person from a photo?
Yes, but not from this page. Figures need a prompt tuned for hair edges, limbs and the shadow on the ground, so there is a separate tool for that.
Will it leave a blurry patch or a mark?
Sometimes, and it would be dishonest to say otherwise. The usual fault is a patch that is slightly too smooth or a faint ghost of the old outline. Check the result at full size; a second pass over the leftover, or a slightly different selection, clears most of them.
Does it work on very large objects?
It will try, but the bigger the object, the more of the background behind it has to be invented rather than continued. A small item on a plain surface is near-certain; something occupying a third of the frame gives you a believable scene rather than the one that was really there.
What formats and file sizes are accepted?
JPG, PNG and WEBP, up to 10 MB each. HEIC and HEIF are not accepted, so send iPhone shots as JPEG. There is no minimum resolution, and the frame is never cropped.
Does it work on a phone?
Yes, and it is built for it. The page runs in a mobile browser on iPhone and Android with nothing to install; once a photo is loaded the editor goes full screen, and tapping an object works exactly as clicking does on a laptop.
Try other tools
 AI photo editor
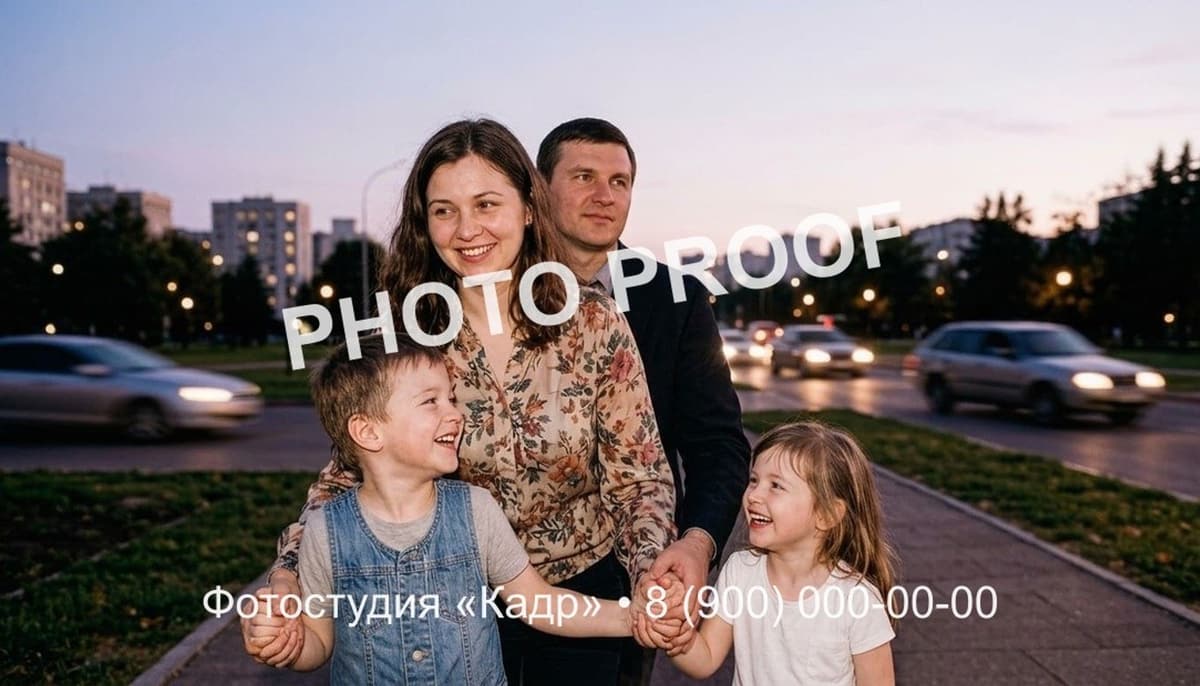 Remove text from image
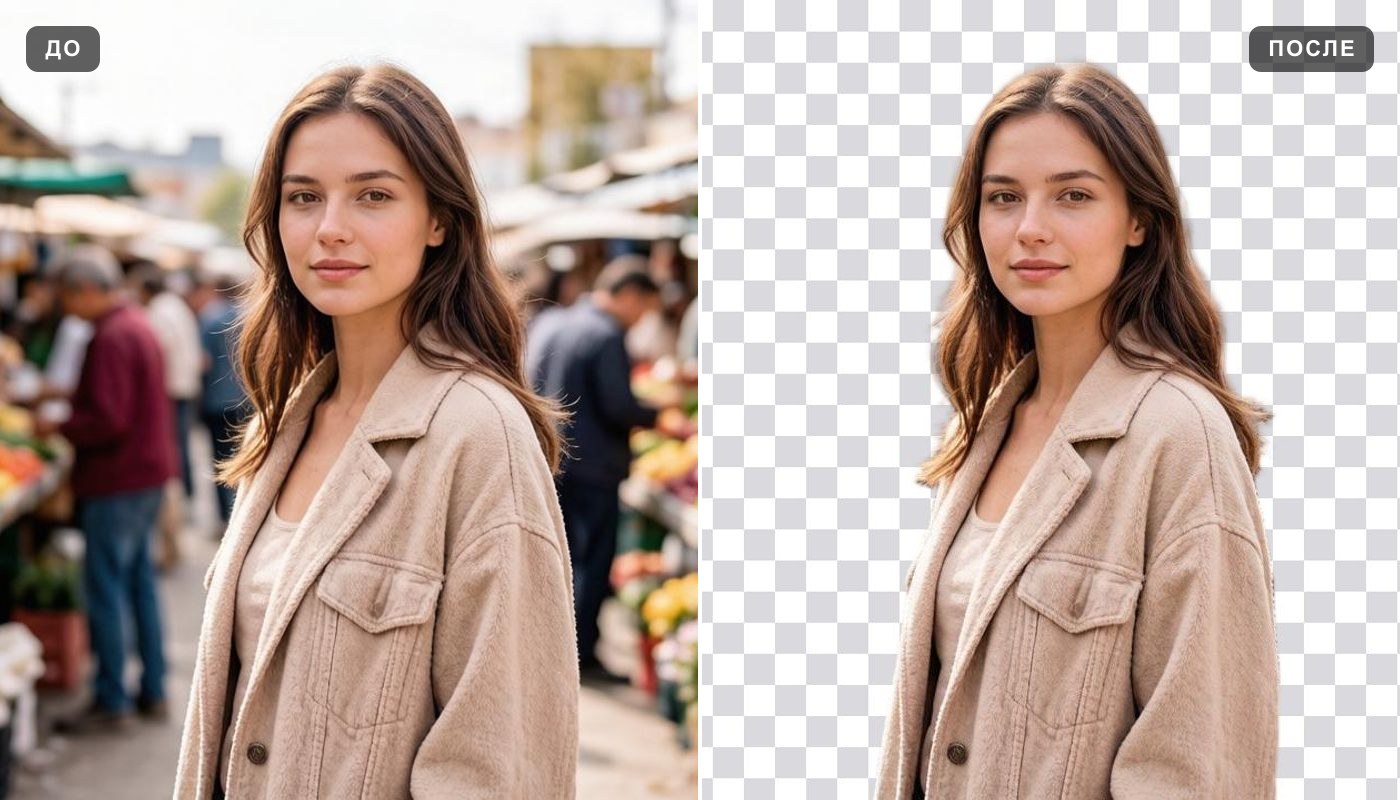 Background remover
 Change background
 Image upscaler
 Photo enhancer
 Unblur image
Virtual staging
Unblur image
Virtual staging
Everything else is in the tools catalog.