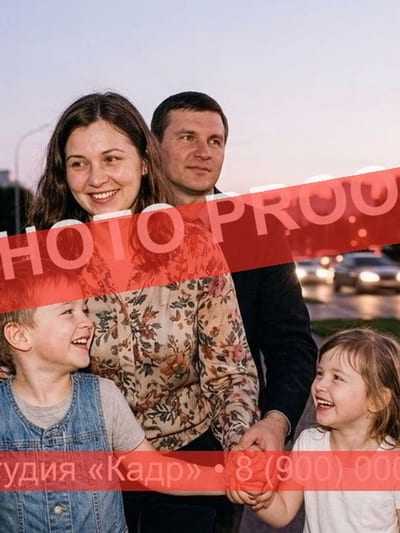

AI Text Remover: Remove Text From an Image
Upload the shot and click the lettering you want gone — a date burned into the corner, a caption across the top, a phone number typed over a photo you took. The model traces the characters itself, so there is nothing to paint by hand and no words to type out. Write an instruction that starts with Remove, press Apply, and the surface under the text is continued instead of smeared: the same sky, the same wall, the same fabric. The picture comes back at the framing and the crop you uploaded, and your first edit is free once you are signed in.
Drop your photo here
JPG, PNG, WEBP — up to 10 MB. You will select the object right on the photo.
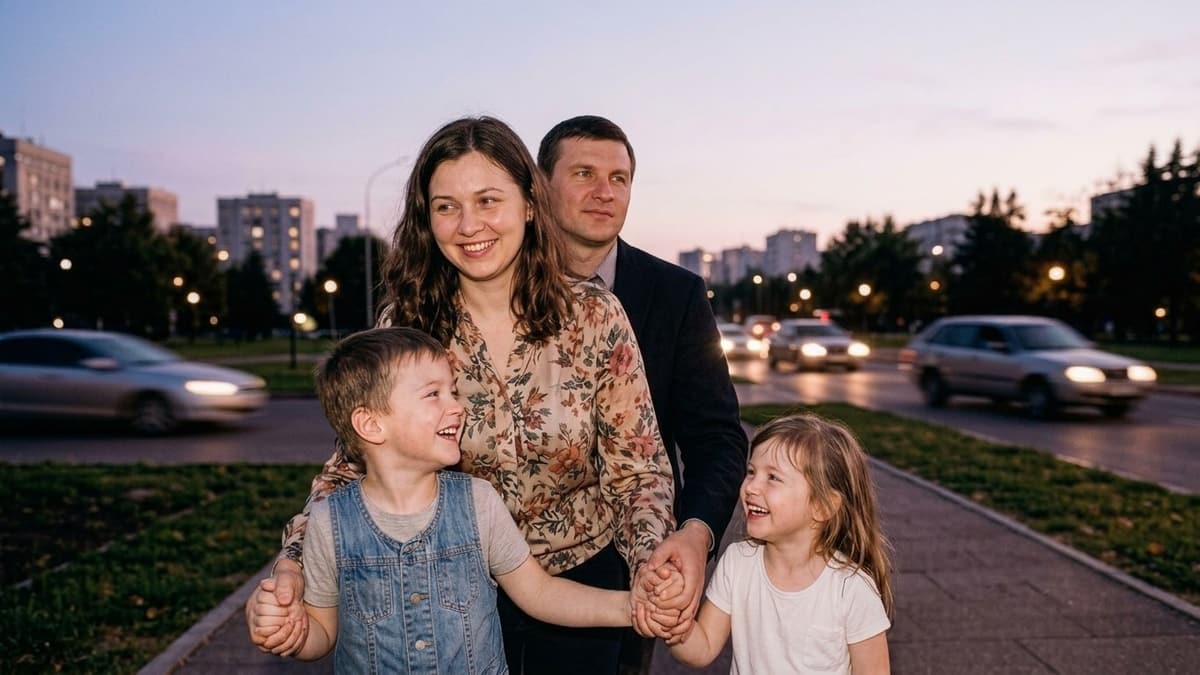
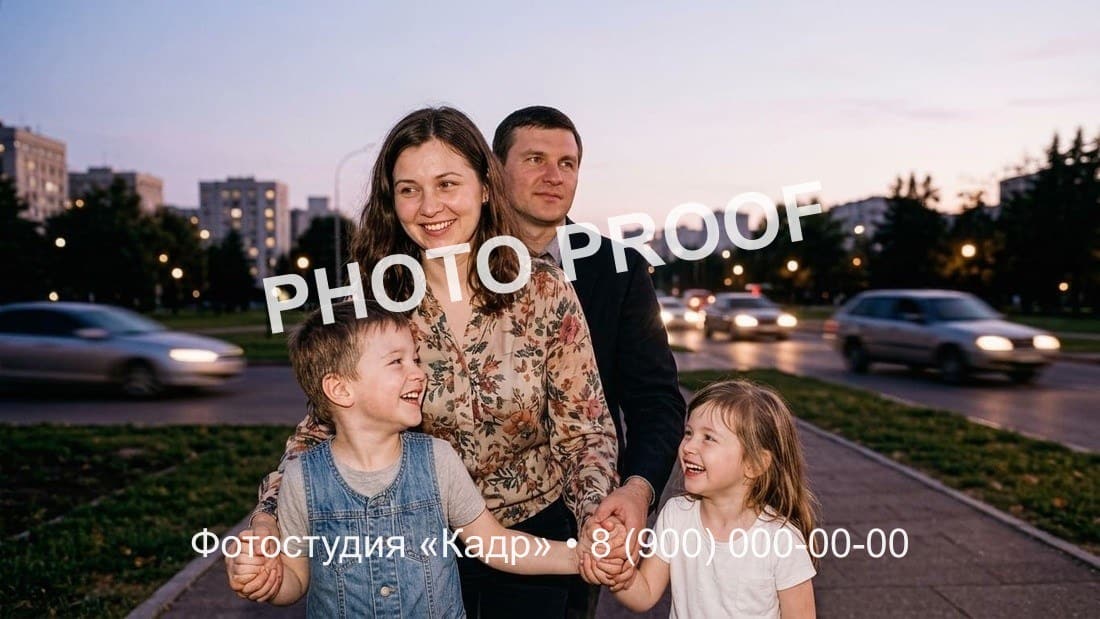 BeforeAfter↔
 BeforeAfter↔
What an AI text remover does
The photo is fine and the lettering on it is not. An orange date burned into the corner of a print from a shoebox. A phone number somebody typed across a listing shot. A caption strip along the bottom of a screenshot. The logo you put in the corner of your own pictures three years ago, before the name of your shop changed. A text remover takes those characters off and puts back the surface they were sitting on.
The first screen of this page is an editor, not a form. You upload the frame, it opens across the full width, and from then on you work on the picture itself: press once on the lettering, look at the outline the model draws around it, and apply the edit. There is no box asking you to type the words out — the click has already said which lettering you mean.
What comes back is your photograph with one area rebuilt, not a new picture of the same scene. The next two sections are about exactly what that means, because it is the part people get burned on.
Click the lettering instead of painting over it
Nearly every tool that erases text from photos opens the same way: choose a brush, set its size, and paint over the words yourself, carefully, along their edges. That step exists because the software has no idea what it is looking at — it needs you to mark the pixels for it. On an object that is tedious. On type it is worse, because type is mostly thin strokes and holes: the gap inside an O, the tail of a Q, the space between a date and its slashes, the faint drop shadow behind white letters on a bright sky.
Here the click does that work. Tap the text and the model reads the frame, works out where the characters end and the surface begins, and outlines the whole line for you. The hint under the frame says as much: Tap an object — the model outlines it. It is the gesture your phone has already trained you into — point at the thing, not around it — and it runs in a browser on any laptop or phone.
The brush has not gone anywhere. It has simply stopped being step one, and it is there for the correction that takes a second or two:
Zoom in before you commit. A text remover is only as good as the outline it starts from, and the classic mistake is a selection that stops at the baseline: the body of the word goes, and the descenders of the g and the y stay behind in the picture. Nothing touches the photo while you do any of this — until you press the button, you are only drawing a selection.
What ends up where the text was
There are two cheap ways to make writing disappear, and everyone has seen both. One is to smear the area until the letters are unreadable, which leaves the soft grey blob that gives the edit away from across the room. The other is to stamp a rectangle of neighboring pixels over it, which leaves a patch of wall that is visibly a copy of the wall beside it. The blurred patch is the thing people are actually afraid of when they come to a page like this, and it is worth saying plainly that it is not the method here.
The model works from the other direction. It reads what surrounds the selection and continues it through the gap, so a sky keeps its gradient, a brick wall keeps its courses and its mortar lines, a lawn keeps the direction it was mowed in, a knitted sweater keeps its stitch, a wooden table keeps its grain. Semi-transparent lettering takes its own soft shadow along with it when that shadow falls inside the selection.
Now the honest half. What appears in the gap is a plausible continuation of the surroundings, not a recovery of what was underneath. Nothing ever recorded the pixels the characters covered, so they cannot be read back — they are drawn from the parts of the picture that were recorded. Over sky, water, asphalt, grass, a painted wall or a plain shirt, the difference is invisible. Over a face, over fine print, over a patterned rug, it is a guess, and a guess is worth looking at closely before you send the picture anywhere.
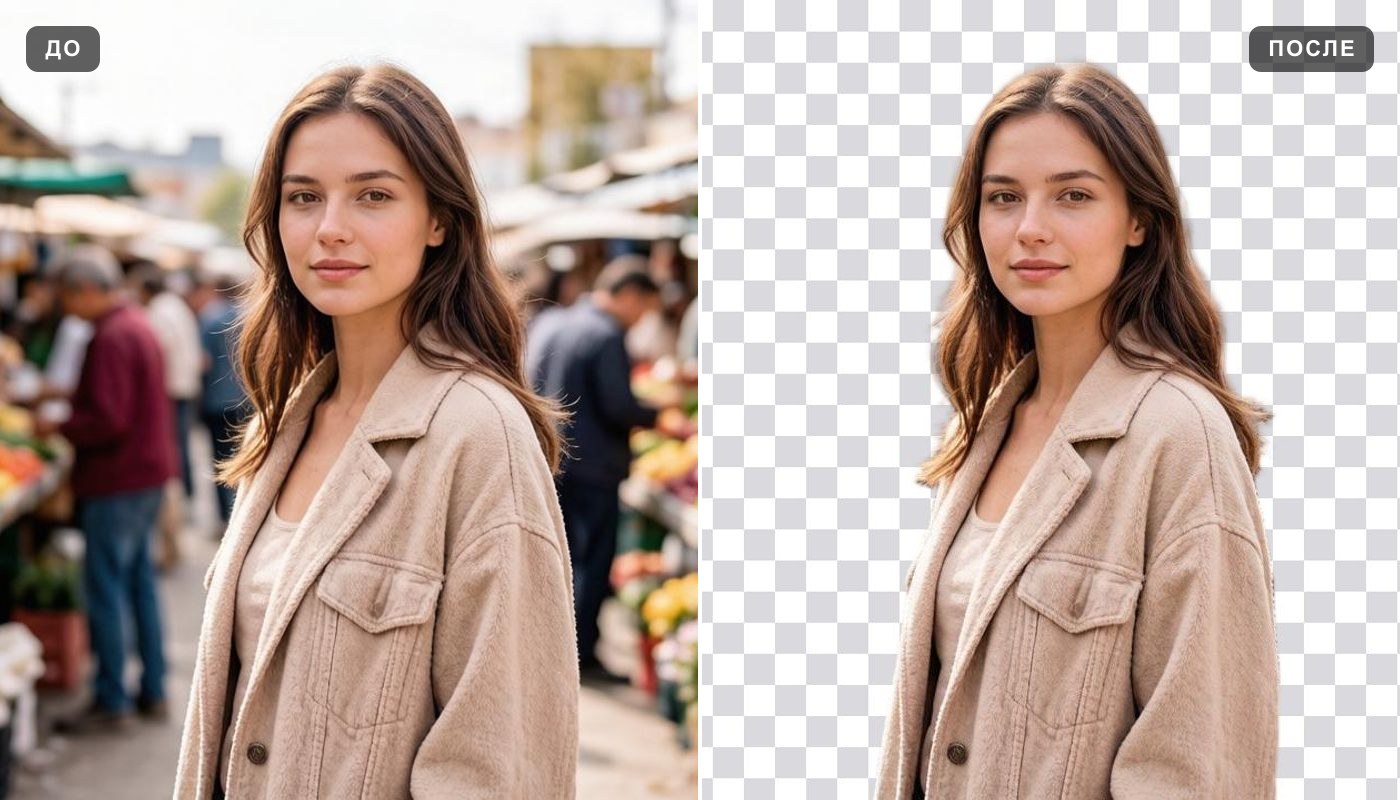
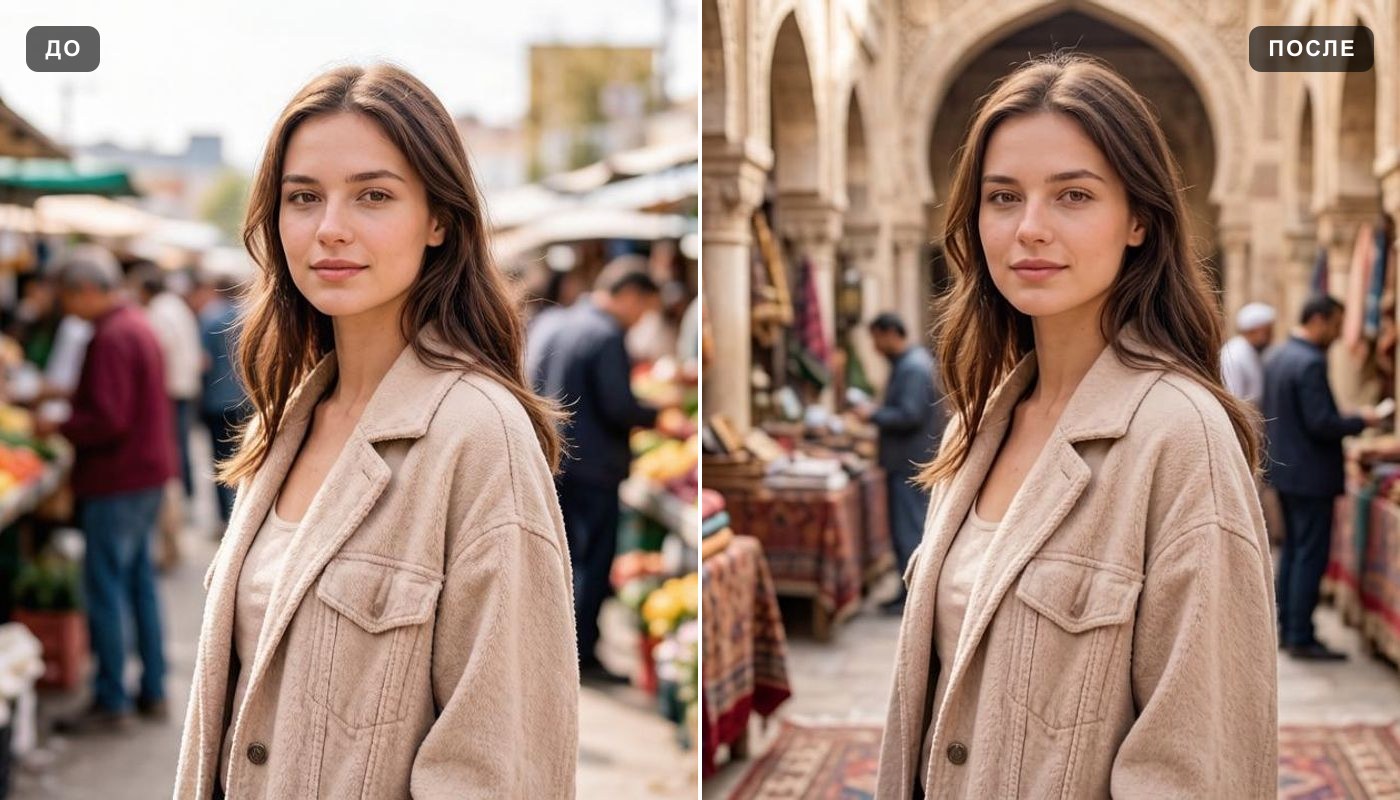
One phrase is worth untangling here, because it gets typed two different ways. When people ask to remove text from an image without the background, they almost always mean the text gone and the background left alone — that is this page, and a clearer way to put it is without affecting the background. If what you actually want is the background itself gone, leaving the subject on a transparent cutout, that is the background remover, and a different scene behind the subject is change background.
How to remove text from a photo in three steps
Three steps, and the middle one is a single press.
The first word matters more than the rest of the sentence. An instruction that opens with Remove, Delete or Erase is treated as a clearing job, and the model is told to fill the selection with the surface behind it and put nothing new there. Start the sentence any other way and it will try to change what you selected instead of taking it out — which is a useful thing to do, but it is a different tool. Beyond that first word you do not need to be clever: "Remove it" is a complete instruction.
Remove a date stamp or a timestamp from your own photos
This is the case the page is built around, and the one that goes best. A film camera with a databack printed the day in orange across the bottom right of every frame it shot. Compact digitals from the early 2000s shipped with the stamp switched on and most people never found the menu to switch it off. Dashcams and doorbell cameras still burn the clock into the corner of every still. Whole family albums carry a date that was never part of the picture anybody was trying to take.
Mechanically it is the friendliest job there is. The digits are small, they sit in a corner, and they almost always lie over one uninterrupted surface — sky, a lawn, a carpet, a tablecloth, the side of a car. Continuing one surface across a short run of characters is precisely what the model is good at. Click the numbers, write "Remove the date stamp in the corner", press Apply, and the corner comes back as ordinary picture.
Two practical notes from this particular kind of shot:
One more thing about this case specifically: the stamp is on your own picture, written there by your own camera, so there is nothing about it to think twice over. Tidying the date off a family print is housekeeping. The one place it stops being housekeeping is where the date is the point — a photo attached to a claim, a report or a dispute, where what is being relied on is exactly when the shot was taken. There is a line about that at the bottom of the page.
Remove text from a screenshot
A screenshot is the one situation where the surface under the writing is not a photograph at all. It is a flat panel: a solid header, a white card, a grey chat bubble, a block of brand color. For a model whose whole job is to continue what surrounds the gap, that is about as easy as the task ever gets, which is why screenshots come out cleaner than most people expect.
What people are usually taking off is a name at the top of a conversation, a phone number or an email address in a listing, an address bar with a personal link in it, a promotional banner across a game screen, a timestamp under a message. Click the line, say Remove, and the panel closes up behind it.
Where it gets harder is text that is inside other text. A single line lifted out of a paragraph leaves a gap surrounded by writing on every side, and the model is continuing a surface that is itself made of characters — which is the one condition under which it may put something letter-shaped back. Short, isolated, on its own patch of background: good. A sentence in the middle of a wall of print: expect to look at it, and to run it a second time with a tighter selection.
And one caution worth more than any tip. If you are stripping a name or a number out of a screenshot before it goes somewhere public, check the result at full size. This is an image edit, not a redaction tool: it changes what the picture shows, and where you need the information to be provably and permanently gone, a solid box drawn over it is the blunter and safer instrument.
Remove a caption from an image
Captions are a bigger job than dates for one simple reason: they are big. A headline set across the top of a picture, a two-line strip along the bottom, subtitles burned into a frame you grabbed from a clip, the impact-font line on a meme somebody sent you. The characters are large, and large characters cross several surfaces at once — sky, then a roofline, then somebody's shoulder, then a face.
The way through it is not one enormous selection. Take a line at a time, starting with whichever one sits over the plainest background. Each pass becomes its own entry in Versions, so the second removal can be undone without losing the first, and the third can be undone without losing either. On a caption, two careful runs beat one greedy selection nearly every time.
Before you start, check whether the caption is actually on the picture. A lot of captions sit on their own band of solid color added below or above the frame, and if that is what you have, cropping the band away is faster, free of guesswork, and keeps the original sharpness. Editing is for text that is genuinely lying on top of the photograph.
Remove a signature from a photo you own
Handwriting behaves differently from printed type. A signature is thin, angled, often semi-transparent, and it usually runs across a corner where the background is doing something busy. That makes it a middling case: harder than a block of date digits, easier than a caption in a slab font. It works, and it more often wants a second pass with the selection widened over the tail of the last letter.
The versions of this that belong here are the ones where the picture is yours: your own signature in the corner of your own work, a photograph of a piece you made and signed and now want a clean copy of for a portfolio, a studio mark on a photo you own outright. Same routine as everything else on this page — click the writing, say Remove, check the corner at full size.
There is a version that does not belong here, and it is worth being blunt about. A signature that is doing a job — on a contract, a form, an authorization, an identity document, anything somebody else is going to rely on — is not decoration, and taking it out of a photo of that document is forgery rather than editing. Do not use this for that. Whose picture it is in the first place is the subject of the rights question in the FAQ below.
Your own logo, and the mark your camera left
A very ordinary thing happens to people who sell or publish pictures. You put a small logo in the corner of every shot when you opened the shop. Two years later the name changed, or the design did, or you simply want the clean file back for a print, and the only copy left of that photograph has the old corner on it. It is your photograph and it is your logo, and the tidiest fix is to take the logo off and continue the surface it was sitting on.
These are the cases this block is about, and all of them have the same thing in common — the picture is yours:
How it goes depends on the mark, not on who owns it. A small opaque logo in one corner, over a quiet part of the frame, is close to the date case and usually clears in a single run. A large semi-transparent mark laid across the middle of the picture is much harder, because everything it covers has to be invented rather than continued. A mark repeated as a grid over the entire frame is not something this does well at all — there is no undisturbed surface left anywhere to continue from.
The one thing worth keeping straight is that taking a mark off a picture changes the picture and nothing else. It does not change who made the photograph or who holds the rights to it, and whether you may do it at all depends entirely on whose picture it is. That question has a short, direct answer below.
Difficult surfaces: text on texture, on a pattern, on a face
How a run goes depends far less on how much text there is than on what is underneath it. The model is rebuilding a surface, so the question is always the same: how predictable was that surface, and how much of it is still visible around the edges of the selection?
The alphabet itself makes no difference. Nothing here is reading the words or understanding the language — it is clearing a set of shapes off a surface, which is why Latin letters, Cyrillic, Greek, Arabic, kanji, numerals and symbols are all the same kind of job. What changes the odds is size and contrast: crisp characters on a quiet background, in an original that is big enough for them to be more than a few pixels across.
Honest limits: what a text removal can leave behind
No page that is being straight with you will promise a clean first pass on every photo. These are the failures that actually happen, listed so you know what to look for before you publish anything.
And one line about where not to do this at all. The edit is out of place wherever the value of the picture is that it is true: a news photograph, an insurance claim, a court exhibit, an archival record, a listing for something you are selling, a document somebody is going to act on. Taking a date off your own family print is housekeeping. Taking the date off a photo that is being offered as evidence of when something happened is falsification, and the difference lies entirely in what the picture is for.
Formats, free edits and limits
The uploader takes JPG, PNG and WEBP, up to 10 MB per file, and says so on the panel: JPG, PNG, WEBP — up to 10 MB. You will select the object right on the photo. HEIC and HEIF straight off an iPhone are not accepted — set the camera to "Most Compatible", or share the picture to yourself once, which converts it to JPG on the way.
There is no minimum resolution, and no maximum on the pixel dimensions of what you send. Large files are fitted to a working size of about 2048 px on the long side when they upload, so a frame straight out of a modern camera comes back a little smaller than it went in; anything already below that keeps its own size. The crop, the framing and the aspect ratio are never changed either way. If the picture you end up with is smaller than you need it, the image upscaler is the next stop.
There is also a pace limit of up to ten edits a minute on the account, which ordinary work never comes close to.
Free edits and what they cover
Your first edit is free once you are signed in, and no plan is needed to make it — press the button while it still reads Try it free. A new account gets two free generations in total, not two a day and not two a month, and they are shared with the other tools on the site. After that, edits run on a paid plan or a pack, and the terms are on the pricing page. Saving is open on this tool from the beginning: Download frame hands you the edited picture from your very first run, with no purchase in between, so the free edit is a file you keep rather than a preview you look at.
Do I need an account?
Yes, and here you are asked for it early: pressing the upload zone as a guest opens the sign-in window straight away, before the editor takes a photo at all. That is not a formality — your frame is uploaded so the model can work on it, and every pass is stored as a version against your account. It is also what lets you come back to an edit tomorrow, put it next to Original, and open it from another device.
Frequently asked questions
How do I remove text from an image?
Upload the picture, click the lettering, and type an instruction starting with Remove in the line over the frame — for example, "Remove this text and continue the background behind it." Press Apply, and the edited frame appears in place with the original one press away under Before / after.
How do I erase text from a photo without blurring it?
Blurring is what happens when a tool hides the letters instead of replacing them. Here the selected area is filled by continuing the surface around it — the sky, the wall, the fabric, the flat panel of a screenshot — and the model is told explicitly not to leave a blurred or lighter patch behind. The result is sharp when the surface underneath was predictable; over a face or a busy pattern it is a plausible reconstruction, so it is worth a look at full size.
Can I remove text from an image without affecting the background?
That is the intent, and it is the phrasing worth using. The selection is the one area the model is told to clear; the framing, the crop and the aspect ratio come back exactly as you uploaded them. Because clearing runs the whole frame through the model rather than pasting a patch, fine detail elsewhere can shift a little, which is why Before / after sits one press away. If you meant the other thing — the background removed entirely — that is the background remover.
Can I remove the date from a photo?
Yes, and it is the case that goes best. A date stamp or a timestamp is small, sits in a corner and almost always lies over a single surface, which is the easiest thing there is to continue. Click the digits, say Remove, and if a faint halo of the burned-in numerals survives, click the leftover and run it once more.
How do I remove words from a picture when there are several lines?
One line at a time. Each run is separate and lands in Versions, so you can undo the third removal without losing the first two, and each new pass works from the result of the last. A single huge selection swallowing an entire caption is the most reliable way to get a mediocre result.
Can I remove text from a screenshot?
Yes, and screenshots are among the cleanest results, because the surface under the writing is a flat panel rather than a photographed scene. The hard version is a line sitting inside a paragraph of other text, where the model has to rebuild a surface that is itself made of characters.
Can I remove a watermark from a photo I own?
On a photo you took, or one where you hold the rights to change the image, yes — your own logo on your own picture, a mark you added yourself, the date your camera stamped into the corner. On a photo you did not create and have no rights to, including images licensed from someone else, no. A mark of that kind is there to identify the owner, and removing it from their work can infringe US copyright law, including the provisions on copyright management information. Whether the edit is technically possible is not the question that matters here; whose picture it is, is.
Will it write something different in place of the old text?
No. An instruction that starts with Remove tells the model to clear the area and put nothing there, only the surface behind it. If the surroundings are themselves covered in writing, something letter-shaped can occasionally creep back in — run it again with a tighter selection. And if you want to change something rather than erase it, that is the AI photo editor.
There is a letter or a shadow left after the run. What now?
Run it again on what is left. Click the leftover directly, or widen the selection with Brush and Add so the stray descender or the drop shadow falls inside it. Two small passes beat one enormous selection almost every time, and the earlier version stays in the strip either way.
Does the picture lose quality?
The crop, the framing and the aspect ratio come back untouched, and the picture does not go soft from one edit to the next. What does change is the working size: a very large upload is fitted to about 2048 px on the long side, so a full-resolution camera file returns smaller than it went in, while anything already below that keeps its own dimensions. For a bigger file afterwards, use the image upscaler.
What if the thing I want gone is not text?
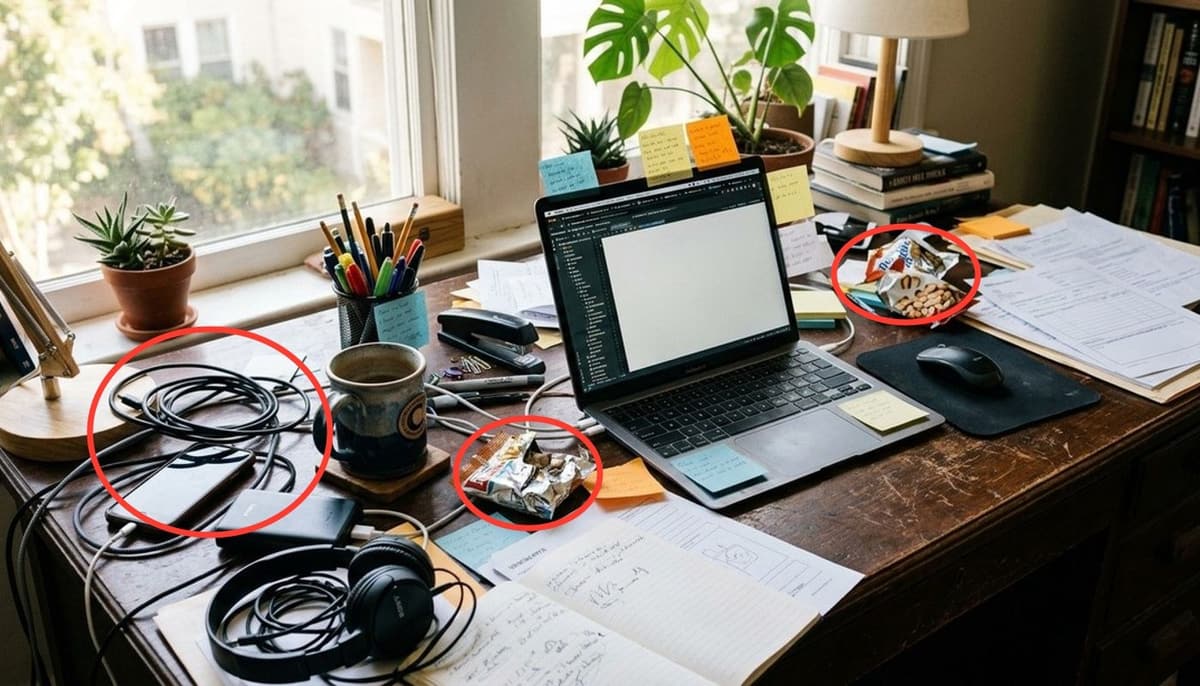
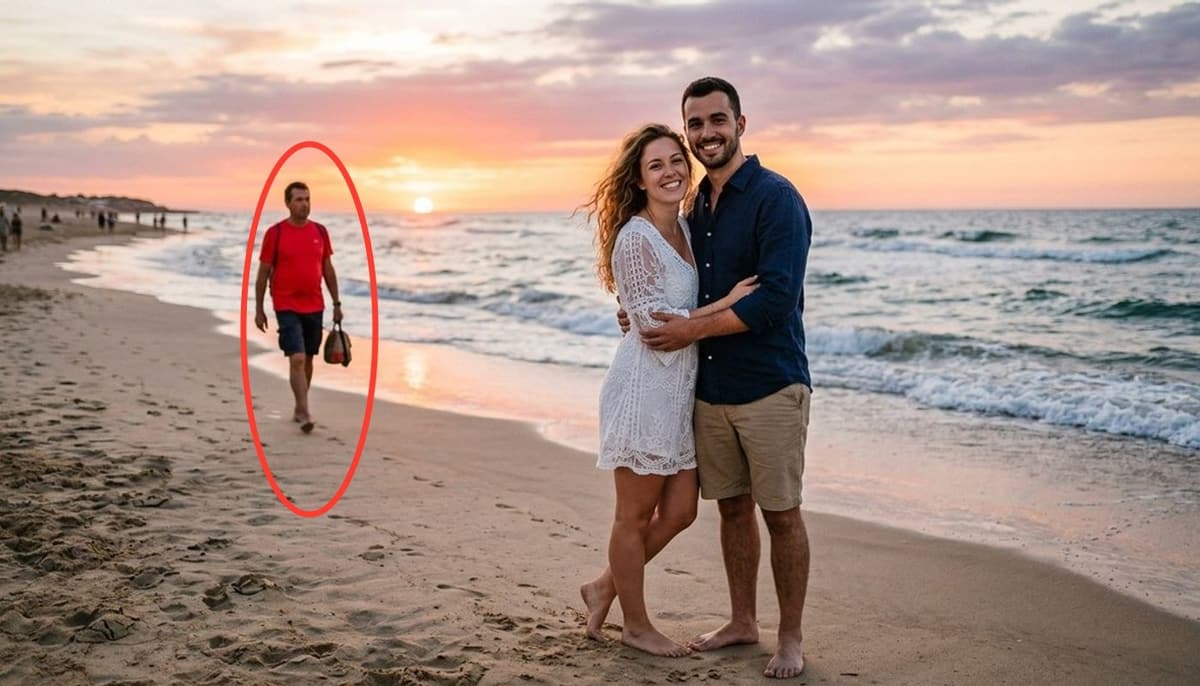
Then the tool next door is the right one, and both work exactly the same way. A bin, a wire, a car, a reflection or general clutter belongs on remove object from photo; somebody standing in your shot belongs on remove a person from a photo.
Does it work on a phone?
Yes. The editor opens in a mobile browser on iPhone and Android, you tap the lettering instead of clicking it, and there is nothing to install. The full-screen button gives the frame the whole display, which helps a great deal when the text you are after is small.
Who can see my photos?
Edits made in this editor are saved to your own account and are not published to the site's gallery of work. Given what people bring to this page — screenshots with names in them, scans of family prints — that seemed like the only sensible default.
Try other tools
 Remove objects
 Remove a person
 AI photo editor
 Background remover
 Change background
 Photo enhancer
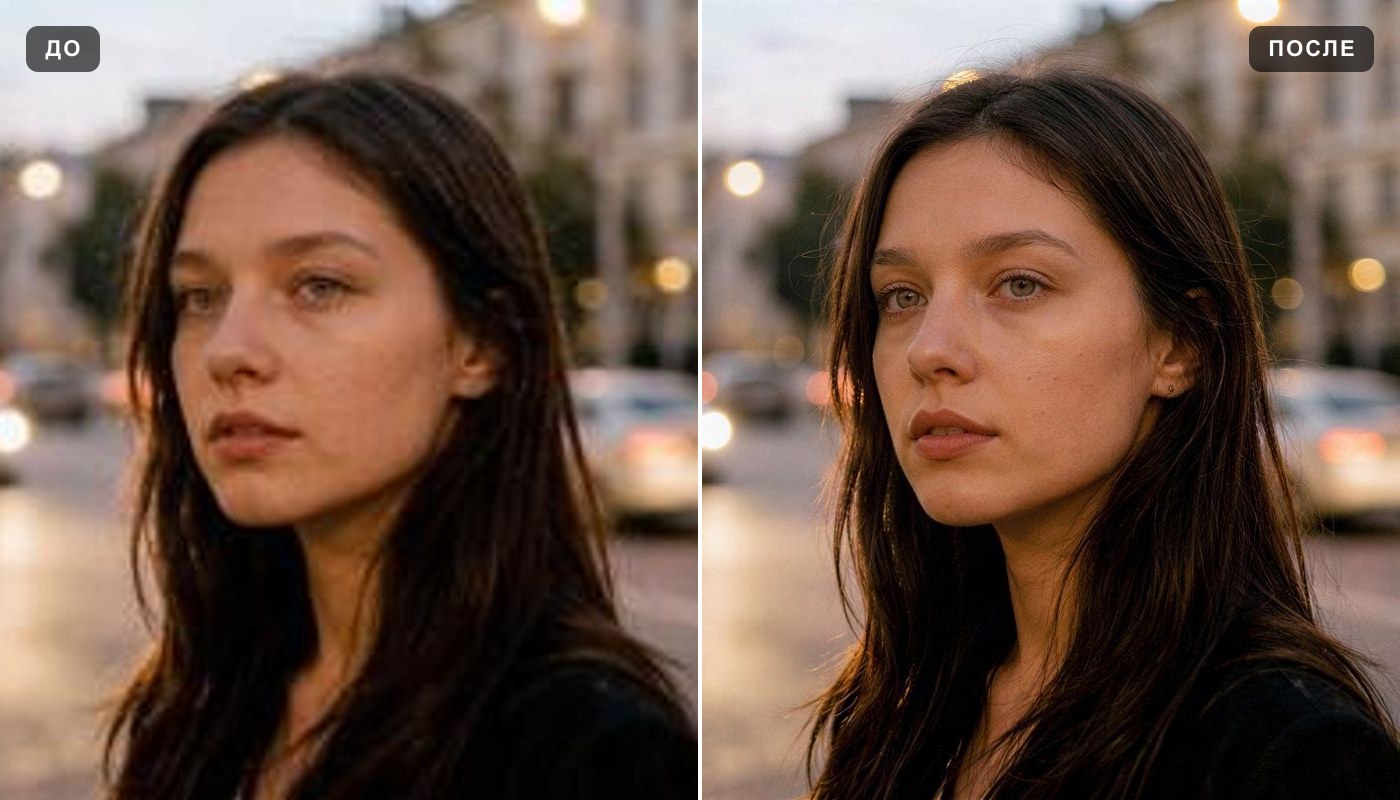 Image upscaler
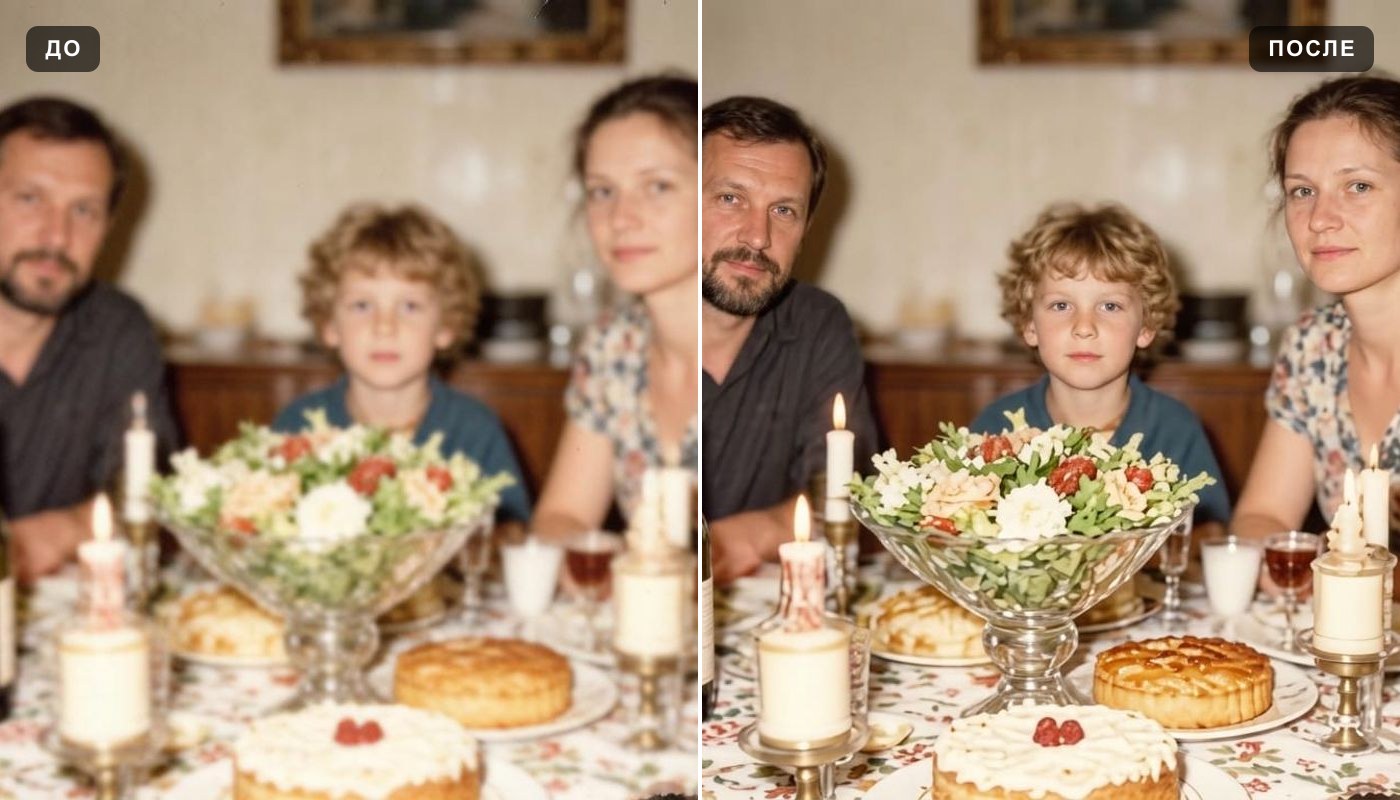 Unblur image