Restore Old Photos Online: Repair Creases, Scratches and Tears
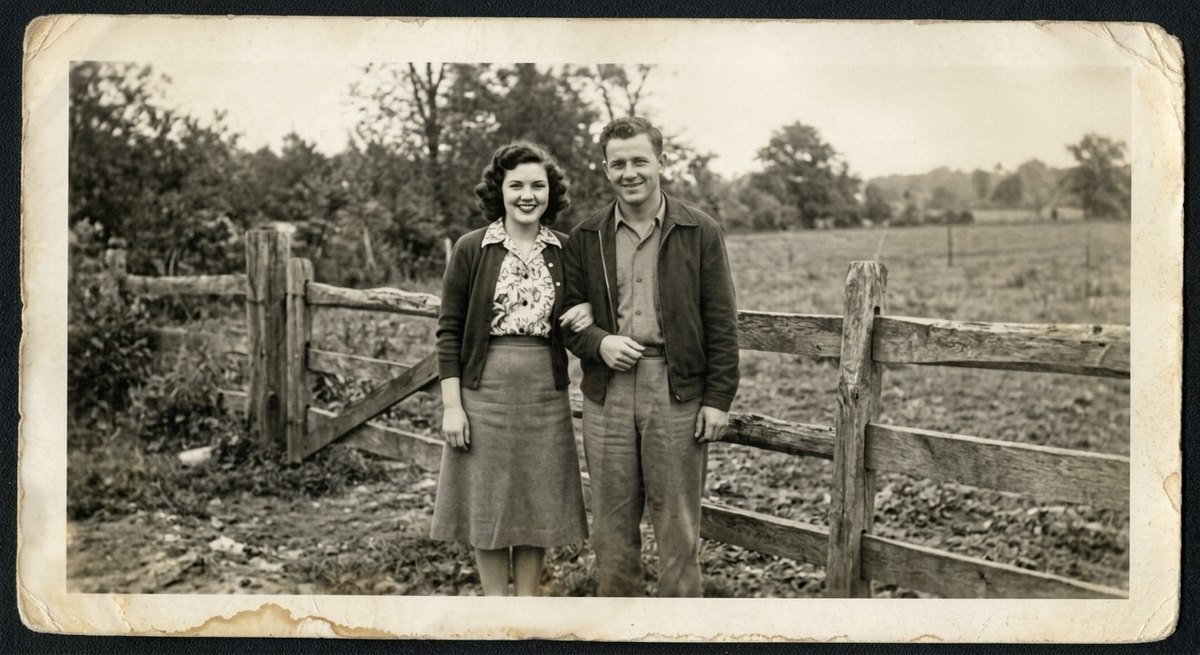
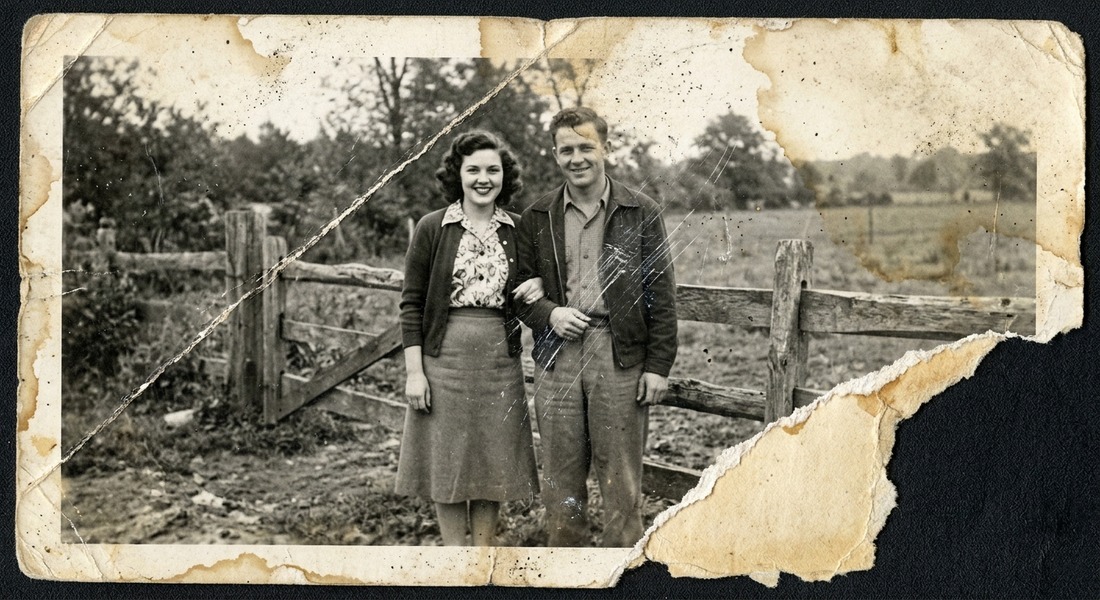
Upload a scan or a phone snap of an old print and the AI works on the damage: creases and fold lines, scratches in the emulsion, torn corners, water stains and mold spots, fading and flat, muddy contrast. The people stay the same people — the same faces, the same clothes, the same era. If something specific bothers you, type it into Additional wishes: "fix the tear on the left", "keep the grain", "do not smooth the face". Press Create and the repaired copy lands in History beside the original, which is never changed. Where a piece of the picture is missing, the model draws something plausible in its place rather than recovering what was there. Repair works on the paper, not on the palette: a black and white print comes back black and white.
 BeforeAfter↔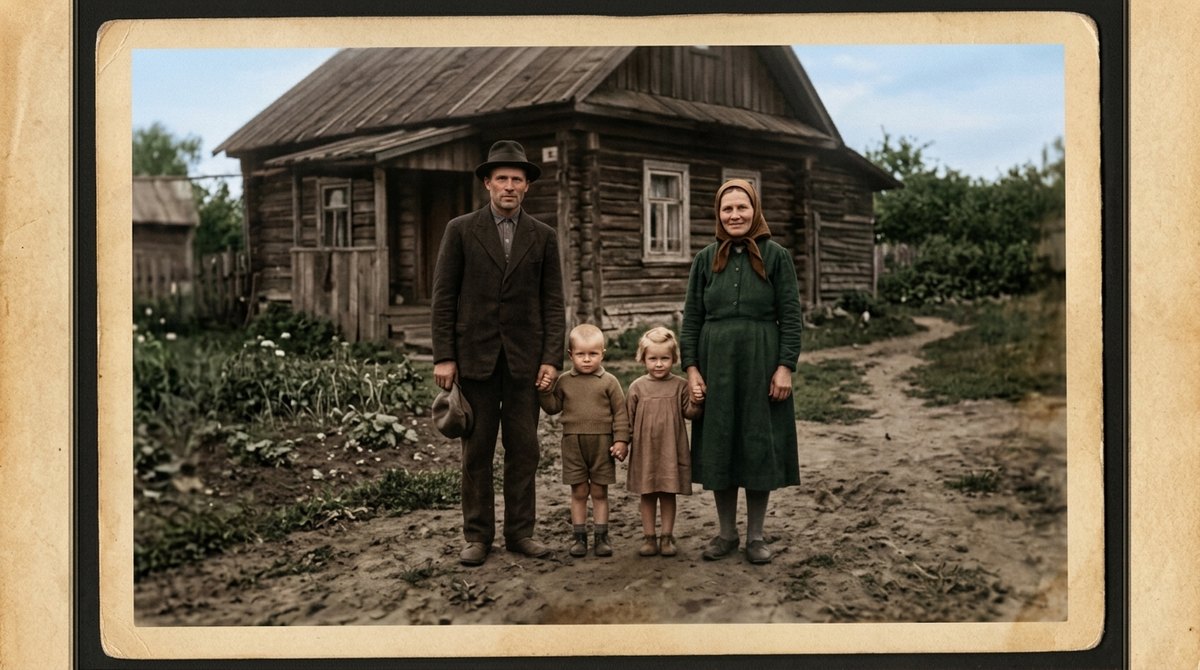
 BeforeAfter↔
How to restore an old photo in three steps
There is nothing to install and no damage to mark by hand. The tool works on still photographs and printed pictures — family prints, studio portraits, instant photos, clippings, scanned negatives and slides. It does not process video or sound, and it never edits the file on your computer: every run makes a new image and leaves your scan exactly as it was.
Before and after
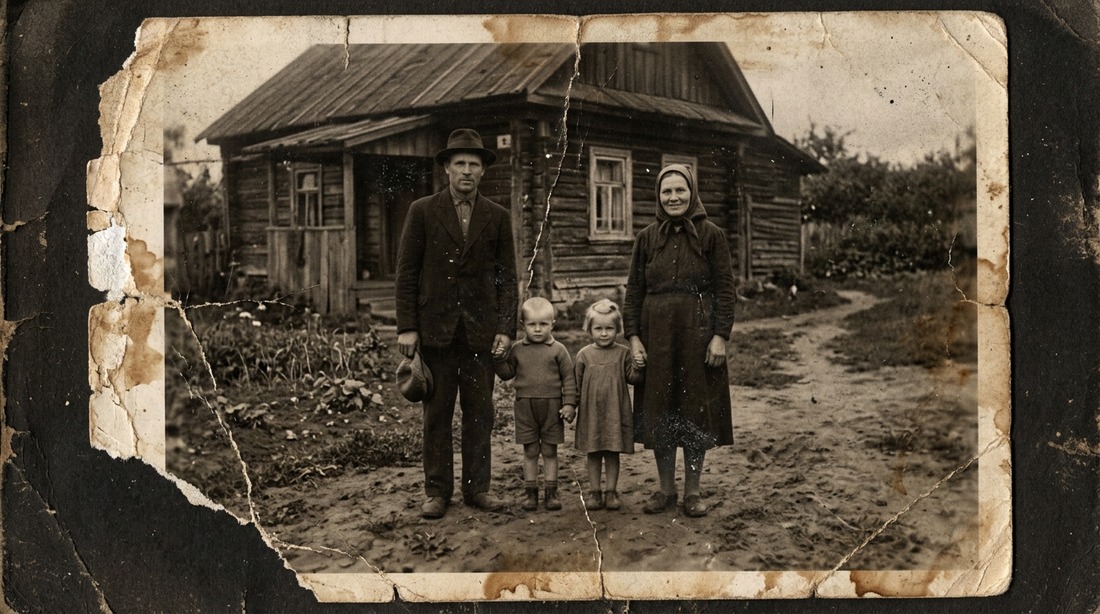
The comparison pairs near the top of this page show the kind of trouble this is built for: a crease running straight across the frame, a corner torn away, stains soaked through the paper. Drag the handle slowly across the damage rather than across the whole picture — that is where the work happens. Your own before and after works the same way: every run is saved in History beside the photo you uploaded, at full size, nothing is overwritten, and the versions stack up rather than replacing each other.
Check the result in this order, because the mistakes hide in a predictable place. Faces first: is that still the same person, with the same nose, the same set of the eyes, the same expression? Then hands, glasses, jewelry and buttons, which are small and easy to redraw wrong. Then lettering — a sign in the background, a studio name in the corner. Then the background pattern, where a model will happily invent wallpaper. If something is off, add one line to the wishes field and run it again.
What the repair actually fixes
Almost everything on this list is physical damage to the print rather than a problem with the photograph itself. The picture underneath is usually fine; the paper is what went wrong.
You do not select anything and you do not paint over the damage. The whole frame is re-rendered as a clean copy, which is why the result is a new image rather than a patched version of your file — and why it is worth comparing the two before you print. Two things the repair deliberately does not do: it does not add color, and it does not make anybody better-looking. A repaired portrait should look like an undamaged print of the same photograph.
Say what to fix in Additional wishes
The field under the upload panel is optional. Left empty, the model looks over the frame, decides what counts as damage and repairs it — the right choice for most prints, and where to start. It becomes worth using in two situations: when there is one specific thing you care about, and when the first run went somewhere you did not want. Short and concrete beats a paragraph — two or three sentences, each naming one thing, in plain language:
Three rules separate a note that lands from one that is ignored. Point at things the way they look in the frame — "the man on the right in the dark suit" works, "Uncle Ray" does not. Ask for repairs, not improvements — "remove the stain" is a job, "make it beautiful" is an invitation to redraw faces. And say what to leave alone, the instruction people forget: grain, paper texture, a studio vignette and a handwritten date are all things a model may read as damage and tidy away.
Next to the field there is an Improve description button that rewrites a short note into a fuller instruction. It is a paid action on the same footing as a generation, and for restoration it is rarely needed: a plain sentence about one piece of damage is already the clearest thing you can write.
Instructions you can copy
Paste one of these into the wishes field and swap in your own details.
General repair, damage everywhere
Repair this old photograph: remove the scratches, creases, stains and dust, and bring back the contrast and the detail. Keep the faces, the clothing and the composition exactly as they are. Keep the film grain and the warm tone of the old print — it should still read as an old photograph, not a new one.
One crease or tear you want gone
Repair the fold line that runs across the middle of this photo and the torn corner at the bottom right. Do not change anything else in the frame, and do not retouch the faces.
Portrait, likeness is the point
Repair the damage on this portrait but keep the face exactly as it is: same features, same age, same expression, same skin texture. Do not smooth the skin, do not remove lines or moles, do not change the hair.
Faded, washed-out print
This print has faded badly. Bring back the contrast and the detail in the shadows and the highlights, remove the yellow stains on the paper, and keep the photograph black and white.
Water stains, mold or album residue
Remove the water stains, the dark mold spots and the tape and glue residue around the edges, and repair the paper underneath them. Keep the people and the background as they are, and do not invent new detail where a stain covered a face.
When part of the picture is gone
This is the part of restoration that gets oversold everywhere, so here it is plainly. Nothing is recovered. Missing areas are drawn. The model looks at what surrounds the hole and produces something that fits — a continuation of a wall, a sleeve, a patch of sky. Small losses go well for exactly that reason: a torn corner, a chewed edge, a thumbtack hole, a crack through the background. There is only one plausible answer, the model gives it, and nobody will ever find the seam.
Faces are the hard case, and the honest word for the result is a guess. If half a jaw, an eye or a whole face is torn out or faded to blank paper, the model has no way to know what was there. It fills the space with a plausible face built from the rest of the frame and from every other face it has seen. It usually looks convincing, which is exactly the risk: a stranger's features can end up on your grandfather and nothing in the picture will admit it. That is a likeness, not a record.
So if the missing piece matters, keep the original scan and treat the repaired version as an illustration of it. You can also ask for the loss to be left alone — "do not redraw the missing part of the face, repair only the paper around it" — and compare the two runs in History. And when relatives are going to see it, say which parts were filled in. A family that knows the jaw was drawn will still love the print; one that finds out later will not trust any of it.
Repair first, color second: two different jobs
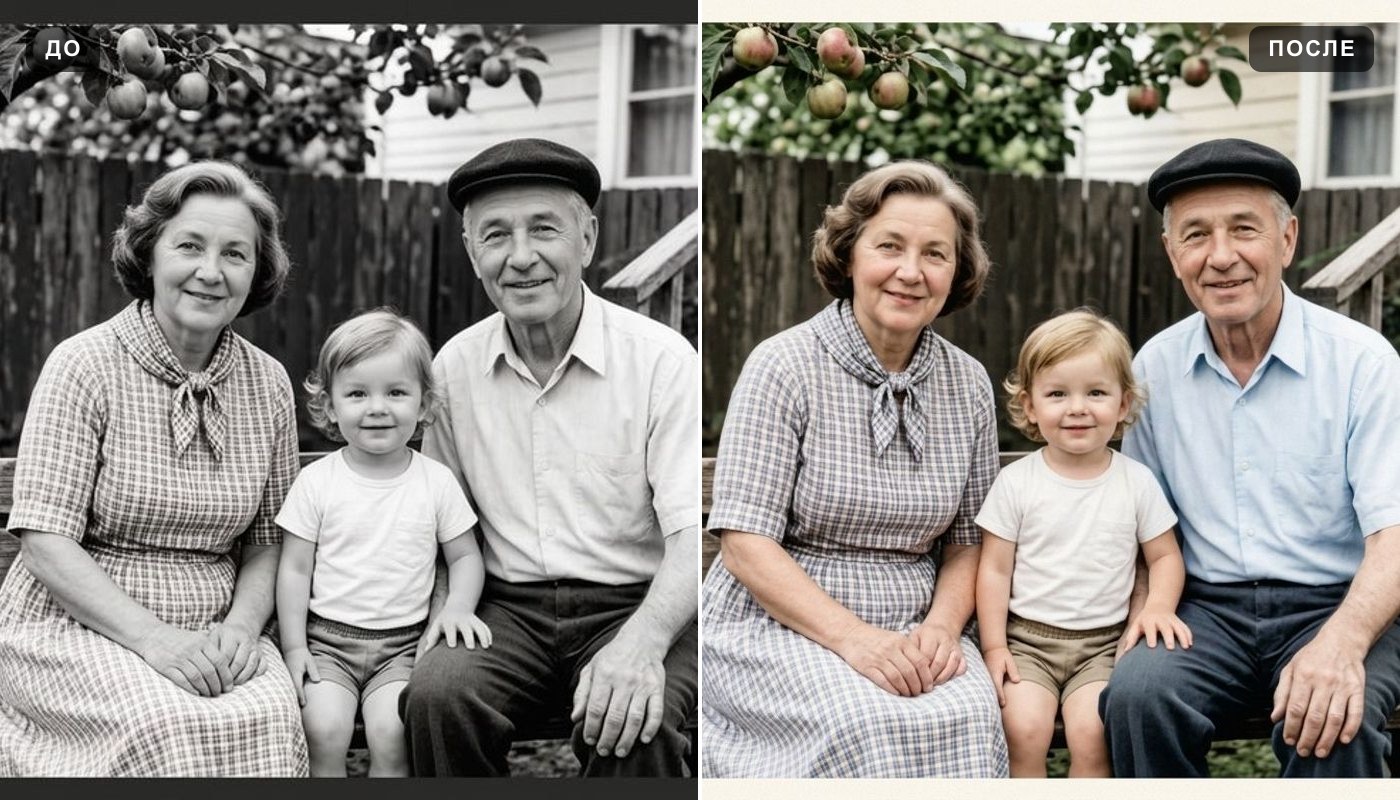
These two get mixed up constantly, and it costs people a run every time, so the line is worth drawing sharply. Restoring works on the paper. It does not add color. A black and white print comes back black and white, with the creases and stains gone. A sepia print comes back sepia. A faded color snapshot from the seventies comes back with its own colors revived, not replaced.
Adding color to a grayscale photograph is a separate tool: colorize photo. It picks tones that fit what it sees — skin, hair, foliage, brick, fabric, sky — and you can name the shades you remember. The rule also runs the other way: colorizing repairs nothing. Upload a torn, stained print there and you get a torn, stained print in color, with some of the damage more visible than before.
Which gives the order to work in: repair here first, add color afterwards. A clean frame gives the colorizer far better material than a cracked one, because it is no longer trying to decide what color a scratch is. Keep all three files — the scan, the repair and the colored version. Only the scan is evidence of anything.
How to photograph an old print with your phone
The repair only ever sees the file you upload, and a careless snap of a print costs more quality than any setting here can give back. None of this needs special equipment — a window and a table will do.
Scan or photograph? A flatbed wins whenever the print is small or the faces are small in the frame: lay it flat, close the lid, and scan at 600 dpi or higher so the eyes and mouths are described by real pixels rather than a handful of them. A phone is genuinely fine for a larger print held flat in good light, and it is what most people use standing over a box in an attic. The phone is the better tool for a print that is brittle, curled or stuck fast — do not fight the paper for the sake of a scan.
Weigh a curling print down at the corners, because a bent print reads as distorted shapes. And if your scanner software offers dust removal, descratching or auto-correction, turn it off — those filters smear fine detail before the repair ever sees it.
Two things worth doing while the print is in your hands. Scan the back if there is writing on it: names, dates and places written by someone who knew are the part of an archive no tool can reconstruct. And if a date stamp or a caption across the front is something you would rather not keep, that is a separate job for remove text from image — repair first, then decide about the lettering.
Where people use it
It nearly always starts the same way: somebody clears out a garage or a parent's house, finds a box of prints in worse shape than anyone remembered, and wants the people in them visible again.
Genealogy has one house rule: label it. If a repaired photo goes into a family tree or a shared research folder, say that it was restored and keep the raw scan attached. The next researcher needs to know which pixels came off the paper and which came out of a model — a filled-in corner of a face is what a cousin will one day read as a family resemblance.
For printing, count your pixels before you order. The repair returns 1024 px on the long side on Standard and 2048 px on Pro — comfortable for a slideshow, a phone screen and a small print, tight for anything you want to hang on a wall. If the plan is a framed enlargement, take the repaired file to the image upscaler afterwards, and keep the scan in case you ever want to start over from the paper.
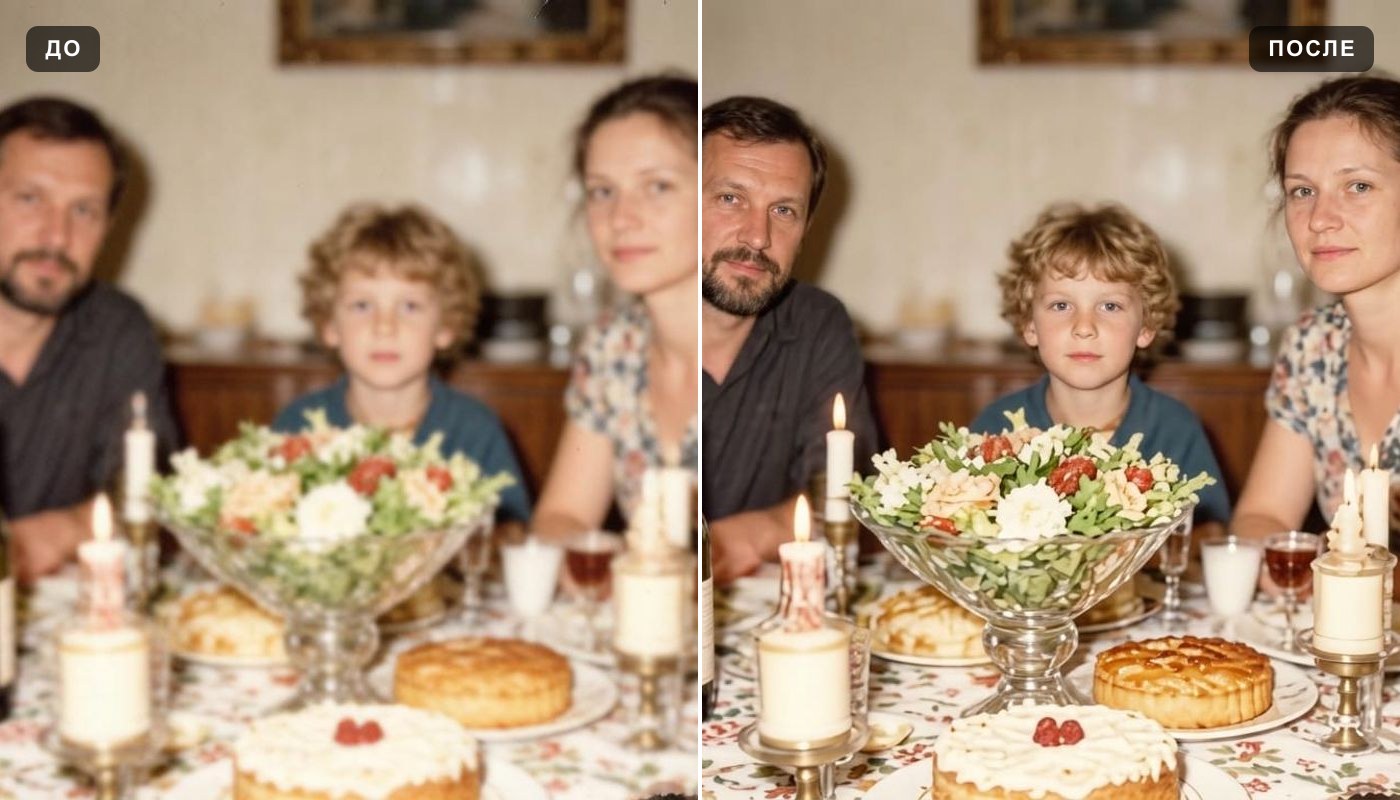
Three neighboring jobs people often want in the same evening. A print that is intact but dim, dull or muddy is a better fit for the photo enhancer. A shot that was blurry when the shutter fired belongs in unblur image. And a recent portrait you simply want tidied up, rather than an old one you want repaired, is photo retouch.
Where this is the wrong tool
A repaired photograph is a new image in which some pixels were drawn by a model. That is fine for a wall, an album, a slideshow or a family tree. It is not fine anywhere the picture has to be an unaltered record.
Not for ID or official document photos. Anything that has to be an unedited photograph of you — government identity paperwork above all — rules out software retouching of any kind, and a restored image is retouched by definition.
Not an archival record and not proof of anything. If a photograph is being kept as a document — an institutional collection, a property or insurance file, a legal matter, a newsroom archive — the scan is the document and a restored version is an interpretation of it. Keep both, label which is which, and never replace the scan with the repair.
And it cannot read what was never in the frame. Repairing will not reveal the letters on a distant sign, the numbers on a plate or a face in the far background. What you get instead is crisp, confident, invented text — the most misleading thing this technology produces, precisely because it looks sharp. If you cannot make it out on the paper with a magnifier, no amount of processing will tell you what it said.
Formats, file size and devices
There is no app to install. The page opens in a browser on an iPhone, an Android phone, a laptop or a tablet, which suits the most common workflow: standing over an open album with your phone, photographing a page and repairing it on the spot.
Accepted formats are the ones printed on the upload panel: JPG, PNG, WEBP — up to 10 MB. There is no limit on the resolution of what you upload, and the file goes to processing at full quality rather than being shrunk on the way in, so a detailed scan is worth making.
Two formats to watch for. Flatbed software often saves TIFF by default and phones often save HEIC or HEIF — neither of those is accepted here. Export the scan as a JPG or a PNG, and on an iPhone either set Camera to "Most Compatible" in Settings or share the picture to yourself once, which converts it on the way. If a high-resolution scan comes out over 10 MB, save it again as a JPG at high quality rather than reducing its dimensions: a little compression costs you far less than half the pixels on a face.
Restore old photos free: what you get and where the limits are
You can try it for free. A new account gets two free generations in total — not two a day, not two a month — and this tool is one they cover. Free runs use Standard quality; Pro, which comes back at the larger size, is part of a paid plan. After that the work continues on a plan or a pack, and the terms are on the pricing page.
Two things worth knowing before you start. Free runs carry a light ai.neiroset.com signature in the bottom-right corner; any purchase removes it permanently, including from images you already generated. On this tool the Download button is open from the first run, so you can save what you make right away.
There is also a pace limit of six runs a minute per account — more than enough for normal work, even when you are going through a box of prints one after another. Spend the runs well: look at the first result properly, decide on the one sentence that was missing, and run it again. Two considered attempts beat six impatient ones.
Do I need an account?
Yes. You can fill in the whole form as a guest, but pressing Create opens the sign-in window. Without an account there is nowhere to keep your results, and a scan of a print you may not be able to make again easily is exactly the kind of file you do not want to lose when a tab closes. Signing in is what puts every attempt in History beside its original.
What to keep in mind
Frequently asked questions
How do I restore an old photo online?
Scan the print or photograph it flat with your phone, upload it, name the damage you care about in Additional wishes if you want to, pick Standard or Pro and press Create. The repaired copy appears in History beside the original.
Will the faces still look like the same people?
In an ordinary damaged print, yes — the repair follows the face in the frame and does not try to make anyone younger or smoother. The frame is re-rendered rather than patched, though, so fine details can shift, and a face that is mostly gone has to be rebuilt from very little. Compare with the original before you print.
Will it add color to a black and white photo?
No. This tool repairs the print — a black and white photograph stays black and white. Adding color is a separate tool: colorize photo. Repair first, then colorize the clean version; a colorizer given a cracked print returns a cracked print in color.
Part of the photo is torn off. Can it be rebuilt?
Small losses — a corner, an edge, a hole, a crack through the background — are filled in from the surrounding picture and usually look seamless. A missing face is drawn plausibly rather than restored: it is the model's guess, not the person's features. Keep the scan, and say so when you share the result.
Do I have to mark the scratches myself?
No. It finds the damage on its own, with nothing to select or paint over. The wishes field is there for when you want to point at one specific thing, or to say what to leave alone — the grain, the paper texture, a date in the corner.
My print has faded almost to nothing. Will this help?
Usually yes for the paper and the contrast: blacks, whites and mid-tones come back and the picture stops looking washed out. Faces are the caveat. Where the emulsion has faded to nearly blank paper, features get rebuilt rather than revived, so check the likeness against the scan.
Can I photograph the print with my phone instead of scanning it?
Yes, and most people do. Lay it flat in soft daylight, keep the flash off and reflections off the surface, shoot straight on, and crop away the album page and the border. Scan at 600 dpi or higher instead when the print is small or the faces are small in it.
Will the photo come out sharper?
Detail and contrast that the damage was hiding do come back, so a repaired print reads much crisper. A photograph that was blurry when it was taken is a different problem — that is unblur image. For a bigger file, run the repair through the image upscaler afterwards.
Can I use the result as an archival record or for an ID?
No. A restored photo contains pixels a model drew, so it is not a record and not something to submit where editing is prohibited, such as government identity paperwork. Keep the raw scan as the document; the repaired file is for looking at, framing and sharing.
Who can see my photos?
On the higher paid plans a Private switch keeps a run out of the public feed — with it on, only you. Without it, a generated image may be shown in the site's gallery of work. The switch sits next to Create, so turn it on before you start the run rather than after; on a free account it opens an upgrade window instead. You upload one picture that you choose yourself: no folder is scanned and nothing asks for your camera roll.
Try other tools
 Colorize photo
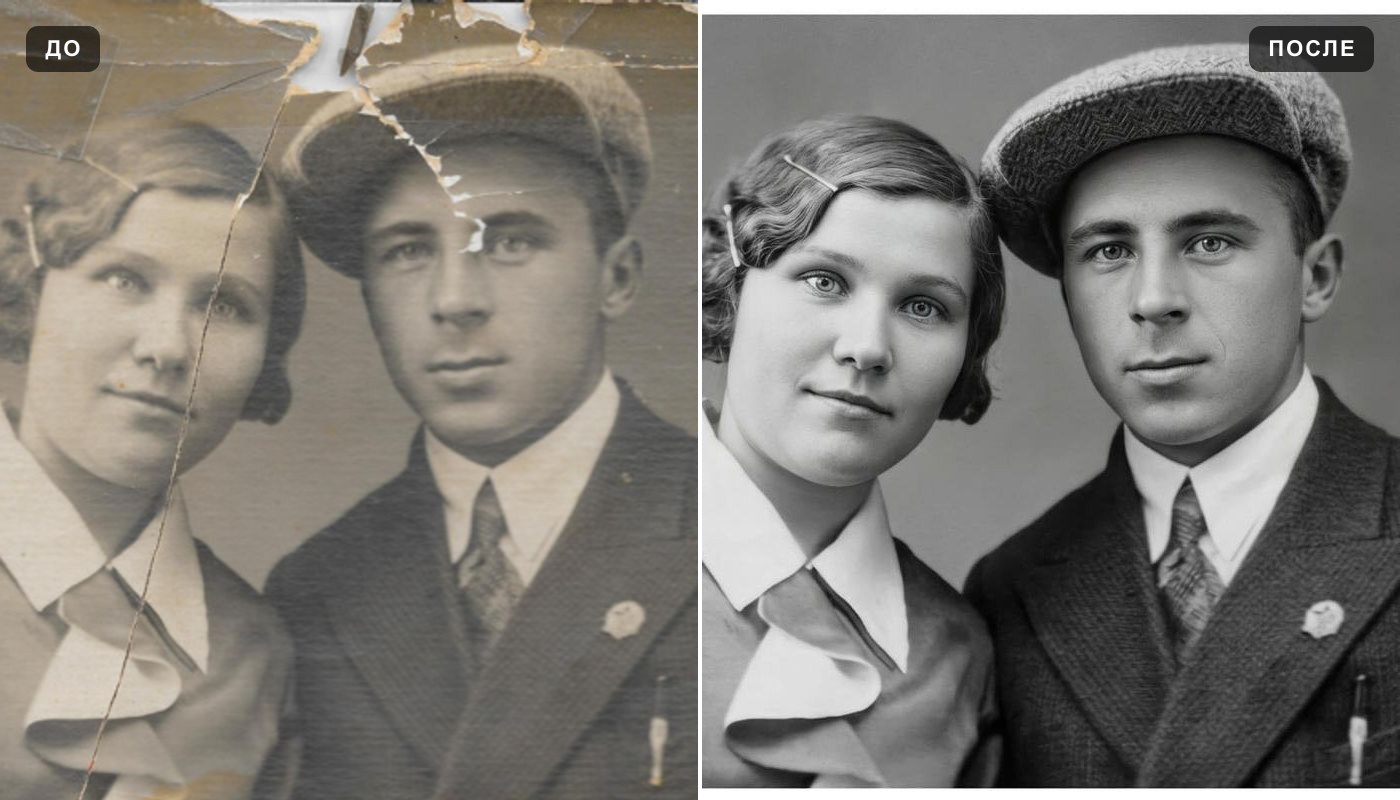 Photo enhancer
 Unblur image
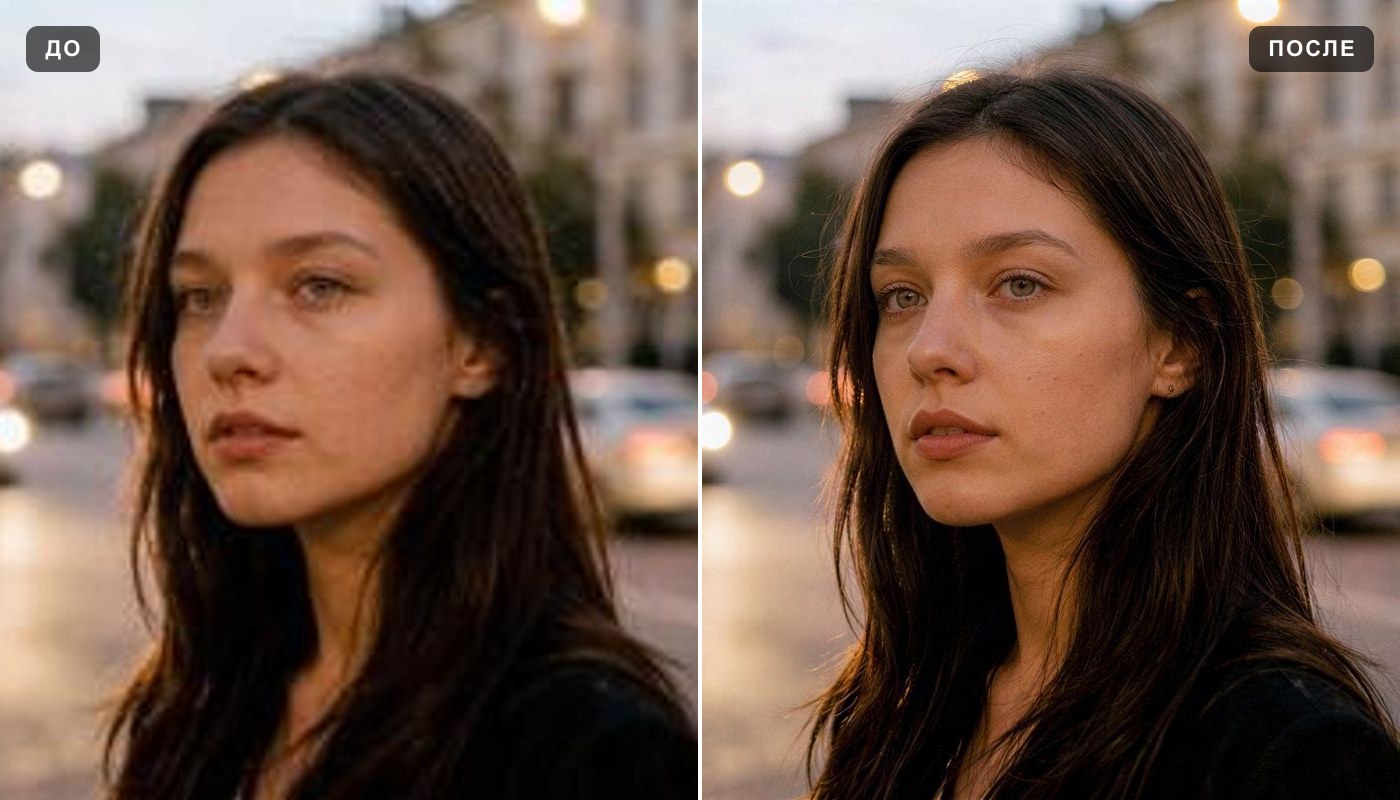 Image upscaler
 Photo retouch
 Remove text from image
 Background remover
 Change background