Change Clothes in a Photo Online: New Outfit, Same Face and Pose
Upload a photo where the clothing is visible and describe what the person should be wearing instead in Additional wishes: a navy blazer over a white shirt, a black turtleneck, the same jacket in cream, a warmer coat for the same pose. Press Create and the person comes back dressed in it, with the same face, the same expression, the same pose and the same background — the garment is re-rendered and the light falling on it is recalculated to match the scene. Every version lands in History next to the original, which is never changed, so you can rewrite one line and run it again. This is a clothing-to-clothing edit: a different outfit on the same photo, not a different body.
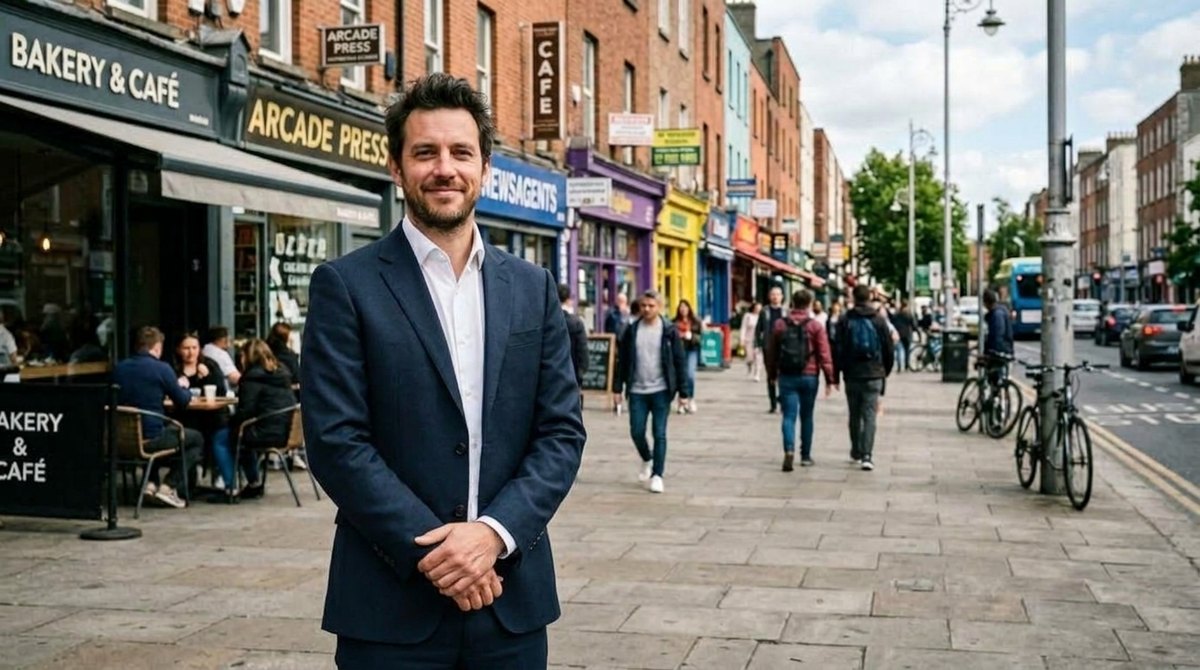
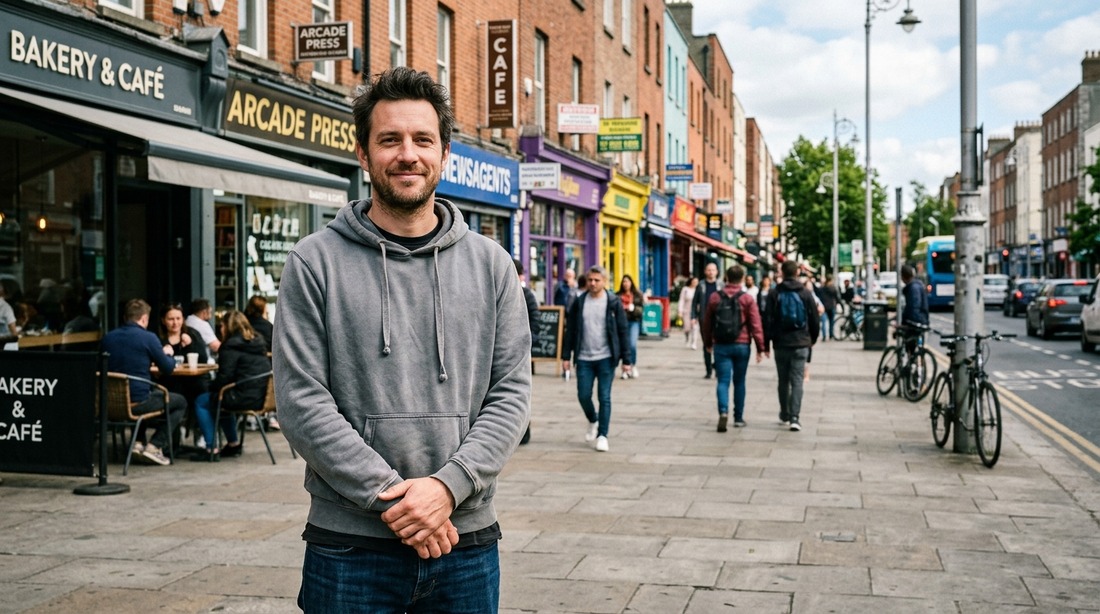 BeforeAfter↔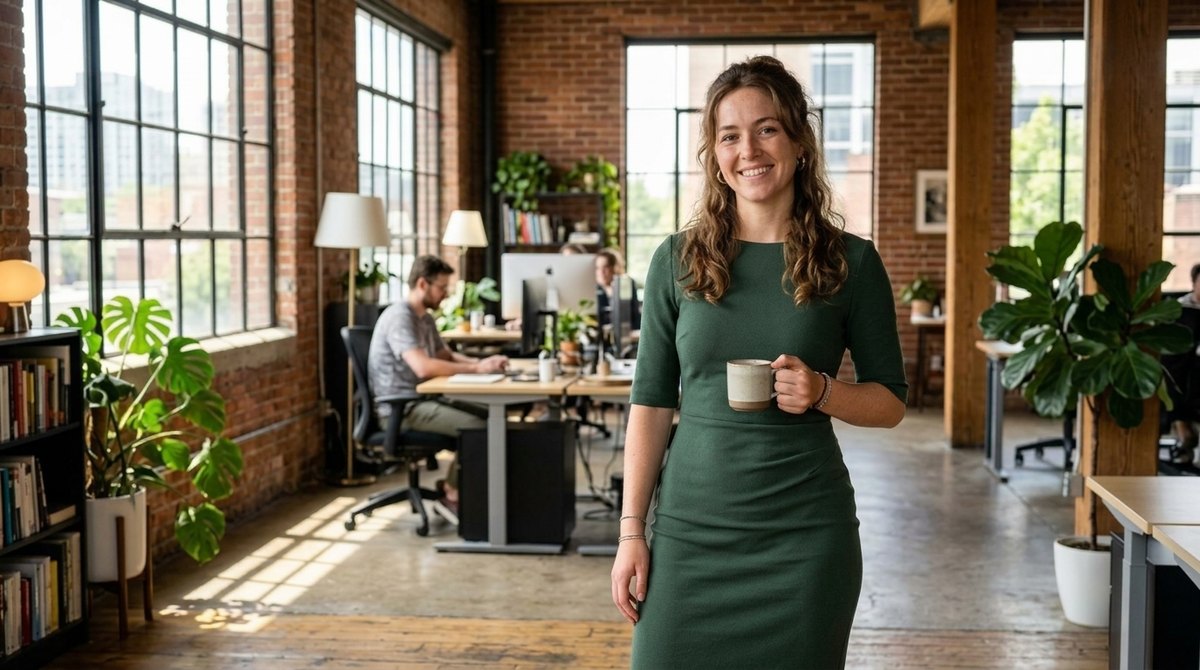
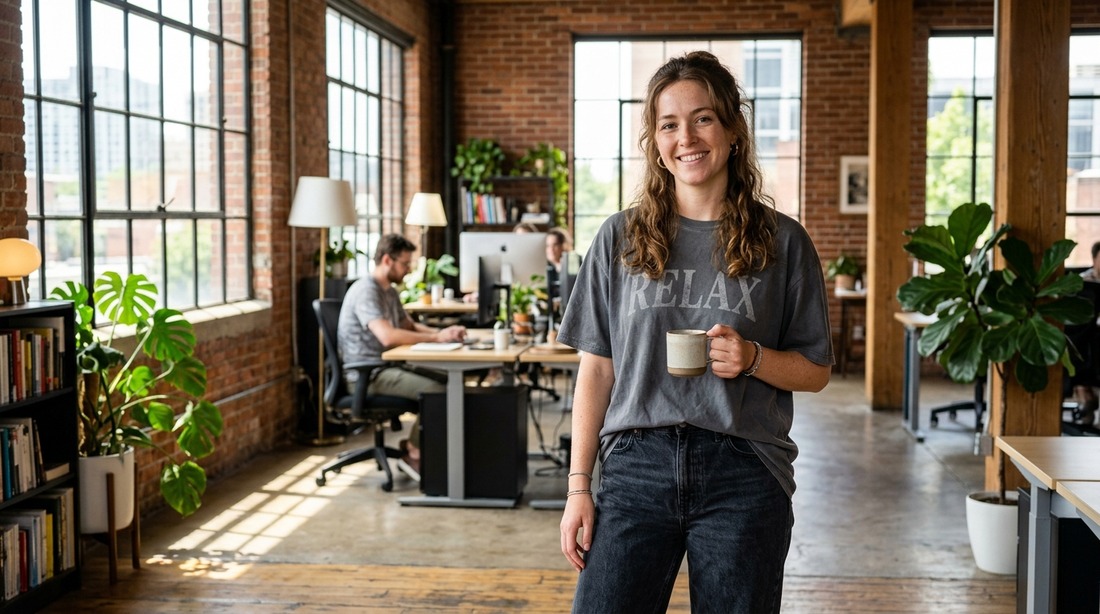 BeforeAfter↔
How to change clothes in a photo in three steps
Nothing to install and nothing to learn: the page runs in a browser. The tool works on still photographs of people — it does not process video or sound, and it never modifies the file on your computer. And one thing worth saying out loud before you start, because it shapes every paragraph below: this is a clothing-to-clothing edit. One garment is replaced by another and the person comes back fully dressed. Nothing here does anything else.
Before and after
The comparison sliders near the top of this page hold two pairs. In the first, a man photographed on the street in a gray hoodie and jeans comes back in a dark navy suit with a white shirt. In the second, a woman in a plain t-shirt at her desk comes back in a green dress. In both, the face, hair, pose, hands and everything behind the person are the same picture they were before.
Drag the handle slowly and look at the four places where a clothing swap is actually decided: the collar and shoulder line, the edge where a sleeve meets a wrist, the boundary between hair and fabric, and the direction of the light. The face is the easy part.
Your own comparison works the same way: every run is saved in History at full size next to the photo you uploaded, and you keep the version that looks right.
Why people change an outfit in a photo
Almost every request comes from the same place: the photo is good and the clothing is wrong. The light was right, the smile was right, nobody blinked — and the person is in a vacation tee.
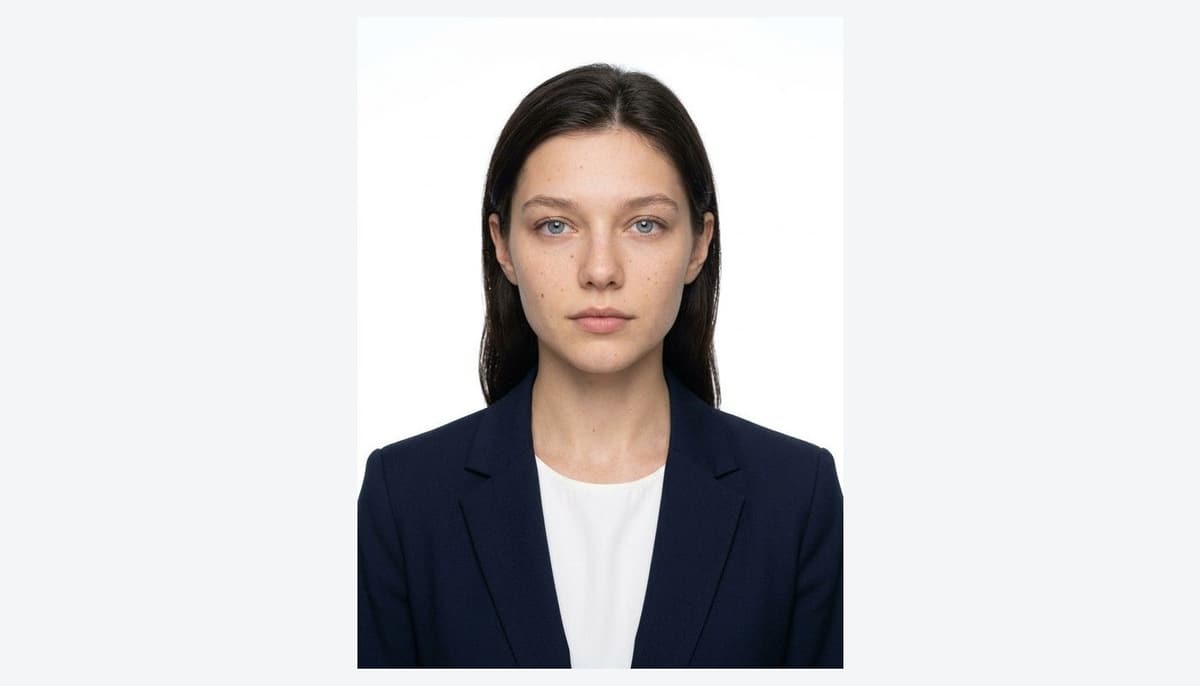
The work portrait is the biggest one by a wide margin. Realtors, coaches, consultants, contractors, small-business owners — anyone who needs a picture of themselves on a website and does not want to book a session for it. The usual move is to take the one photo where you actually look like yourself and put a jacket on it. If the background is wrong too, change background handles that part, and for a portrait built for that job from the start the professional portrait tool is the better door.
The team page is where this tool quietly earns its keep. Staff photos accumulate over years: different photographers, different seasons, one person in a polo and another in a suit. Running every picture with the same one-line instruction — "dark gray blazer over a white shirt" — pulls a mismatched wall of faces into something deliberate without calling anybody back for a reshoot.
And one honest note on trying a look on. You see how a style reads on your build, your coloring and your posture, which genuinely helps when you are choosing between a crew neck and a turtleneck. You do not see how one specific item from one specific shop would fit you: there are no measurements, no size chart and no knowledge of that product behind the result.
What to write in Additional wishes
This is the part of the page worth reading twice. There are no style tiles and no outfit menu to pick from — the Additional wishes field is the interface. Whatever you type there is the outfit you get, so the difference between a great result and a shrug is usually one better-written line.
A good line has three or four parts and stops: garment, color, then cut or fabric if it matters. "Coat" leaves everything to the model; "beige linen coat down to the knee, open" leaves almost nothing. A comma-separated line works better than full sentences.
These are the shapes of instruction that work, and you can paste any of them as they are:
Three rules save most of the retries. Describe the garment, not the vibe — "professional" and "classy" mean nothing specific, "gray suit jacket" does. Keep it to one outfit: three competing ideas in one line means the weakest two get dropped and you will not know which. And say what to protect — jewelry, a scarf, a badge, a wedding ring — because anything inside the zone the model redraws is fair game if you did not mention it.
The Improve description button next to the field expands a thin line into a fuller one. It counts as a run exactly the way Create does, so reach for it when you cannot find the words rather than out of habit.
Instructions you can copy
Paste one of these into the wishes field and swap in your own details.
Casual photo to a work portrait
Replace the clothing with a dark navy suit jacket over a plain white button-down shirt. Keep the face, the hair, the pose and the background exactly as they are. Plain fabric, no lettering and no logos.
Color change only
Keep the same garment, the same cut and the same fit, and change only its color to cream white. Do not change the style, the collar, the sleeves or anything else in the photo.
A dress for an event
Replace the top with a dark green midi dress with short sleeves and a simple neckline. Keep the necklace and the earrings. Keep the pose, the hands and the background unchanged.
One look for a whole team
Replace the clothing with a charcoal gray blazer over a plain white shirt, no tie. Plain fabric with no pattern, no lettering and no logos. Keep the face, the pose and the background as they are.
One person in a group shot
Change the clothing of the man standing on the left in the gray hoodie: replace it with a black crew-neck sweater. Leave every other person in the photo, and everything they are wearing, completely unchanged.
What stays the same and what changes
The reason this tool is useful at all is that the list of things it leaves alone is longer than the list of things it touches. The face, the expression, the eyes, the hair, the pose, the hands, the build of the person, the framing and everything behind them come from the photo you uploaded. You are not getting a new person in a new picture; you are getting your picture with different fabric in it.
What changes is the garment and the light on it — and that second half is what makes a result look real. The new coat is not pasted on like a sticker, it is rendered into the scene, so the light is recalculated: near a bright window the new shoulder catches the same highlight the old one did, at sunset the fabric goes warm, the fold of a sleeve follows the arm that is already there, and the shadow the clothing drops runs the same way as every other shadow in the frame.
Two honest consequences. The edges get redrawn — wherever clothing meets skin, hair or background, those pixels are regenerated rather than preserved. And small things inside that zone can move: a necklace, a watch, a lanyard, a shirt pocket, a strap. Name them if they matter.
One thing the tool deliberately does not do: it does not change the body. Height, build, waist, shoulders and proportions are the ones in the original, and the clothing is fitted to that body rather than the body reshaped to flatter the clothing.
Where a clothing swap gets tricky
Some frames are harder than others, and it has nothing to do with how well you wrote the instruction. Knowing the six usual suspects saves you from blaming your own wording.
The fix for all six is the same: simplify the request and run it again. Plain fabric instead of plaid, one garment instead of three layers, one protected item named explicitly. Each run is its own entry in History, and the second attempt is usually the keeper. If the trouble is in the picture rather than the clothing, fix that first with photo retouch or blur background, then change the outfit.
Which photo to start from
The model only ever sees the file you upload, and a clothing swap is unusually sensitive to how much clothing is in the frame. None of this needs a studio.
Group photos and more than one person
Group shots work, with one rule: say exactly who. Identify the person by what is visible in the frame rather than by name — "the man standing on the left in the gray hoodie", "the woman in the middle in the red top". A name tells the model nothing; a position plus a current garment tells it everything.
For a whole group in one palette there are two roads. Describe everybody in one line — "all three in cream knit sweaters and dark jeans" — which is fast when the outfits should match. Or change one person per run and keep the rest explicitly untouched: more runs, more control, cleaner edges. A family holiday card needs the first; a team page rewards the second.
And the thing that is easy to forget in a group photo: everyone in the frame has a say in this. The consent rule below applies to each of them, not only to whoever is standing in the middle.
Consent, and what this tool does not do
Two rules. Neither is fine print, and neither has an exception.
One: someone else's photo needs their consent. If the person in the picture is not you, ask before you upload it and ask again before you publish what comes back. A photo shared with you is not consent, a public profile picture is not consent, and "they would not mind" is not consent. Changing what a real, identifiable person appears to be wearing and putting that in front of other people without their agreement is not something to do. With photos of children the answer is simpler: don't. And a result should never be used to misrepresent who somebody is or what they were doing.
Two: this tool replaces clothing with other clothing, and that is the whole of it. The person comes back dressed. It does not generate sexual, explicit or degrading images of anyone, on your own photo no more than on anybody else's — requests of that kind are refused rather than negotiated, and no wording or framing turns this into a different kind of tool. If that is what you came for, this is the wrong page.
There is also a short list of places where an edited outfit does not belong even with everyone's consent: news photographs, real estate and marketplace listings, dating profiles, insurance or claims material, identity and employment records — anywhere the picture is supposed to document a fact rather than present a look. There, the original is the only honest version.
One privacy detail to know before you press Create rather than after. You upload a single picture you choose yourself, no folder is scanned, the file on your device is never modified, and results are stored in your own account. On the higher paid plans a Private switch next to Create keeps a run out of the site's public gallery of work — with it on, only you see the result. It has to be on before the run starts; on a free account it opens an upgrade window instead. For anything personal, turn it on first or do not upload the photo at all.
Formats, file size and devices
There is no app to install. The page opens in a browser on an iPhone, an Android phone, a laptop or a tablet, which covers the most common workflow of all: finding the photo in your camera roll and uploading it right there on the phone.
Accepted formats are the ones printed on the upload panel: JPG, PNG, WEBP — up to 10 MB. There is no limit on the resolution you send, and the file goes to processing at full quality rather than being shrunk on the way in. The result comes back at 1024 px on the long side on Standard and 2048 px on Pro; if you need it bigger, for a print or a banner, run the finished version through the image upscaler.
One iPhone note that catches people out: HEIC and HEIF files are not accepted. Either switch the camera to "Most Compatible" in Settings, or share the picture once to yourself, which converts it to JPG along the way. Screenshots and files saved from a chat are normally JPG or PNG already.
Change clothes in a photo free: what you get and where the limits are
You can try it for free. A new account gets two free generations in total — not two a day and not two a month — and this tool is one of the ones they cover. Free runs use Standard quality; Pro, which comes back at the higher resolution, is part of a paid plan, and the terms are on the pricing page.
Two things worth knowing before you start. Until there has been a payment on the account, results carry a light ai.neiroset.com signature in the bottom-right corner; any purchase removes it permanently, including from images generated earlier. And on this tool Download is open from the first run, so you can save what you make right away.
Two more practical notes: Improve description belongs in the same mental column as Create, because it is a run too and draws on the same allowance, and there is a pace limit of six runs a minute per account — normal work never touches it, even going through a folder of staff photos one after another.
Do I need an account?
Yes. You can upload the photo and fill in the whole form as a guest, but pressing Create opens the sign-in window. Without an account there is nowhere to keep results, and a clothing swap is a tool you use in several passes: rewrite the line, run it again, compare. Signing in is what puts every attempt in History beside the original instead of losing it when a tab closes.
What to keep in mind
Frequently asked questions
How do I change the clothes in a photo?
Upload a photo where the clothing is visible, describe the outfit in Additional wishes — "navy blazer over a white shirt" — choose Standard or Pro and press Create. There is nothing to select by hand, and the new version appears in History next to the original.
Can I change only the color of what someone is wearing?
Yes, and it is one of the most reliable requests on the page. Write it as a color change rather than a new garment: "same shirt, in white", "same jacket, in cream". The cut, the collar and the fit stay as they are, and only the color moves.
Will the face, the pose and the background stay the same?
Yes — face, expression, hair, pose, hands, build and everything behind the person come from your photo. The garment is re-rendered and the light on it recalculated to match the scene, so the edges where clothing meets skin or hair are redrawn. Compare in History before you publish.
How do I put a suit on a photo?
Say the color and the shirt underneath: "dark navy suit jacket over a plain white button-down shirt, no tie". A waist-up photo gives the best result. Add "plain fabric, no lettering or logos" and you will avoid the most common annoyance.
Can it change the person's body or figure?
No. This tool edits clothing only. Height, build, waist and proportions stay exactly as they are in the original, and the new garment is fitted to that body. It is not a body-reshaping tool and will not behave like one.
Can I change the clothes in a photo of another person?
Only with their consent. Ask before you upload their photo and again before you publish the result — a picture someone shared with you, or a public profile picture, is not permission to edit how they appear. With photos of children, don't. And a result should never be used to misrepresent who someone is or what they were doing.
Will this show me how a particular item would fit me?
No. It shows how a style — a turtleneck, a long coat, a bold color — reads on your build and coloring, which helps when you are choosing between looks. There are no measurements, no size chart and no knowledge of any specific product behind it.
What happens to patterns, logos and lettering?
Patterns like plaid and stripes can drift where the fabric folds, and text comes back as letter-shaped marks rather than readable words, so a brand mark ends up as a lookalike rather than the real thing. For a clean result ask for plain fabric: "plain fabric, no lettering or logos".
Does it work on a group photo?
Yes, as long as you say who. Identify the person by position and current clothing — "the man on the left in the gray hoodie" — and add that everyone else stays unchanged. For a whole group in one look, describe all of them in one line or do one person per run.
Does it work on a phone?
Yes, in a mobile browser on iPhone and Android, with nothing to install. One catch: HEIC and HEIF files from an iPhone are not accepted, so save or share the picture as JPG first. For a different kind of edit on the same photo, see the AI photo editor.
Try other tools
 Professional portrait
 AI photo editor
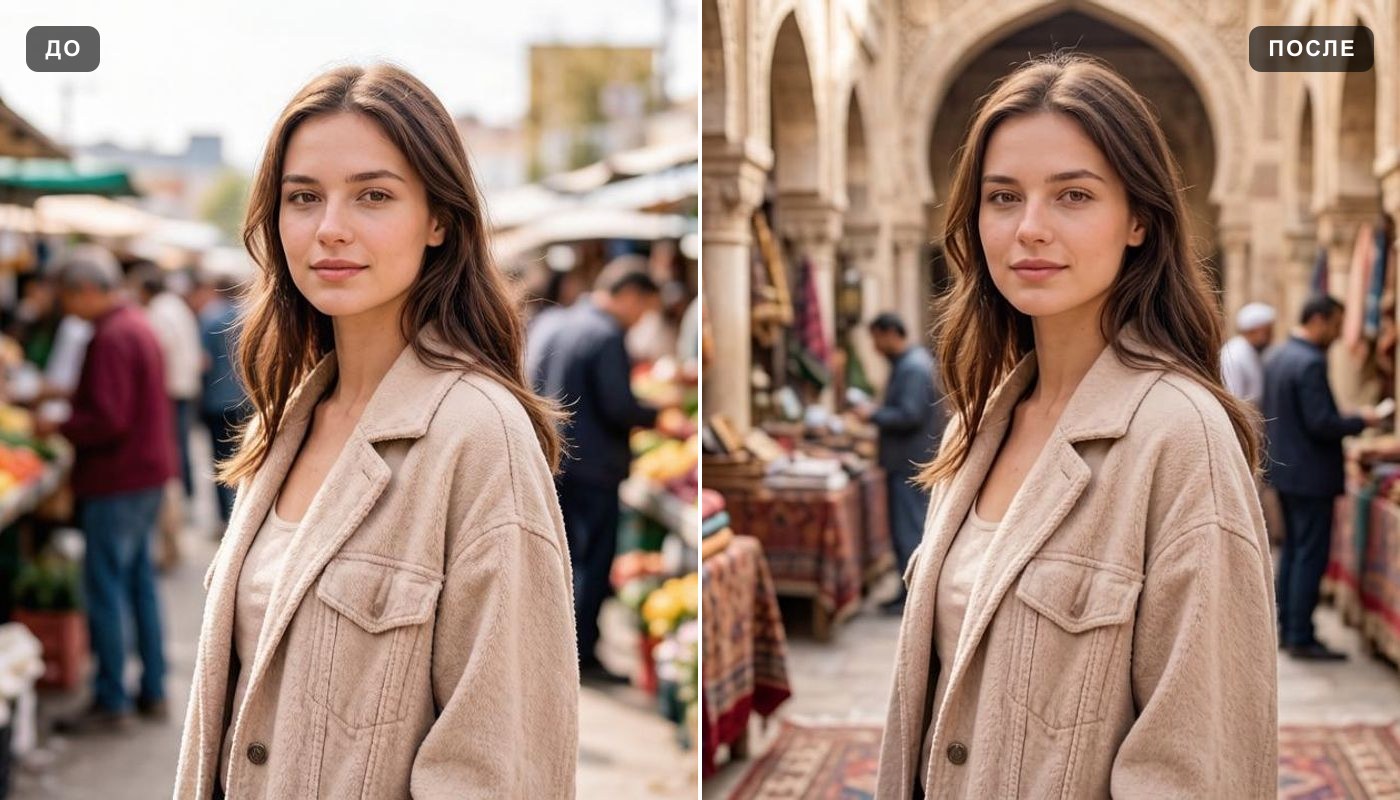 Change background
 Photo retouch
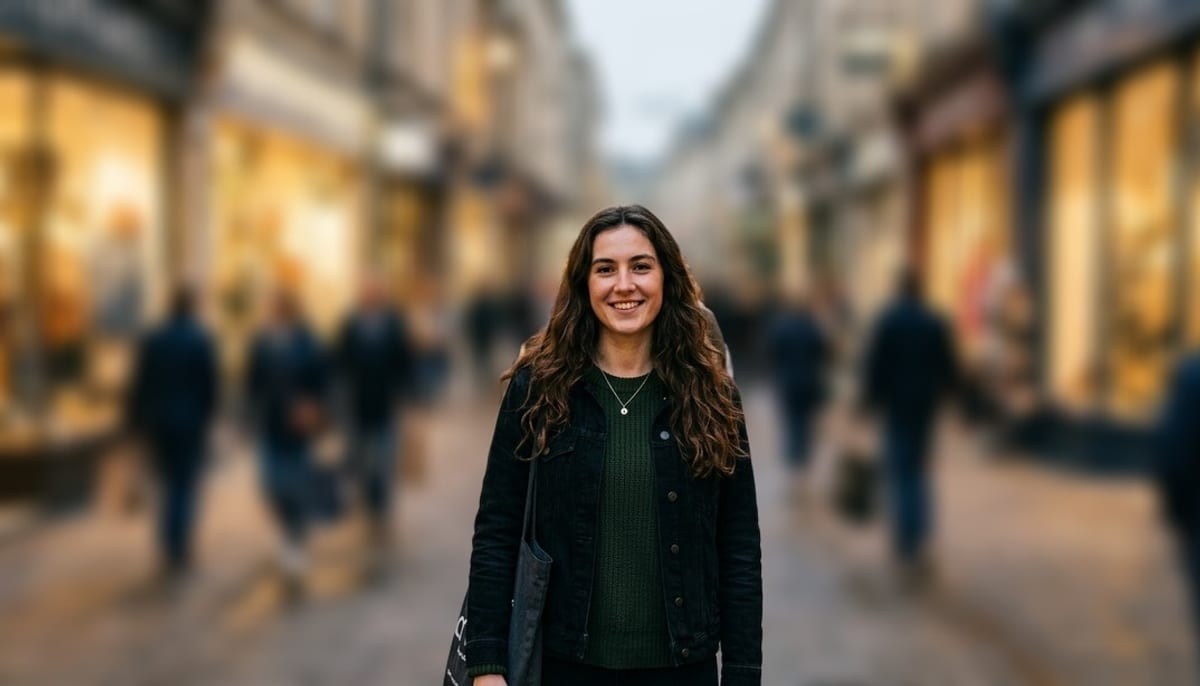 Blur background
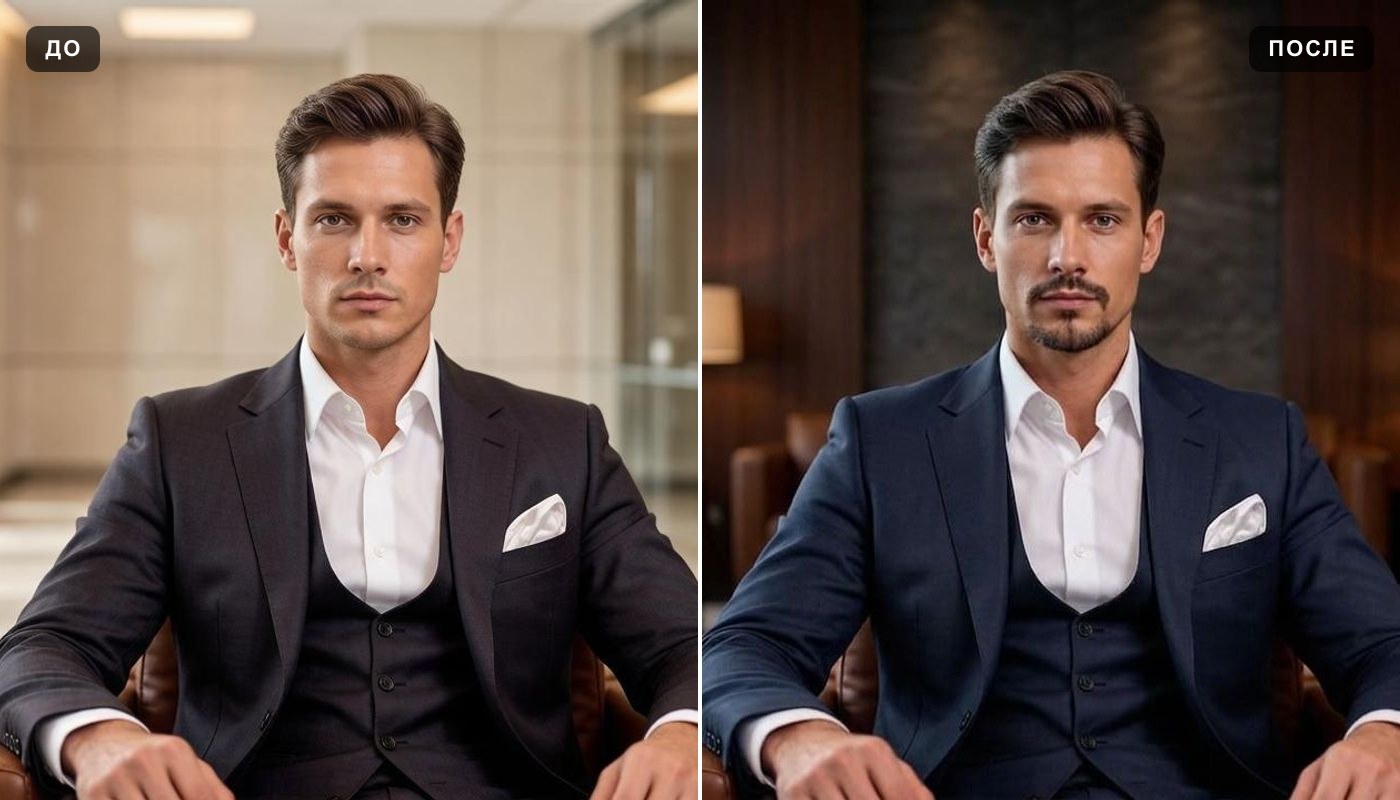 AI profile picture
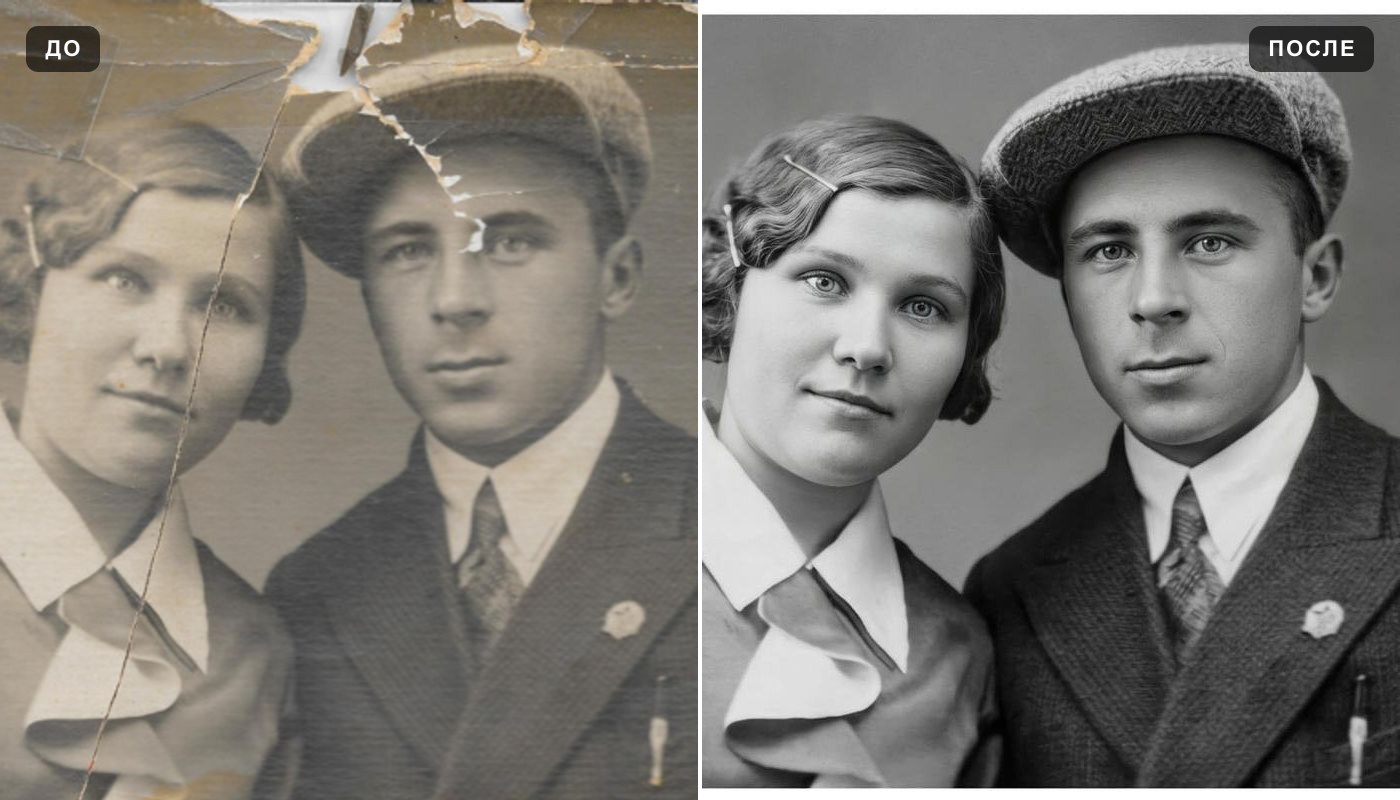 Photo enhancer
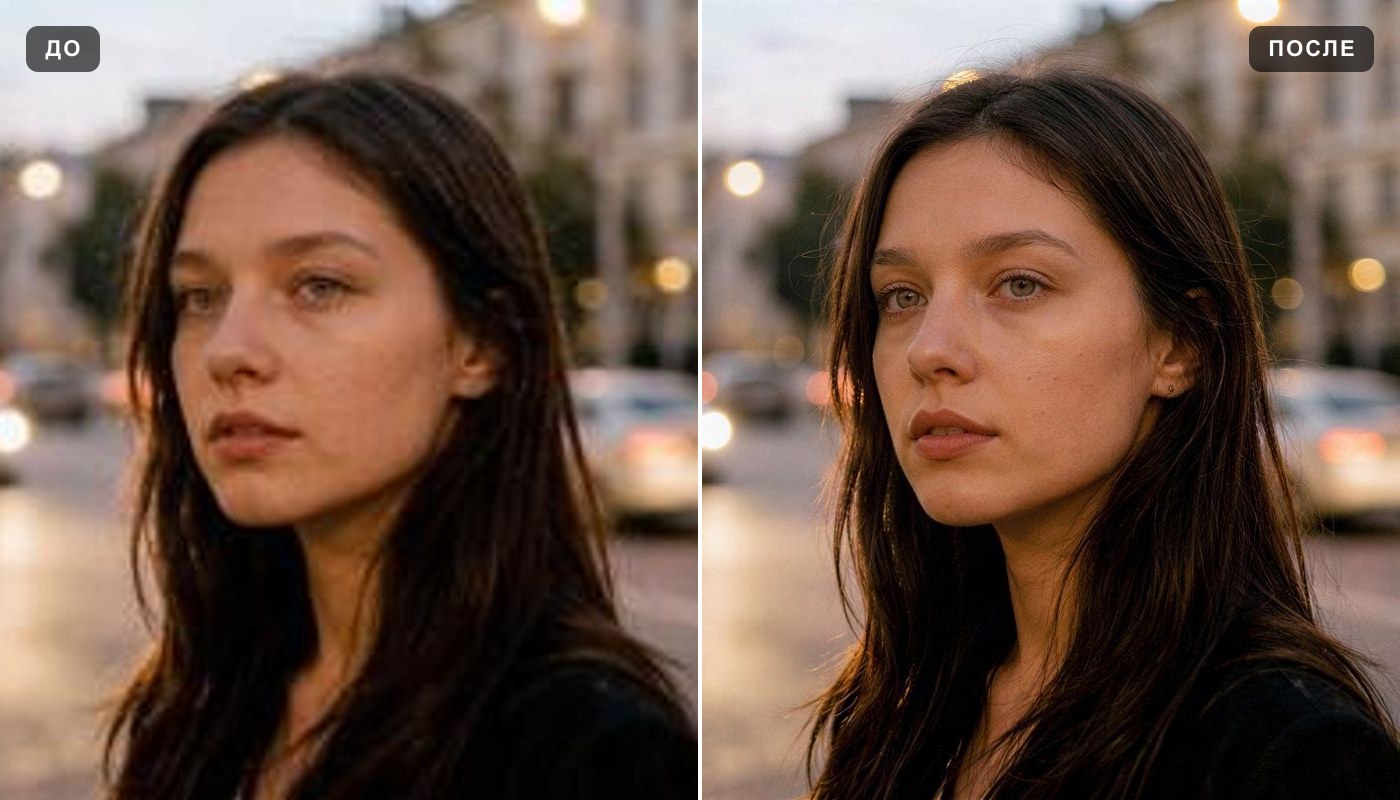 Image upscaler